


 |
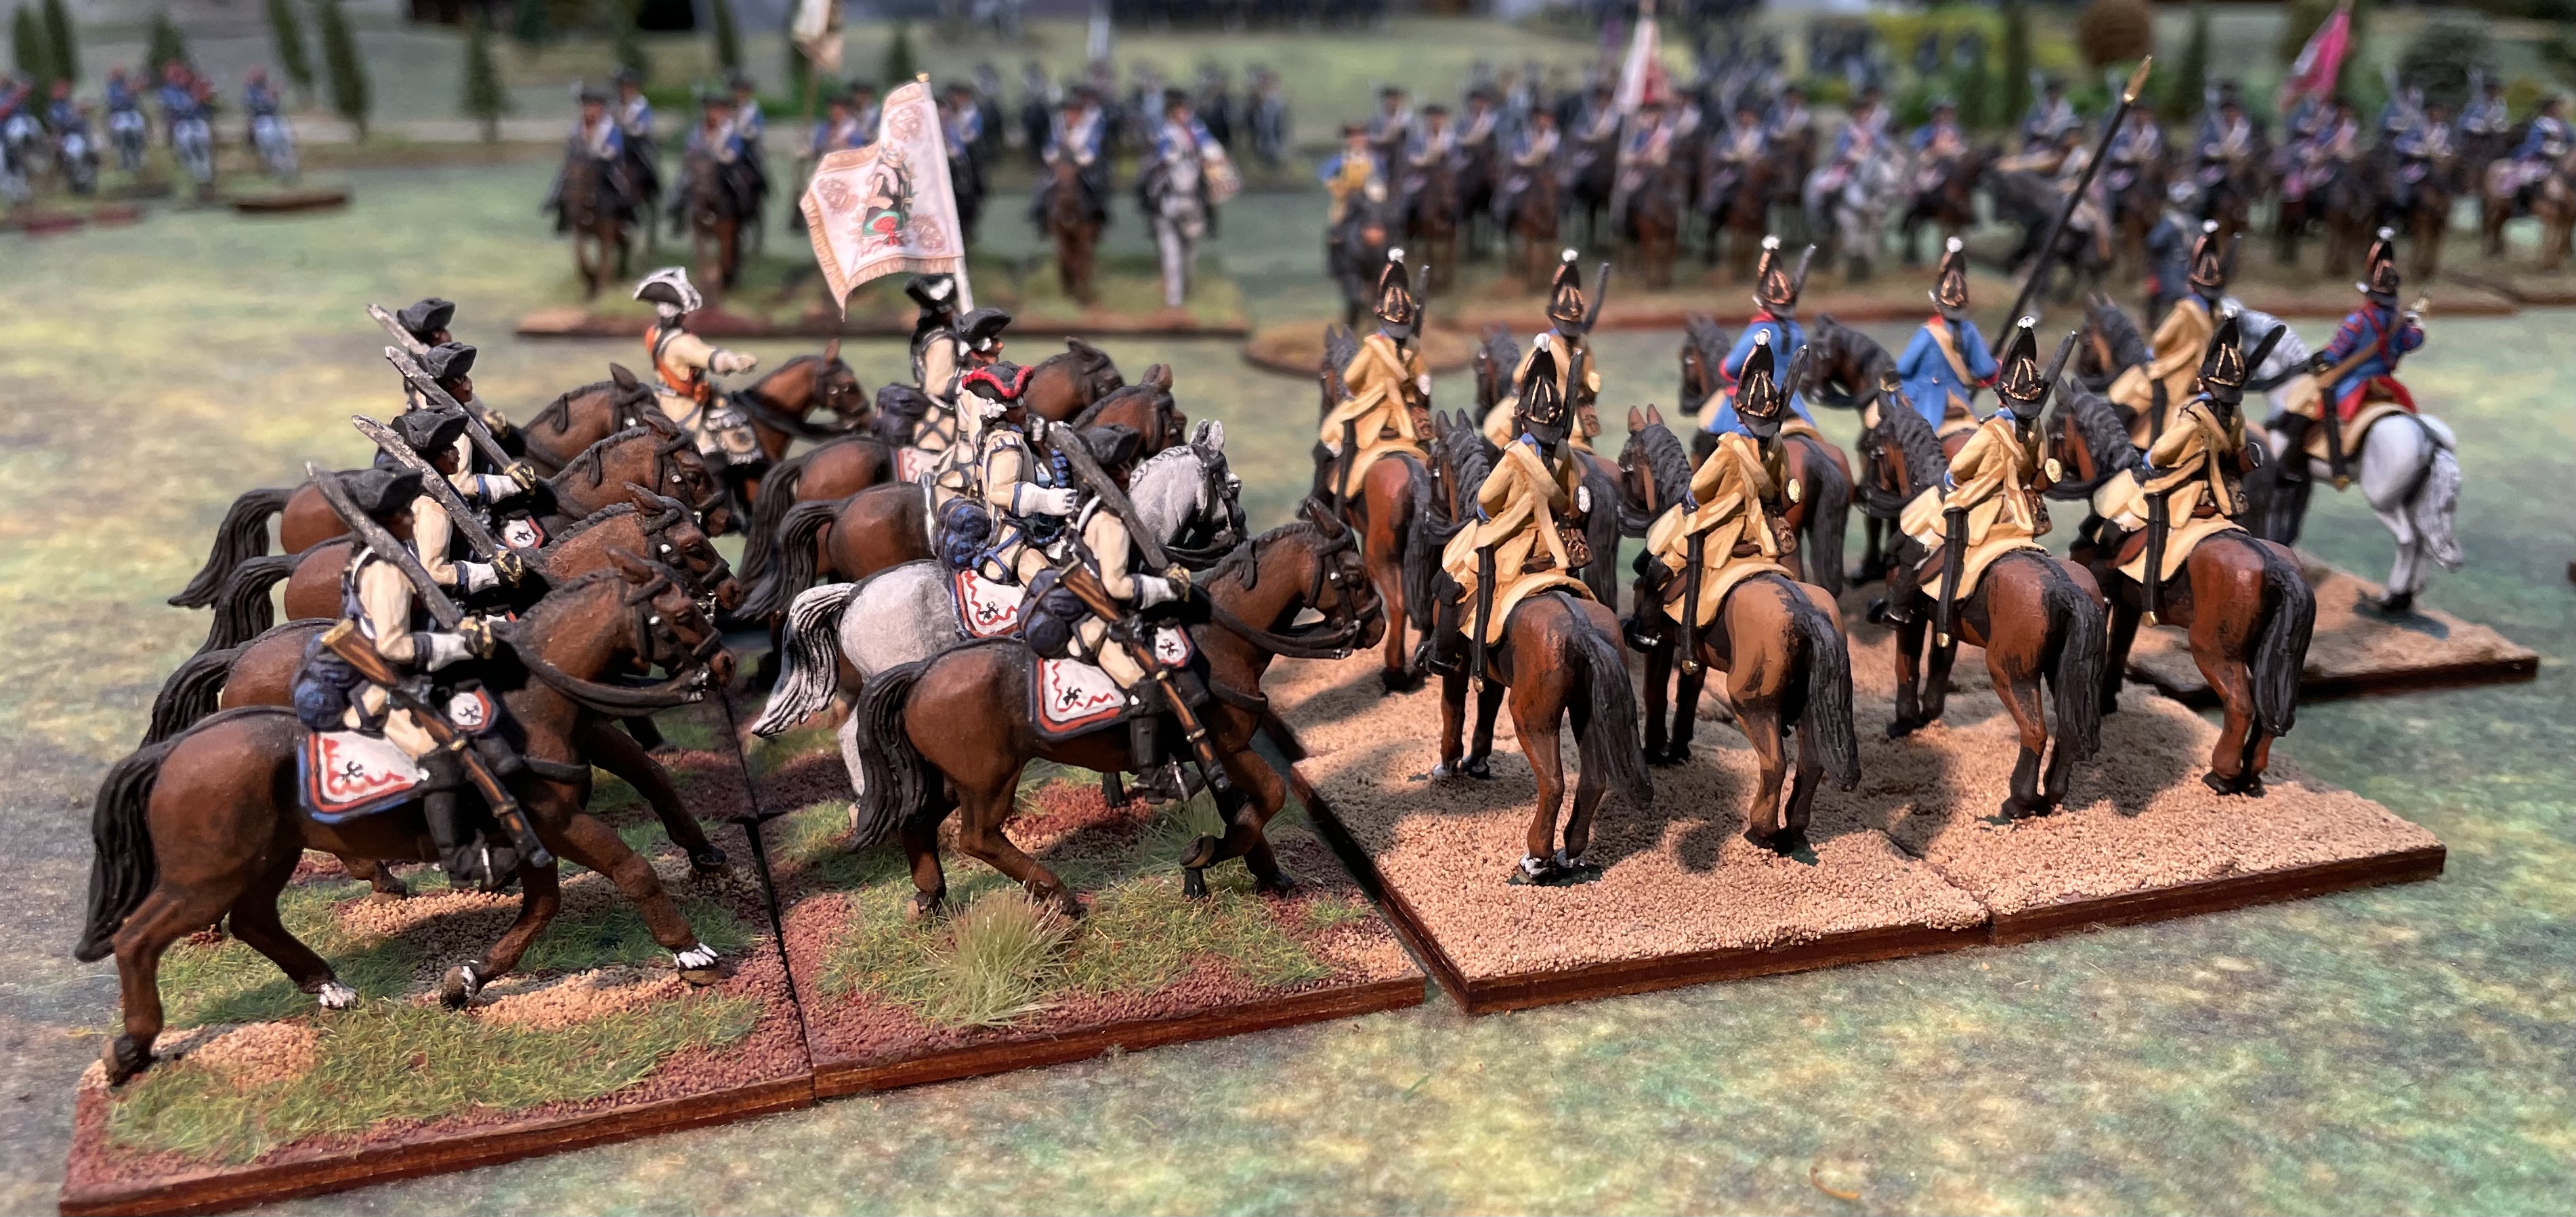
| Prussian cuirassiers (backs to camera) and Russian cuirassiers (facing the camera) chop, hack and thrust one another in a grand melee. Minden Miniatures exclusively. |
CLICK ON THE PICTURES TO ENLARGE
I finally got around to finishing my SYW battle that featured only cavalry and no infantry. In Part I of this report, the Prussian and Russian light cavalry forces came to blows in a meeting engagement. The Prussians were able to drive back the Russians and take possession of the key land feature called the Kammin Heide.
The Cavalry Rules
One of the benefits of staging an all-cavalry battle is that it gives your cavalry melee rules a good work out. I haven't used my Der Alte Fritz rules in quite awhile so it took me awhile to remember what to do mechanically and discover why I made the rules the way they are in the first place.
I did not like the way that my cavalry melee rules with respect to (1) the sequence of charging and counter-charging; (2) some of the morale elements; and (3) the rallying and pursuit mechanics in the rules. As a result, I developed a number of tweaks to the rules that I feel should make for a better game, going forward. After I make all of the rules changes, I will post a new version on the Fife and Drum Miniatures web site so that readers can download copies for free.
Notable and likely changes will include charge declarations without the need to roll for morale to see if the squadron will actually charge. Both sides should just automatically go into melee when one side or the other declares a charge. The only exception will be if the defending cavalry unit has been "caught at the halt" position.
My original rules only allowed for one round of melee in order to speed up this part of the game. However, for an all-cavalry game, melee is all that the squadrons can do so I increased the number of melee rounds in a melee to two rounds of combat. After that the possible outcomes are (1) tie, both units retire a full move back to their own lines and are disordered for a full turn, (2) loser routs and winner rolls a D6 to see if it will pursue, or (3) winner halts in place and becomes disordered for a full turn, unless it is rallied by a leader.
In order to rally, I now allow a squadron of cavalry to remain in place, neither moving or charging, for one turn after which it returns to a good order state. Units can also attempt to rally by moving a leader into contact with the unit and attempting a rally dice roll (it's about a 50-50 chance of success) so most players will likely opt to rest their cavalry for a full turn and not risk the possibility of a rout if it attempts to use the dice rally mechanism in the rules.
The Heavy Cavalry Battle Report
Part II of the cavalry battle featured the arrival of the heavy cavalry brigades for both armies, so we are talking dragoons, horse grenadiers and cuirassiers in this battle. The Prussians started the battle with the terrain advantage since they held the high ground and were well positioned to bottle up the arrival of the Russian heavy cavalry. The map believe depicts the terrain features and locations of key locations on the tabletop terrain. This is the light cavalry map and I apologize for not having a similar map for the heavy cavalry action.
The Prussians begin the game with their dragoons deployed on the high ground called the Kammin Heide. They are supported by a second line of cuirassiers hidden behind the ridge. There are a few remnants of light cavalry hussars milling around the flanks of the Prussian position. The Prussian cavalry commander, yes Him, is Lt. General von Seydlitz. His plan is to lure the Russian cavalry onto the Kammin Heide and then surprise them with a counter attack from the hidden Prussian cuirassiers.
The Russian heavy cavalry is entering the table on the hill where the remnants of their hussars and Cossacks are shown on Map 1.

 |
| I place a couple of light infantry units on the table for both sides, but these were really placed there "for looks only" and did not contribute to the battle. Here we have some Prussian Frei Korps troops, using a mix of Mindens, Fife and Drum Hessians and some AWI Continentals, converted by paint. |
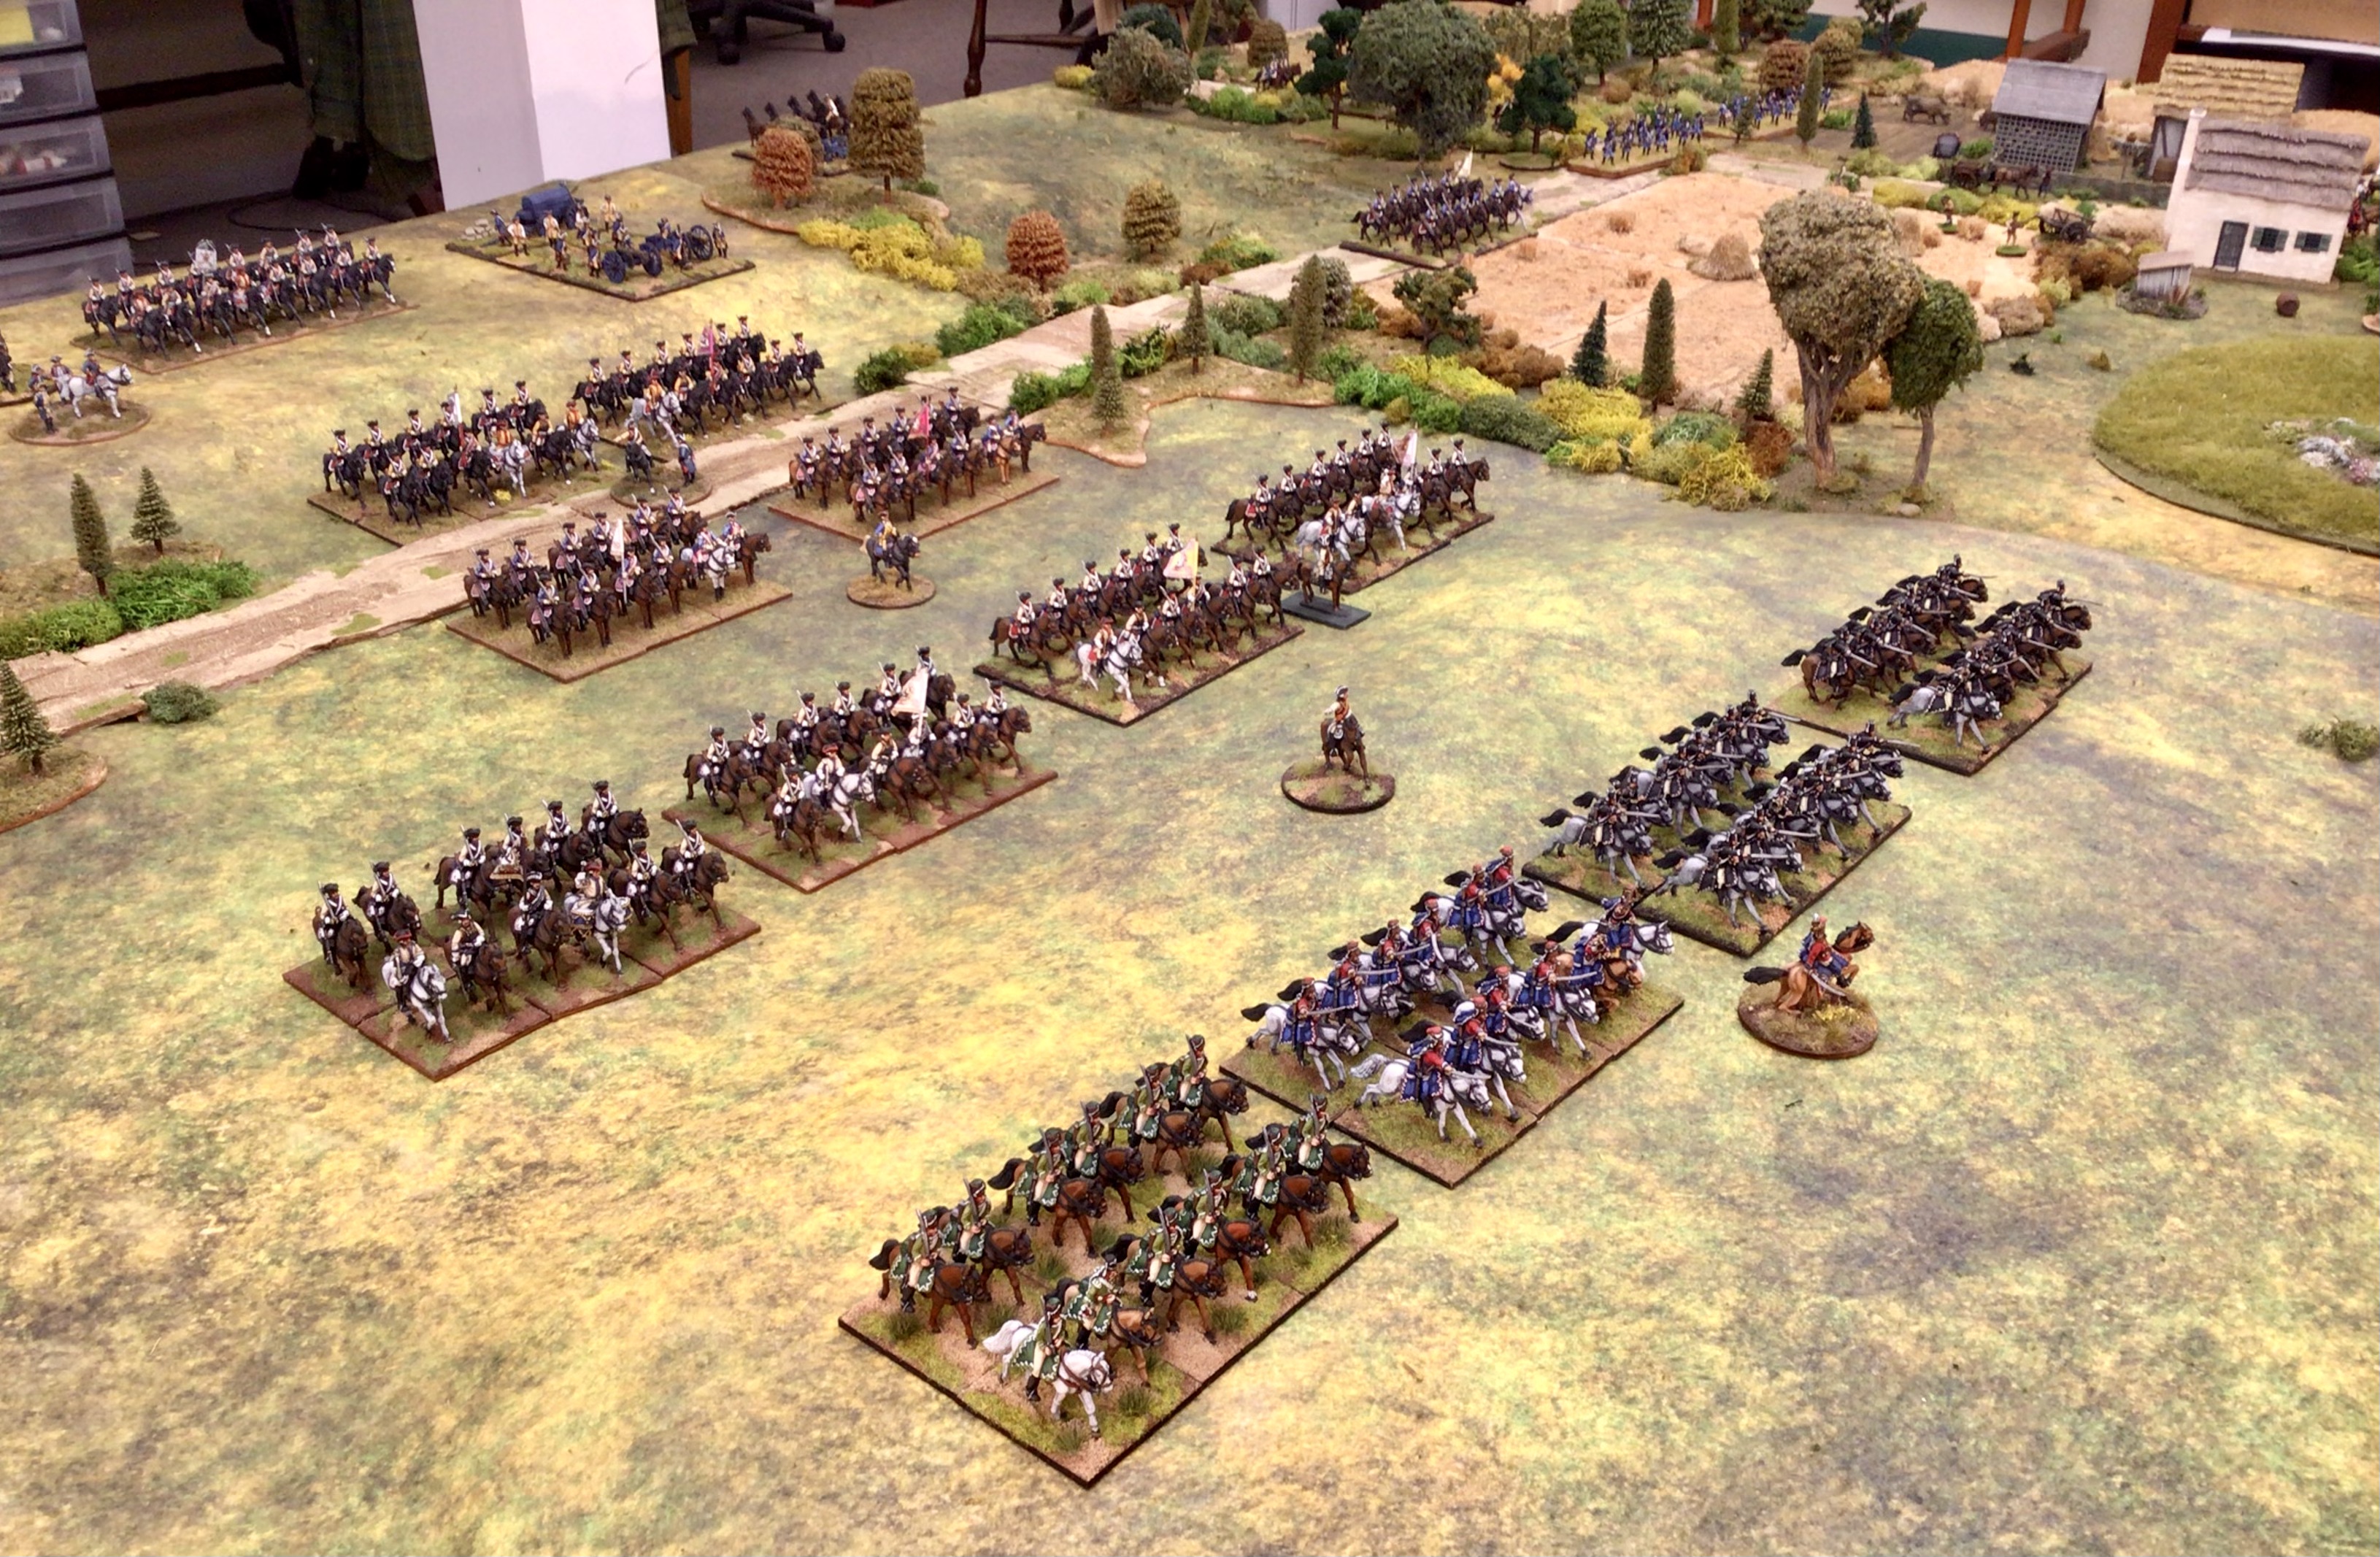 |
| The initial deployment of the Prussian heavy cavalry regiments. Hussars in the first line (right hand side of the picture), dragoons in the second line and a third line of Cuirassiers |
 |
| Some left over light cavalry from the previous game: Prussian Black Hussars (L) and Russian Yellow Hussars (R) |
 |
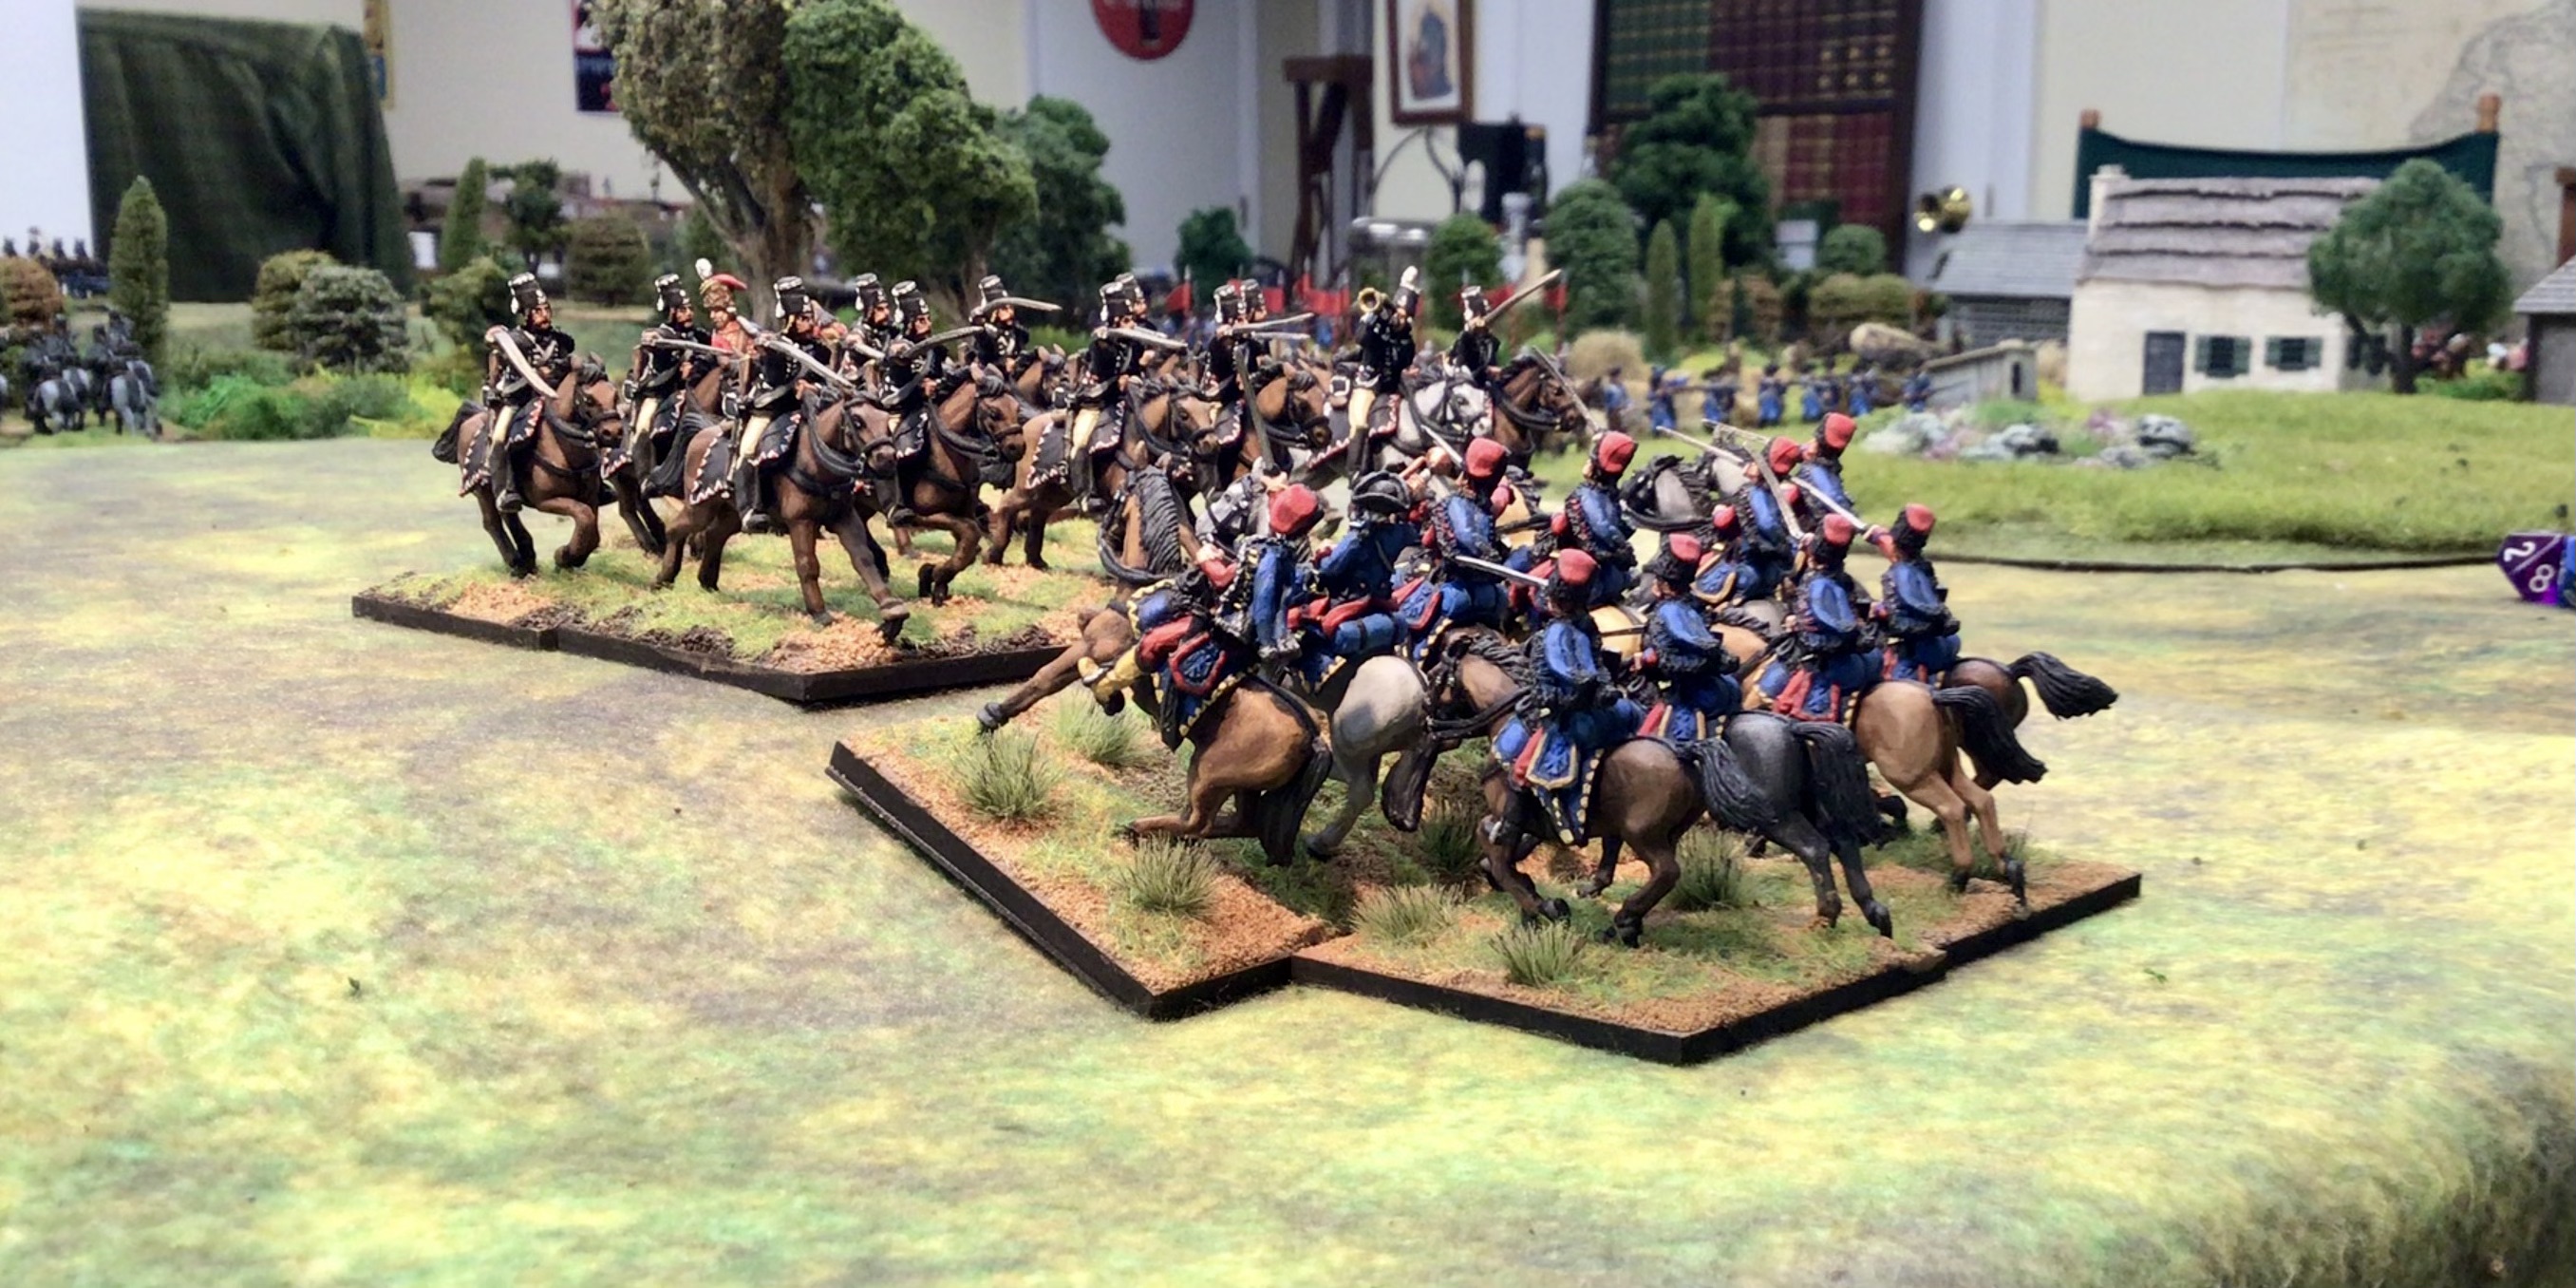
| Russian Horse Grenadiers and Cuirassiers charge |
 |
| Russian cuirassiers provide support to the Horse Grenadiers |
 |
| But wait! Prussian CR8 Seydlitz Cuirassiers seemingly come out of nowhere and charge into the flank of the Russian Horse Grenadiers. This demonstrates the advantage of winning the initiative die roll at the beginning of each turn. |
 |
| Closer view of the Prussian flank charge. |
 |
| We get even closer. |
 |
| It's a bad day for these particular Russians as they get cut down by the Seydlitz CR8 cuirassiers. |
 |
| Prussian dragoons advance at the trot looking for someone to melee with. |
 |
| Many individual squadron melees erupt all over the Kammin Heide. Such action is typical of cavalry melees in my rules. The Black Hussars in the right foreground have Lt. General von Zeiten attached to the squadron to give them a morale boost (one extra D10 in a morale dice throw). |
 |
| Russian Cuirassiers finally seem to have an advantage over their foe: cuirasses vs no cuirasses. |
 |
| Alas, the worst possible melee morale throw. All that the Russian cuirassiers needed was anything but a "ten' (or double zero) on just two of the three dice. |
 |
| Post melee, some of the Prussian squadrons have to fall back towards their own lines, in disordered status, where they will recover in two turns. |
 |
| Some of the non-viable Prussian squadrons have been removed from the table. Now there is a more open look to the battlefield. When a cavalry unit is down to only two stands (out of six to start with in a squadron) then it is removed from the game. |
 |
| Russian heavy cavalry squadrons fall back to reform, hoping to deter the Prussian cavalry from making any further attacks. |

Massed cavalry has a presence all its own on the tabletop battlefield, doesn't it though? Magnificent!
ReplyDeleteI rather think, though, that a commander like Seydlitz might well have thought to sling in his two fresh squadrons of heavies against the Russians, who, having lost more than 40 percent of their numbers must have been pretty tired.
Having said that, it is always possible that your Seydlitz had reason to for caution, and the desire to retain a strong reserve in hand. Who knows what's over the horizon?
Cheers,
Ion
What a superb looking game, a right treat for me before I head out to work. A real slog off a battle with both sides taking a battering, hopefully this engagement will flare up again. Looking forward to your rule amendments when they become available.
ReplyDelete