Sunday, April 25, 2021

The Hounds Get The Better of Fritz


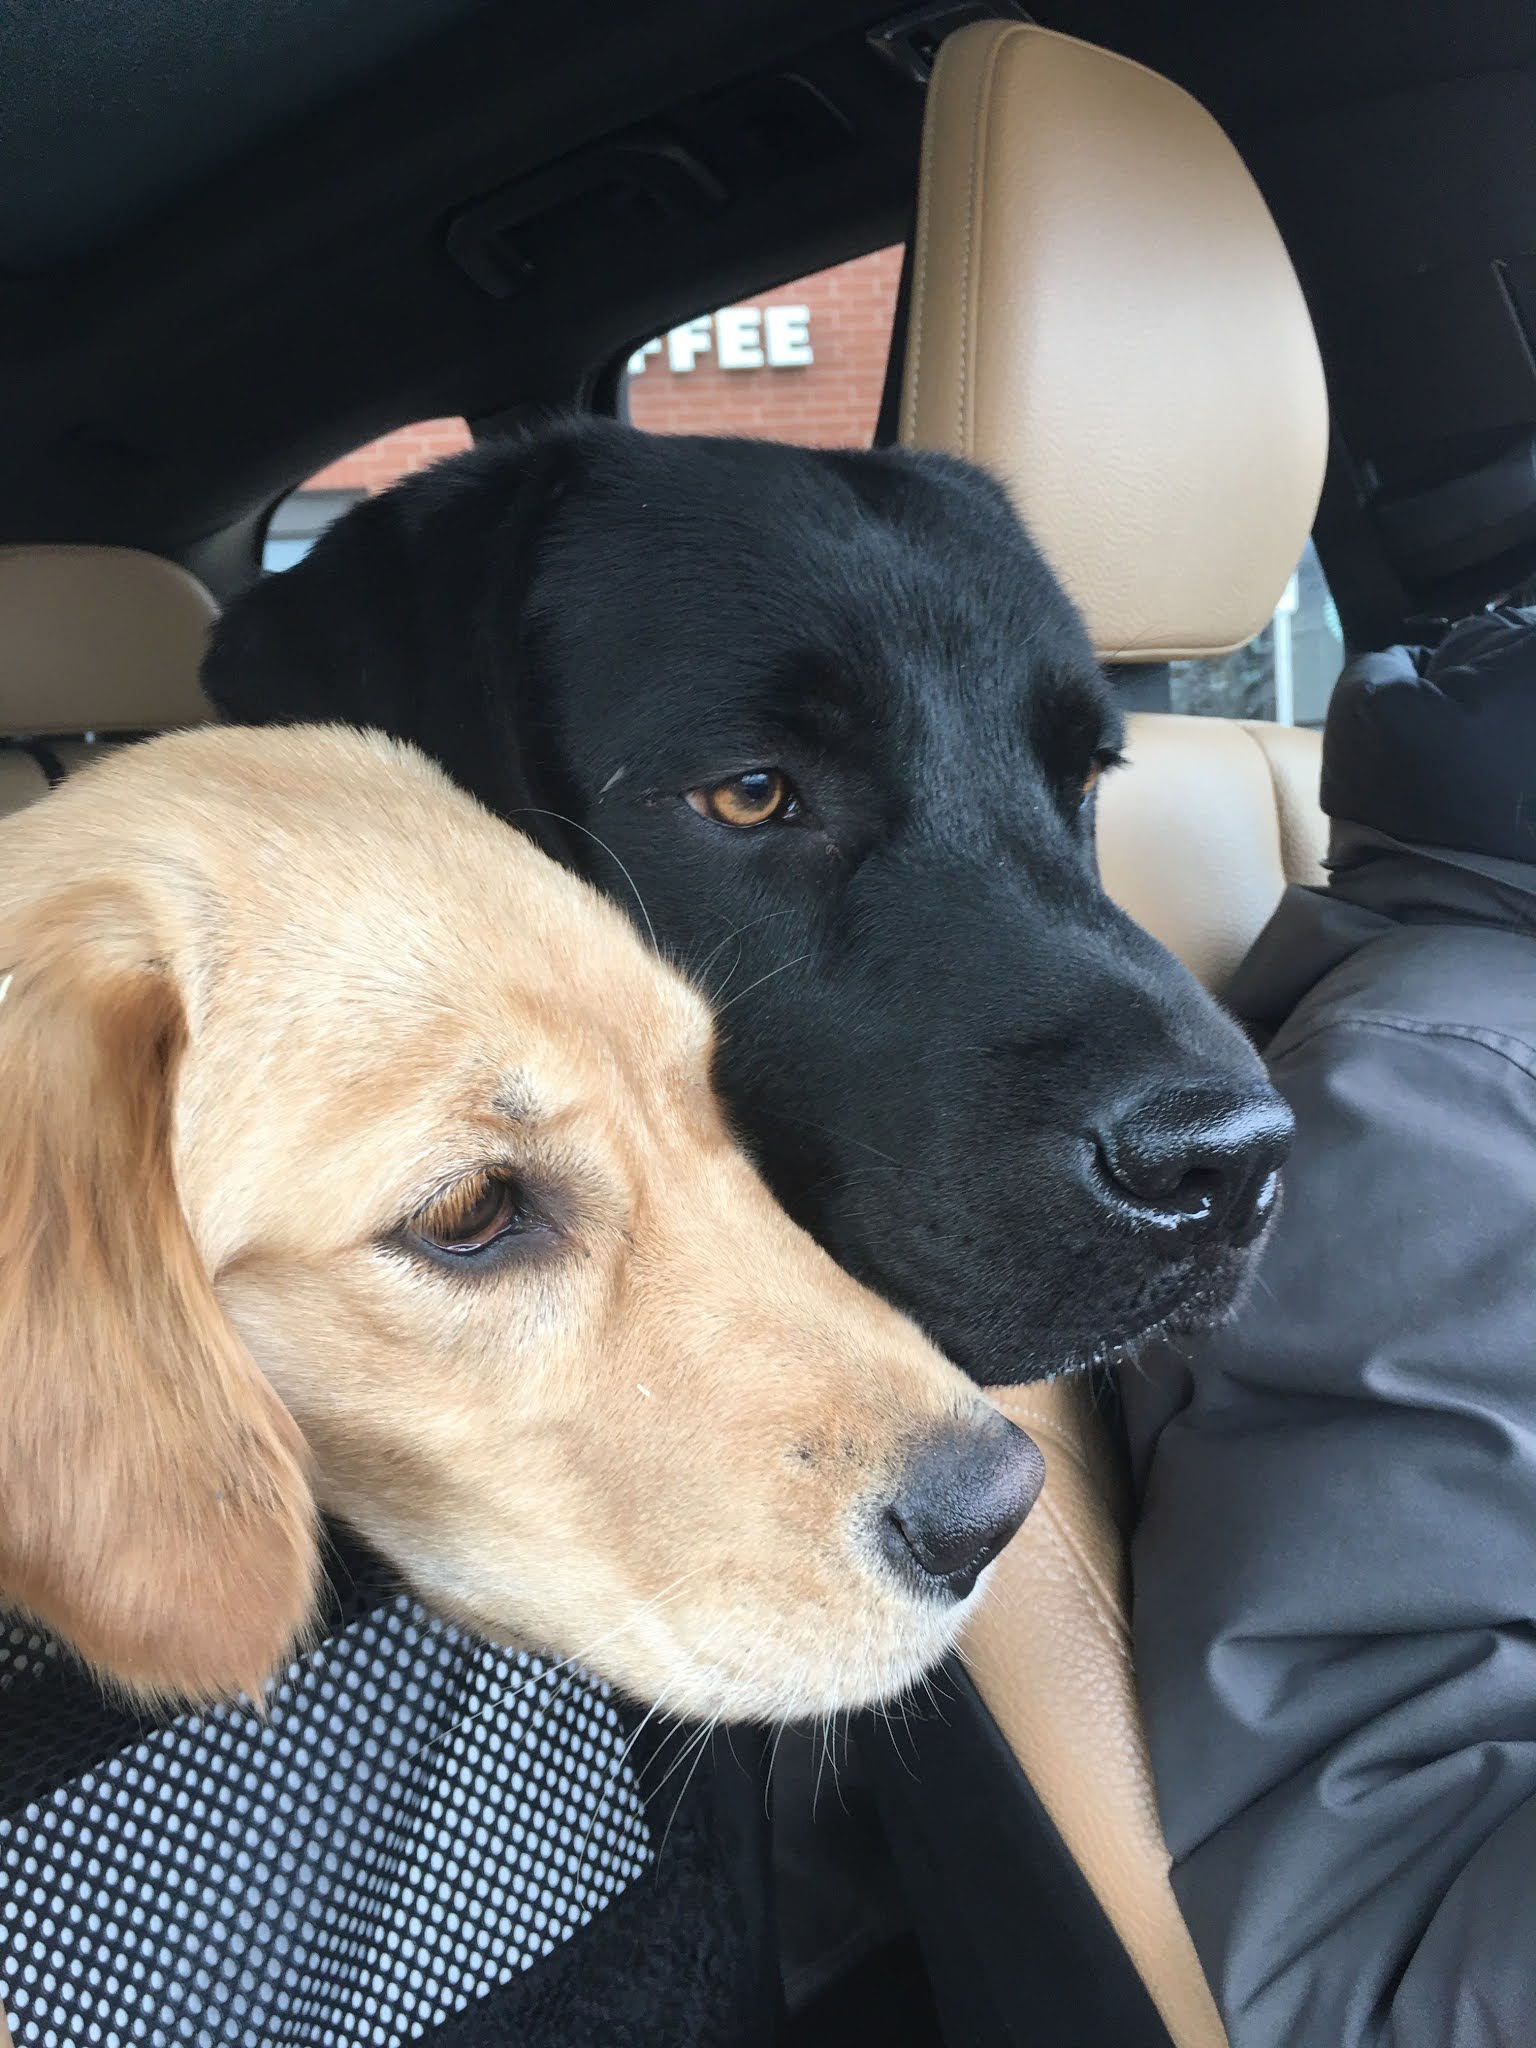
Bella The Brain (left) and Augie The Brawn (right) cook up their plan for The Great Escape.


Dogs often come across as silly and goofy and you never know what they are going to do to amuse you. Today, Bella the Brain and Augie the Brawn devised a cunning plan for their escape in the parking lot of Sunset Foods grocery store. They got the better of Fritz and Mrs. Fritz, who were bailed out of a potential disaster by the timely intervention of some bystanders in the parking lot.

Our story starts innocently enough, with Mrs. Fritz and me taking the royal hounds for a perambulation in the local forest preserve. We returned to our SUV after the walk and bundled the hounds into the back seat of the vehicle. There is a cargo area behind the back seat and this will come into play later in the story. We removed the harnesses and leashes from the hounds’ torsos for safety reasons once they are back in the vehicle. Dogs can get their leashes caught on some part of the seat and choke, so we remove the equipment once they are in the car. 

You can probably see where this is leading.

So we are now in the car and I’m pointing the vehicle in the direction of home when Mrs. Fritz says to me, “ what do you want for dinner tonight?”

“What do we have at home?” I inquire.

“Chicken” she replies.

“What kind of chicken?” Says I.

“Frozen chicken” says Mrs. Fritz.

Well that doesn’t sound like a very good plan so I propose that we stop at the nearby Sunset Foods grocery store. The spouse agrees so off we go to the grocery store. In my concentration on the road while driving, I fail to notice the mischievous little wink that The Brain makes to The Brawn. There’s trouble on the horizon.

We pull into the parking lot and I volunteer to go inside to do the grocery shopping while Mrs. Fritz minds the hounds. It doesn’t occur to me to wonder whether or not she is up to the task of matching wits with The Brain. So I go into the store to buy the groceries while Mrs Fritz remains in the car checking her email on her smart phone.

The Brain makes a knowing nod of her head to The Brawn and the plans for The Great Escape are set in motion. I buy the groceries and return to the SUV with the grocery bags in the shopping cart. Escape plan Wack-A-Mole has just been launched. The Brain motions the Brawn to climb over the back seat and take up an ambush position in the cargo area. Their plan is cunningly simple. When Fritz opens the rear hatch door to put the groceries in the cargo hold, The Brawn will lunge towards Fritz whilst he is holding a grocery bag. The Brain will then jump over the back seat and escape out the hatch while I’m trying to grab The Brawn’s  collar with my free hand (with grocery bag in the other hand). 

The Wack-A-Mole plan seemingly works to perfection as Fritz has to decide whether to hold onto the shopping bag and one hound while the other jumps out the door; or drop the grocery bag and attempt to grab both dogs before they can effect their escape. Alas, it looks like the Great Escape will be foiled before it gets off the ground because Fritz didn’t pick up a shopping bag until he opened the rear hatch door. Thus Fritz has both hands available to apprehend the hounds.

I’m admittedly surprised to see the massive body of The Brawn in my face as I lift the hatch door. The Brain’s timing is a second slow and I’m able to grab both dog collars. Escape plan foiled? No. I call out for help and Mrs. Fritz bounds out of the front seat of the SUV at record speed and she grabs the collar of The Brawn while I’ve got The Brain on ice.

Then I make my big mistake. I try to push The Brawn over the seat back to put him in the back seat, but a momentary second is all that The Brain needs to escape my grasp and jump to freedom. Mrs. Fritz  compounds my mistake by making one of her own: she turns around to head off the cute puppy known as The Brain thereby leaving a gaping hole in our defensive line. The Brawn overpowered me and leaped from the cargo area and on to the pavement. Then it’s a foot race and the humans are no match for the canines. 

Suddenly it’s pandemonium in the parking lot of Sunset Foods as The Brain and The Brawn split off in different directions. The Brawn makes like Usain Bolt and he is off to the races. The Brain however, now makes a mistake as her Golden Retriever instincts take over and she makes a beeline to the nearest human that is not Mr or Mrs Fritz, and cuddles up between the legs of a bystander, seeking a belly rub. Apprended! Or so it seems.

I race over to the Bystander who says, “what an adorable dog” and I say “Thank You” , grab The Brain by the  collar and usher her back to our vehicle. I open the side passenger door and cram The Brain into the back seat. Then I scan the parking lot for signs of Mrs. Fritz or The Brawn. Another Bystander somehow nabbed The Brawn and Mrs. Fritz is screaming, “Augie’s slipped out of his collar. Help!”

Now the beautifully choreographed Wack-A-Mole plan becomes apparent to the humans. Now that I’m distracted by The Brawn’s attempt to slip from the grasp of Mrs. Fritz and the Bystander, The Brain climbs over the back seat. I’ve forgotten to close the back hatch lid. The Brain bounds out the rear door and is back in the parking lot. 

You think that you have one hound under control while the other hound is slipping from your grasp. You nab the first one and now the second one re-escapes. Wack-A-Mole.

I make one final lunge for The Brain and my luck turns for the better as I’m able to grab her by the collar. Mrs. Fritz is still frantic about The Brawn not having his collar on anymore. I’ve got The Brain in my left hand and with my right hand I grasp The Brawn’s leash and fling it towards Mrs. Fritz. This time I remember to close the back hatch door and push The Brain into the back seat of the Paddy Wagon.

Now that one dog is back in the car, two people can get The Brawn under control and herd him back into the car. The hounds admit defeat and settle into the back seat of our SUV. With things seemingly under control again, I gingerly reopen the back hatch door, no hounds in the cargo area this time, and I put the grocery bags in and shut the door again. 

Mission accomplished! However, it was a near run thing as The Brain's plan Wack-A-Mole nearly succeeded. A long time ago I recall one of my friends telling me that all dogs live for one of two things: food or the chance to escape.

The Great Escape caper came to a close and we drove home. I was so undone that I had to make a stop at Starbucks and get a comfort Mocha Frappicino to calm my nerves.


Wednesday, April 21, 2021

Rectangles Win! See the Results


Morgan's Rifles
Fife and Drum Miniatures

After weighing the pros and cons of the circle versus rectangle basing scheme for my AWI American riflemen, I settled on using rectangular bases. The bases used are 60mm by 80mm. My original plan was to put five figures on the base with the longer 80mm frontage and 60mm depth. However, this did not provide what I deemed to be needed depth of the base, so I simply flipped the base around 90-degrees so that the frontage is the 60mm side and the depth is now 80mm.

This solution provides enough room to space out the deployment of the individual figures to give them a more "open order" appearance. The added depth enables me to place the figures on three different tiers within the base.

The added depth enabled me to make little dioramas on each stand, adding some rocks here and some cut up trees there. The stand was finished off with plenty of tufts and static grass. It is important to use the smallest rocks and twigs that you can find to decorate the stands, otherwise they will look out of proportion to the size of the 1/56 scale figures (~30mm).


Ground level view of the American riflemen.

The figures were glued to the stands in a sort of random and informal manner so as to convey the idea that these are skirmish/open order troop rather than formed troops. Since the riflemen do not have bayonets, they had best stay away from formed British soldiers with leveled bayonets. I also placed some of the firing figures aiming off to the side or front corner of the stand to avoid the appearance of any kind of formation.


I couldn't place all six stands in a single row within my photographic light box,
so  two of the stands are placed behind the front four stands.


Close up view of Morgan's Rifles.


Next up on the painting table: von Barner's light infantry in Brunswick service. After that I will probably start working on Dearborn's light infantry battalion, the musket-armed chosen men whose job was to provide support to the rifle-armed soldiers who lacked bayonets.

Sunday, April 18, 2021

Round or Rectangular Bases - Help Me Decide


Round (left) versus Rectangle (right) bases.


I am working on a regiment of 30 American riflemen to represent Morgan's Rifles at the battles of Saratoga in 1777. The regiment did not fight in close order formation like other Continental regulars, so I am considering using a round base for the unformed riflemen and a rectangular base for formed troops. Thus Indians and Jagers would also be placed on round bases. 

Note that I plan on placing five figures on six stands for a total of 30 riflemen in the regiment.


Five riflemen placed on an 80mm diameter round base.


I have found some rounds that are 80mm in diameter, which is similar to the 80mm frontage that I am using for the formed troops.

I have not yet decided which form of basing to use for the riflemen, so I thought that my regular blog followers could help me decide by offering up comments and suggestions in the Comments section at the end of this blog post. This is sort of like a poll, except that I don't have the ability to use a poll in Blogger, so your votes will have to be made in the comment section.

Simply type in Round or Rectangle in the Comments to record your vote. Of course, feel free to add any other comments or state your reason for liking one shape of base over the other.

Thursday, April 15, 2021

Limber Day


The AE-005 British Limber set shown with civilian train drivers.

No, Limber Day is not a jazz saxophonist, but rather, my focus on adding limber teams to all of my horse and musket armies saw recent additions to my AWI armies. Last week I added two Hessian artillery teams manning British 6-pound cannon, so I needed to give them limbers too.

Hessian Artillery 6-pounder battery.

The Hessian artillerists are conversions of the Continental Artillery crews with the simple conversion of a pom pon on the top of their cocked hats. I needed a pair of Hesse Hanau 6-pounder, commanded by Captain Pausch, for my Saratoga game. The Minden Prussian artillery crew would also work as Hessian artillery crew (these could have the gaiters filed down to look like one-piece overalls, or could be left as is with gaiters).


Side view of the three limbers. The two grey limbers will support the Hessian guns 
and the wood brown limber will go to the American army.

I had to give some thought to adding reins and traces to the limbers and I settled on fine wire to represent the traces that connect the horse to the limber. My initial idea was to wrap the wire around the arm of the limber, but later versions employed my pin vise drill.

I found that there is enough metal in the limber to drill a small hole through the limber pole and then insert the wire through the resulting hole. Next, I drilled a small hole through the back of the limber horse, placing the hole just below the piece of leather that runs from the neck of the animal and back to its tail. This proved easier to do than I first thought so I will use this method on all of my horse drawn vehicles in the future.

I could have added wire traces from the first limber horse to the lead horse (with the rider) but didn't feel like spending the extra time required to pull off this bit of modelling.


Civilian train driver wearing waistcoat and brimmed hat.


Civilian train driver wearing coat and tricorn hat.

Another view of the limber and train driver wearing waistcoat and hat.


I also assembled and painted a two-wheel munitions wagon for my British army. I can use this vehicle for all of my British armies: Philadelphia Campaign, Southern Campaign and Saratoga Campaign. The cart is from Perry Miniatures, but the limber horse that came with that model seemed too large relative to the size of the wagon and the horse holder. My own Fife and Drum limber horse selection does not include a standing at the halt pose, so I used a spare RSM limber horse from my lead pile; the horse holder is a Minden Miniatures figure. The three pieces go together quite nicely and illustrates how sometimes we need to pick and choose parts from multiple product ranges to get the look that we seek.


Two-wheel munitions wagon consisting of a Perry wagon, an RSM limber horse,
and a Minden  horse holder. 


I have one more American limber team, this one painted an iron pigment red, to finish and add to my army. Adding limbers to your artillery teams may seem like a time investment, but it really is easy to do and the visual payback is well worth the effort. An artillery piece looks so much better when there is a limber parked behind it.


Thursday, April 8, 2021

What Sun Fading Really Looks Like


Following up on my previous post about the color of British uniforms on campaign, I thought it would be a good idea to see actual examples of sun-faded red cloth taking on a pinkish hue. At the end of this article I have posted a picture of an actual Prussian Guard uniform.

The baseball cap shown in the picture above, is one that I wore for many years before realizing how much the color had faded. I turned out the inside of the cap so that you can see what the original red color looked like. The difference is rather startling.

Also, here is a picture of one of my blue caps that shows how the sun has faded the cloth.


Now it might be that the type and quality of the cloth makes a difference in the amount of fading. Also, the type of color dye can make a huge difference. Searching through my memory (something that is increasingly hard to do these days), I recall that the type of dye used makes a huge difference.

Some examples of actual Prussian uniforms and their sun damage. The IR15 Guards regiment waistcoat shows sun damage in the abdomen area which corresponds to the part of the garment that is exposed to sunlight when it is worn. You can see where the waist belt protected the cloth in the abdomen area. The rest of the waistcoat was covered by the coat when it was worn.

The blue coat shows the orignial blue color in the rear, compared to the fading on the front and sleeves.


IR15 Guard Uniform - Coat on the left and waistcoat on the right.


This provides a little bit of food for thought with respect to painting your wargame figures with a sun faded campaign appearance.

Tuesday, April 6, 2021

Painting A Campaign Appearance On You Miniature


Fife & Drum Miniatures Saratoga British Flank Company Figures
Faded coats on the right, normal red coats on the left.


CLICK ON ALL PIX TO ENLARGE

In the past I have painted several units to look like they have been “in the field” for a long campaign season. Basically this involves painting the coats in a washed out color to reflect the sun fading of the cloth and painting some patches on the knees and elbows. A little bit of dirt around the ankles works too. I haven’t figured out out how to paint unshaven faces, like Barry Hilton carries off with fine effect.


The other day I was painting a company of British Light Infantry for the Saratoga campaign and by happenstance my first coat of red on the uniform coat looked a bit washed out. The undercoat of white-Grey primer made it kind of bleed through the red. Hmm, thinks I, their coats will look sun faded if I don’t add another coat of red and then do the usual highlights bits on the coat.


Faded Campaign uniforms on the righthand stand. 
Normal red coats on the lefthand stand.


Rear view: campaign figures on the right, normal figures on the left.


Instead I went in reverse, starting with a washed out red and then highlighting with a pinkish red color. For this I took the base red color and mixed in a tiny bit of white to perfect the sun faded look. Next, I used a creamy tan color on the overalls rather than my usual grey and white combination. 

The final step was to paint patches on the areas of the uniform that are likely to wear out from hard usage on the campaign. We are talking knees, elbow and the seat of the pants. This starts with a tiny square of black painted on the knee, for example, and then painting a color such as brown cut from local spun cloth, or some red that might have been cut from excess material on the coat. You can experiment with other color schemes such as a white patch with some polka dots or stripes that contrast with the knee patch color.

I need to experiment with mud and dirt effects on the ankles, but this would really enhance the campaign look of the figure. Oh, and I dress the officer in brighter, non faded red on the assumption that the officer would have the financial means to purchase better quality cloth for his uniform.

At any rate, I thought that the faded red coats looked kind of cool and I will definitely consider painting a full regiment in a like manner.

What do you think? Comments appreciated.


Sunday, April 4, 2021

4Ground Log Cabin Construction


Yesterday, I finished building a two-story log cabin from a company called 4Ground (in the UK) and I have to say that I like the look of the finished model. The second floor and the roof are removable so that you can place figures inside for skirmish style games. The model comes with a "difficulty rating" of "4" ("1" being the easiest) which means that it takes a bit of modeling skill to assemble it. However, I think that most war gamers will be up to the task. It's just that it will take you awhile to build it. I worked on the model over the course of two days. 

The only tools that you need are maybe an Exacto blade or the end of a paint brush to detach the pieces from the sprue. In most cases, your fingers will do the job. White PVA glue is needed to attach the pieces together. All pieces use the mortar and tenon style of fixture to attach the pieces together, using white glue.


Side view of the model.

I made one major construction error, but couldn't change it because the glue had alread set. The front of the cabin should have two upstairs windows and the back of the cabin should have one window. I mistakenly switched them around.  The walls all have an outer wall and an inner wall and I had already glued all the wall pieces together before I discovered my error. However, the cabin still looks ok.


Close up view of the front. I mistakenly put the back side window in the front of the  house
and it was too late to change it after I discovered my error


Rear view of the cabin. The two second story windows should be in the front of the house.

Work in progress showing the near completion of the first floor.
You can see some of the sprues in the background.


The kit pieces are laser cut on MDF wood. You have to punch the pieces out of the MDF sprue with your fingers or the tip of a paint brush or similar tool. This is really easy to do. All the pieces are marked with a number and the kit includes a step-by-step pictorial that shows you each stage of the construction.


First and second floor sections are completed.
The chimney and roof are the final pieces to be constructed.


The finished model sits on my game table.


The finished model looks good as is, but most people will probably want to paint the model and glue it to a base.

In summary, this is a good looking model that has a couple of fiddly bits in the construction ( the front porch posts and beams that support the roof gave me a lot of trouble). It is not a kit that you will finish in one evening. I worked in a series of 2-hour sessions over the course of two days. The kit price is $36.00 for the wood model, which seems reasonable relative to other resin alternatives that are on the market.

I recommend the kit and I would purchase it again if I was making the choice. I wish that 4Ground would make a barn to go along with it. I also have a two-story block house ($79 price) to build and while it is rated a "4" level of difficulty, I'm not quite ready to give it a go because it looks more complex than the cabin.