Monday, April 25, 2016

Itzenplitz - Back to the Big Battalions


IR13 Itzenplitz regiment, work in progress, of Potsdam Miniatures 30mm figures. Click pix to enlarge.

We are staging a large BAR (Batailles dans l"Ancien Regime) game on Saturday May 14, 2016 in Woodstock, IL at a friend's house - he who has three 6ft by 28ft long tables (lucky guy) and quite frankly, we could use a few more players in the game. So if you care to spend a full day of gaming with big 60-figure battalions of infantry and similar sized cavalry regiments, and further, if you are the sociable gentleman gamer type of person, then drop me an e-mail and I can give you more of the details.

So a week or two ago, I was taking an inventory of my Big Battalion Austrian and Prussian armies and discovered to my horror that my Prussian army had dwindled down to a mere 12 battalions, of which one was a fairly useless battalion of jagers. A few years ago, I had as many as 20 60-figure big battalions in my Prussian army. I had sold off eight battalions to raise funds for Fife & Drum Miniatures, but also to cull down the herd to a manageable size of battalions that I could actually store in the trunk (boot) of my car. If I could only travel with 12 battalions, what was the point of owning 20 battalions?

Side view showing the three ranks of the firing line.


The upshot of all of this is that I decided that I needed to rebuild some of the Prussian BAR battalions that I had previously sold. My first choice was to add IR13 von Itzenplitz, which was considered one of the best regiments in the Prussian army. I had a few of my own Potsdam Miniatures - 30mm tall and Stadden compatible - so I started the painting of 60 musketeers last week. As of today, I have 30 figures painted and plan on having the second batch of 30 figures completed by this time next Sunday. I think that I have enough figures left to also paint IR1 von Winterfeld regiment.

As long as I'm adding more big battalions to the herd, why not order some Staddens as well and plan on rebuilding the Prussian forces up to 16 battalions. That works out to four brigades of four battalions. I like the symmetry of FOUR, there is something so very Eighteenth Century about even numbers and four of anything. So with two more Potsdamers and two more Stadden units, I will eventually get my BAR Prussian army back to 16 battalions.

I have enough cavalry.

Sort of.

I have 120 Prussian dragoons from Elite Miniatures. At a figure to man (horse) ratio of 1:10, would anyone care to guess which Prussian dragoon regiment I have in mind? You only get one guess, and if you guess wrong, then you are simply not an aficionado of anything Prussian. The rest of you will know exactly what I mean.

And no, I am not going to have 4 x 60 = 240 foot and 120 dragoons painted by May 14th. Probably just Itzenplitz before the game, with the remaining figures to be painted in the future.

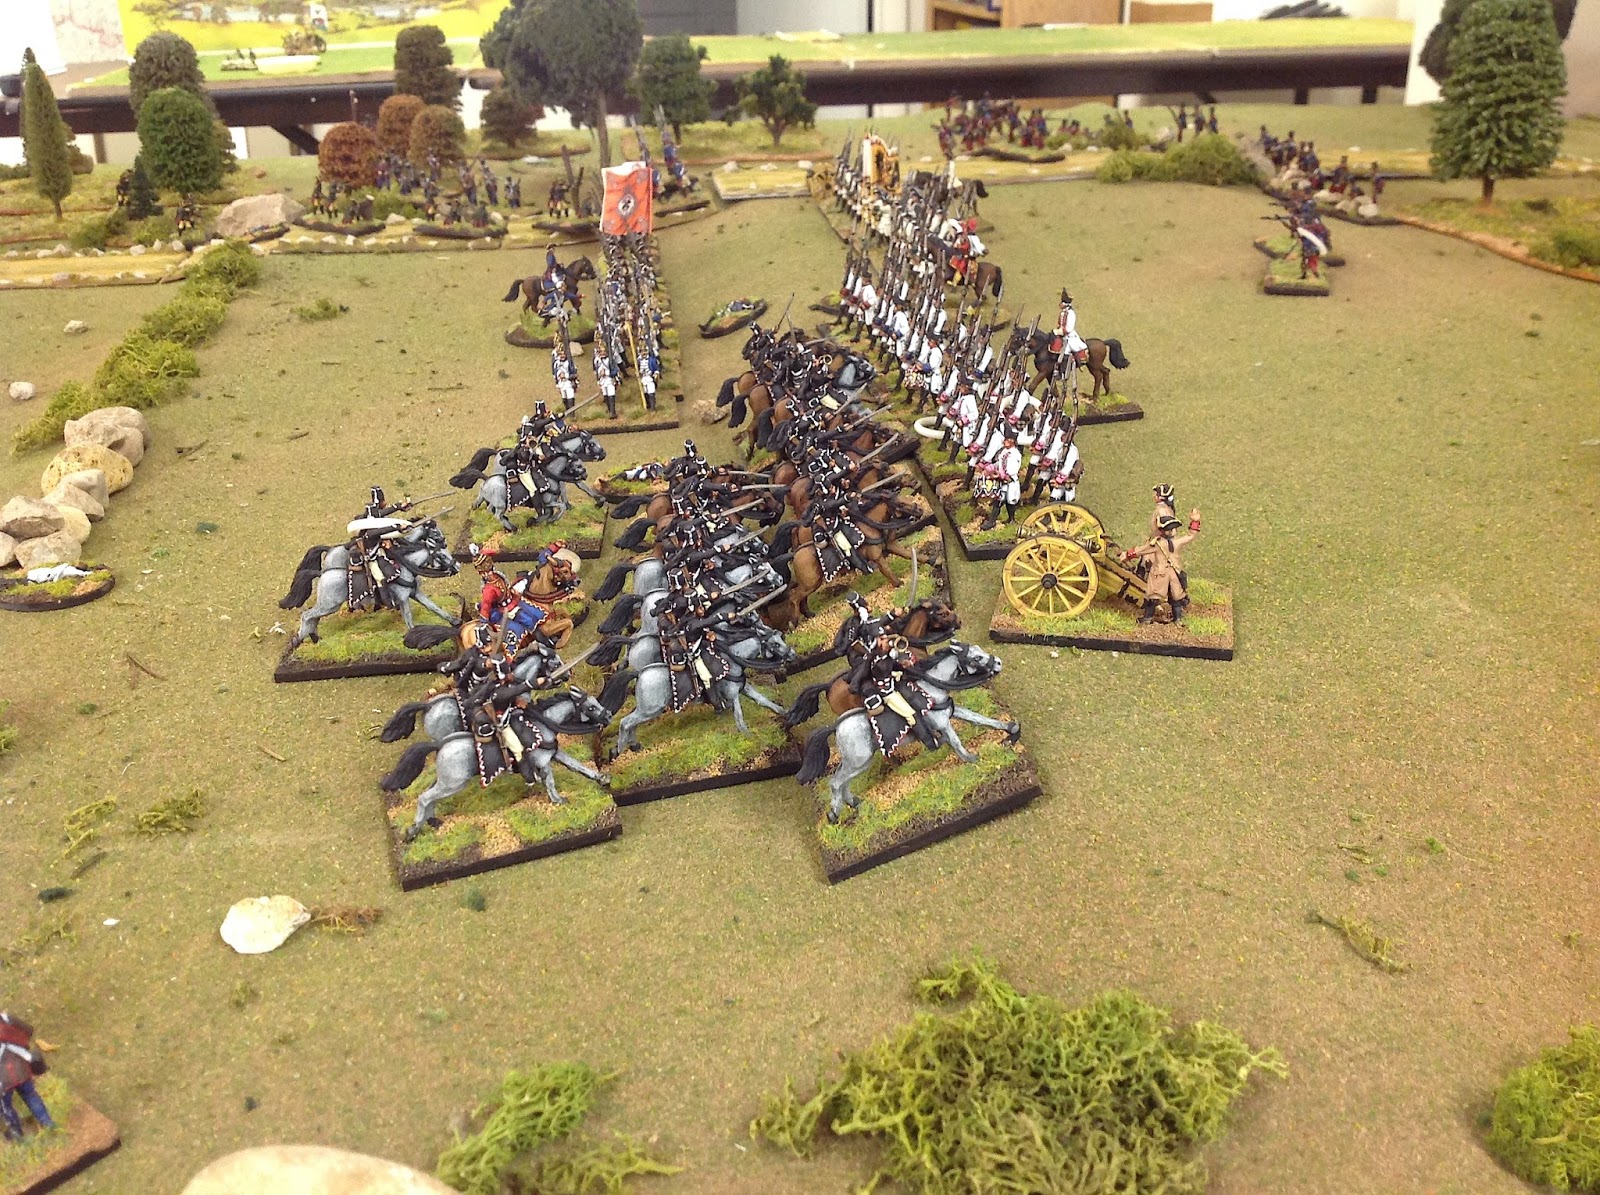
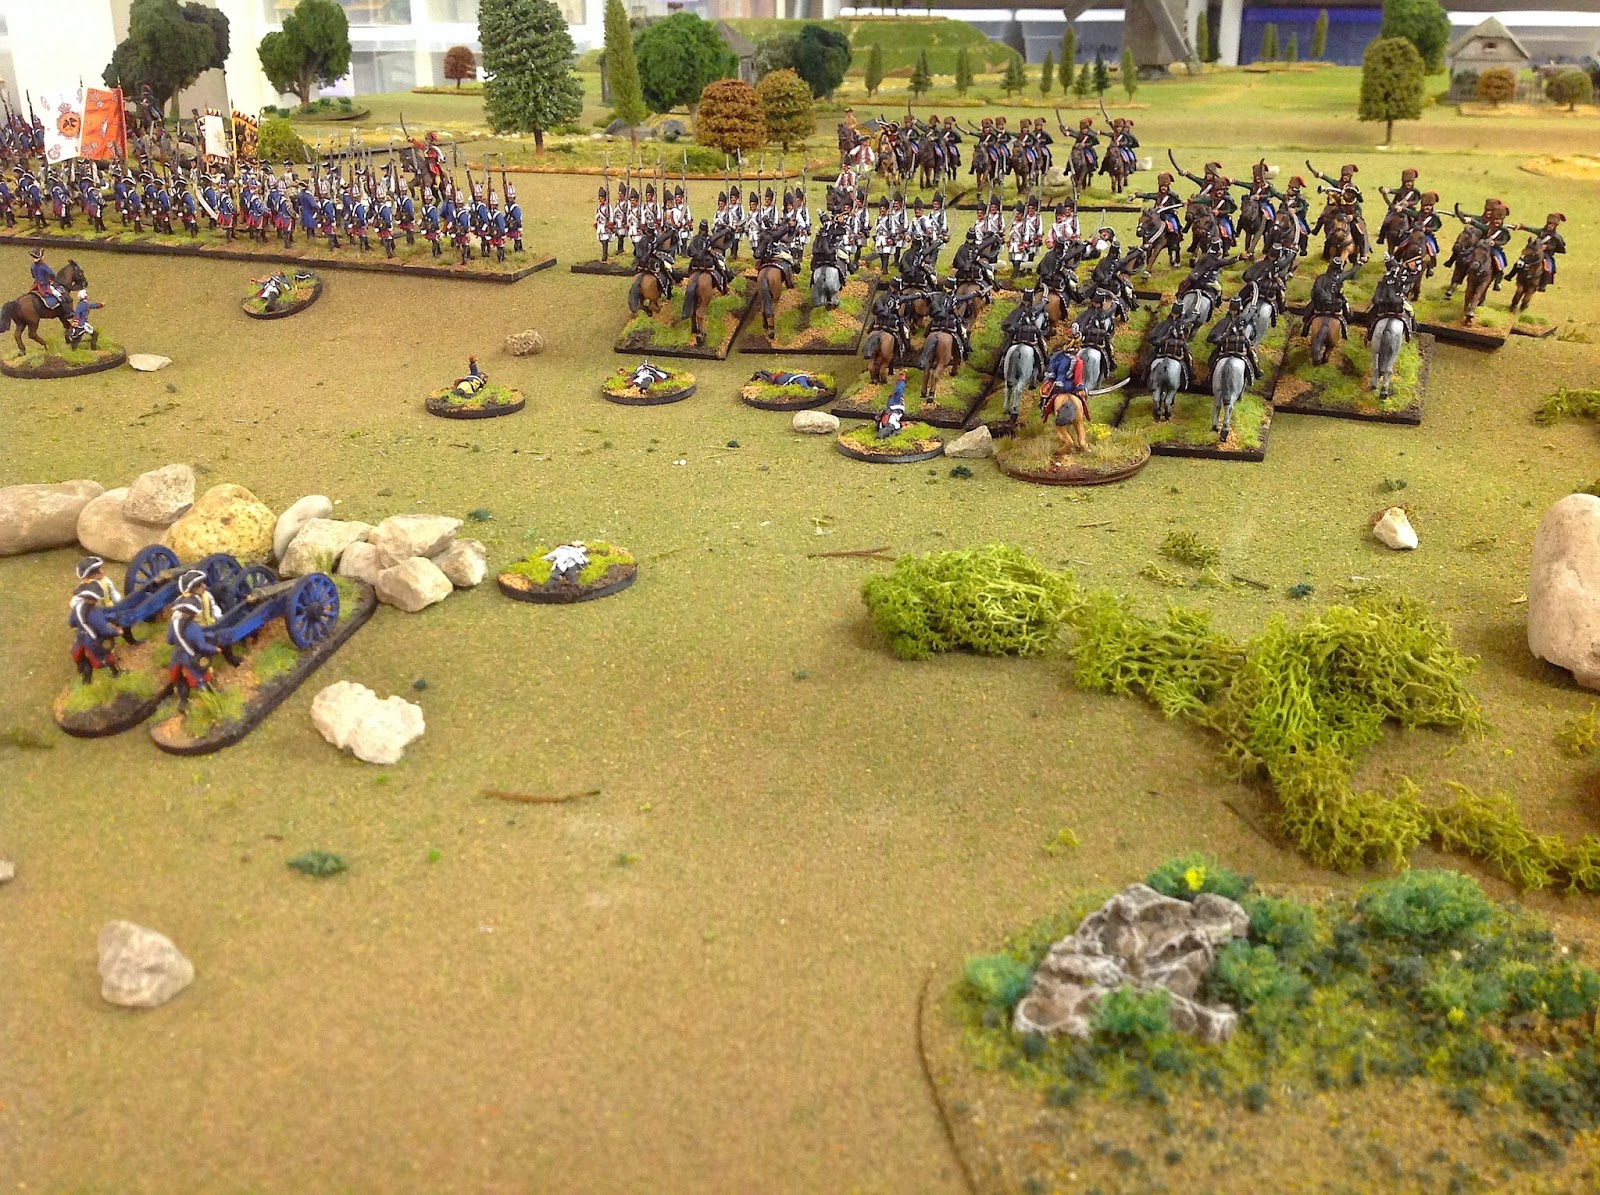
Fritz likes big big war-game tables. It is a sickness that I caught many years ago during my first visit to the original War-game Holiday Centre in Scarboro, UK when it was owned by the late Mike Ingham. So my friend has three 6x28ft tables which would be like one table that was 18 feet deep by 28 feet long. Imagine having all of that room to maneuver your forces.

For the scenario for the May 14th game, I have selected an historical battle from another era of history and have adapted it to the Seven Years War. Back in about 2010, we staged a similar game at the same house and I used the battle of Austerlitz for the SYW scenario. It was quite a cracker of a game. I have added a label to this article at the bottom of the page "Big Battalion Game". If you click on that label, Blogger will take you back into my archives for the previous Big Battalion Games and there you can see the pictures and read the tales of the Austerlitz SYW game.

More later about the game and the Itzenplitz regiment to follow.


Sunday, April 17, 2016

Russian Thingamajig


Russian ceremonial artillery kettle drum carriage - Russian artillery museum in St. Petersburg.


Ed Phillips made this model of a Russian ceremonial artillery wagon, see the real thing in the picture above, and I purchased it from him at this year's Seven Years War Association Convention in South Bend, Indiana. Each year, Ed brings a large number of scratch built terrain pieces and wagon models to the convention and they sell out like hotcakes. So when I walked into the convention hall on Saturday morning, I was surprised to see that this little beauty was the last item that had not been sold. Mrs. Fritz didn't raise a stupid son, so I snapped it up for $30.00 and added it to my collection. Since I am building a Russian SYW army this year, this is just the thing I need to trick out my growing Russian army.

Russian kettle drum wagon - scratch built by Ed Phillips. Click pix to enlarge.

Note the partially melted down cannon barrels that were attached onto the wagon.

The amount of detail that Ed put into this model is downright ridiculous   and I fear that my pictures do the craftsmanship no justice. Suffice to say, I am very happy to add this to my collection.


Monday, April 11, 2016

Kuhstall Part II

The Croats retire to the second line of defense

I completed the solo game of the Battle of Kuhstall on Thursday evening last week and the scenario was a real stem winder with lots of unexpected twists and turns throughout the game. The following battle report focuses on the key fighting that occured on the Prussian right flank, for it was here that the battle was won or lost, depending on one's point of view.

Follow the rest of the action by reading the picture captions, and be sure to click or double click each picture so that you can enlarge the view.


The Winterfeld musketeer regiment follows the Croats and attacks the second line.


The Prussian Black Hussars move forward to protect the right flank of the Winterfeld musketeers. A few Croats pepper the hussars with a few shots from the protective woods.


The second squadron of the Black Hussars peels off to deal with the Croats in the woods while the first squadron continues to move toward the third Austrian line.
Winterfeld musketeers (left) close in on the Austrian grenadier battalion (right) which is supported by a 3-pound battalion gun.

At this point in the game, the regular Austrian and Prussian infantry were finally coming to grips and it was likely that the outcome of the battle would soon be settled. The first big break occurred in the Austrians' favor as the second battalion of the Winterfeld musketeer regiment routed from the close up musketry and canister fire of the Austrians.

But then, the second battalion of the Winterfeld musketeer routs! This leaves the right flank of the first battalion of Winterfeld potentially exposure to flanking fire from the Austrian grenadiers.

Zieten still had a couple of aces up his sleave, so he ordered his Black Hussars to charge into the Austrian grenadier battalion to prevent it from wheeling right into the now exposed right flank of the first battalion of Winterfeld musketeers. His second ace was to commit his infantry reserve: the Kremzow (17/22) Grenadier Battalion into the battle (see below).

The Black Hussar now charge into the Austrian grenadiers to fill in the gap caused by the routing Prussian musketeers. Meanwhile, the Prussian reserve - the Kremzow Grenadier Battalion (17/22) sends three companies to extend the Prussian right flank of infantry, while the other two companies of Kremzow veer off to the left to protect that flank from the swarm of Croats in the woods (upper part of the picture).
Two companies of the grenadiers hived off to cover the left flank of the infantry battle line, while the other three companies extended the infantry line to the right, just in case the Black Hussars failed to drive off the Austrian grenadiers.


The two companies of the Kremzow grenadiers cross bayonets with the Croats. It is no contest as the Croats flee to the rear.


Back on the Prussian right, the cavalry versus grenadier melee is in full swing.

A closer view of the bloody melee.

Austrian commander Hadik hurls a squadron of the Baranyai Hussars into the melee to support the Austrian grenadiers.


The colorful Baranyai Hussars (green pelisse and red breeches and dolman) clash with the Black Hussars. Prussian casualties begin to mount. Can the Black Hussars prevail and win the battle?


Then the Black Hussars fail a morale test and rout! Von Zieten himself tries to stem the rout, but to no avail.  It is not all bad news though, as the second battalion of the Winterfeld musketeers has rallied (see background next to the artillery pieces ).
At this point of the game, on Turn 11, it looked as though Hadik's Austrians would win the battle because the Black Hussars, having suffered nearly 50% casualties, routed. This followed on top of the second battalion of the Winterfeld musketeers failing to rally from a previous rout. Things were looking good for the Austrians.

The next sequence in the turn (movement, melees and finally firing) was the musketry and with effectively two battalions of Prussian infantry blazing away at the lone Austrian battalion of Wied musketeers, the high rate of casualties caused Wied to rout into the woods. In one brief moment, the apparent Austrian victory evaporated along with the flight of the Wied musketeers from the Austrian battle line. There were still two full battalions of Croats in the woods (on the left flank of the Prussians), but since they are not allowed to "form", they stood little chance of standing up to the Prussian regular infantry.

Now Hadik sends the second squadron of the Baranyai Hussars forward to finish off the Prussian Black Hussars.  But wait a minute, EGADS, the Austrian Wied musketeer regiment also routs and runs into the woods to hopefully recover and reform.


Hadik orders his Austrian forces to break off the action and retire towards the  Vachewasser and the windmill on the horizon. The Austrians have plenty of light cavalry and Croats that Hadik can put to good use as his little army retires back towards Saxony. Note how the battlefield is littered with fallen soldiers. We place a round casualty stand in every place where a unit losses a stand or wherever a cavalry melee has taken place. This allows us to follow the course of the battle.

 At this point in the game, it seemed logical to me that the Austrians would attempt to break off of the action and retire back towards their base in Saxony. They had a huge advantage in cavalry at this point, which could cover the army's withdrawal, whereas the Prussians had no cavalry left, making it difficult to follow and harass the Austrian retirement.


 As I stated at the beginning, the ebb and flow of the battle was simply amazing. Through the first 8 or 9 turns, it seemed like the Austrian light infantry could do nothing to stop the blue wall of Prussians from advancing up the ridge and claiming victory. All of the routs were going in Austria's favor. First  a company of jagers on the left flank, followed by a battalion of musketeers, and finally by all of the remaining Black Hussars.

But then Hadik could only watch in disbelief as the Wied musketeer battalion on his right flank routed, leaving his right center completely open to the two relatively fresh Prussian battalions to advance forward. His Austrian grenadiers were pretty beat up from the melee, so Hadik had little in the way of reliable regulars to fight the Prussian infantry.

This was a fun action to fight. It worked very well as a solo game what with only 5 or so units per side. It could very easily be a 2 to 4 player convention game that would play to a conclusion in a couple of hours.

In retrospect, I would make a few tweaks to the order of battle for both sides. I would replace one of the Prussian musketeer battalions with a lower grade fusilier battalion, or even a garrison or freikorps battalion. Concurrently, I would replace one of the three Croat light infantry battalions with a low quality unit of regulars - maybe Reichsarmee troops or a unit such as the Grune Loudon regiment. And finally, I would tweak the ranges on the 3-pound cannon, extending their long range from a maximum of 18-inches to about 30-inches so that they could inflict a few casualties on the attackers. The Croats would also be given a longer musket range than the regulars so as to make them more annoying and potent versus the Prussian infantry.

A Short Interlude To Paint


I finished the Battle of Kuhstall over the weekend and have tons of pictures to load onto the blog.The battle had some interesting twists and turns and was not decided until the final turn (Turn 12). I will post the rest of the pictures this evening and comment about the battle and some things that I learned.

So I took a little break from gaming and blogging to work on a 12-figure squadron of the Prussian von Zieten Hussars (HR2). They are pretty much done except for some of the tack on the horses and the need to paint the trumpeter's horse. The squadron will be mounted on Greys ( white horses), but I think that I might use a light leather brown color for the trumpeter to provide a little bit of contrast to the unit. Eventually, a second 12-figure squadron will have to be painted in order to bring the regiment up to full strength at 24 riders. This is a gorgeous looking cavalry regiment and I think that you are going to like it.

The Kuhstall action pointed out a few deficiencies in my Prussian and Austrian armies. The Prussians need a couple of lower quality infantry regiments, either a regiment of freikorps troops or a garrison regiment. I might take advantage of this opportunity to use the broken bayonet figures that I have saved over the past couple of years and put them in a garrison battalion.

The Austrians could use a second rate battalion or two to use in some of these small games. Perhaps the Grune Loudon regiment would look nice on the table top or the Mainz regiment.

Friday, April 8, 2016

Action at Kuhstall - Part II


Today's fox is the small action at Kuhstall between Hadik's Austrian raiding party and Zieten's pursuing column. I was able to complete four game turns last evening in what proved to be an opening minuet of maneuvers, but very little in the way of musketry.

Hadik's strategy was to delay the Prussian advance with two lines of Croats, who were ordered to give one volley and then retire up the hill to safety behind the Austrian regular troops.

Zieten placed all three of his Prussian infantry battalions in the center and they were ordered to advance straight ahead and crest the hill to victory. Zieten covered his left flank with a battalion of rifle armed jagers, while the two squadrons of Black Hussars were to cover the right flank of the Prussian infantry in the center.

Please read the captions of the pictures to follow the story and be sure to click or double click each picture in order to enlarge the view.

This evening I completed Turn 7 and I will post an updated report of tonight's action on the blog tomorrow as Part III.


The Prussian infantry (IR1 von Winterfeld musketeers) form a battle line and prepare to advance towards the Austrian position. Note the Prussian 3-pound cannon being manhandled forward.


The first line of Croats (Red) await the Prussian attack.

They are supported by a second line of Croats (Blue) further up the hill.
Howevcr, the Black Hussars see an opportunity to outflank the first line so they advance forward while the Prussian infantry covers the Croat front. The Red Croats have no choice but to retire on to the second line without firing a shot.
On the second turn, the Black Hussars decided that they might have an opportunity to catch the Croats out in the open and ride them down. So the hussars boldly advanced towards the Austrian first line and attempted to outflank the Croats. Fortunately for the Austrians, they won the initiative on Turn 3 and elected to move first/fire second, allowing the Red Croats to skedaddle up the hill to safety.

The Prussian jagers advanced into the wooded area on the Prussian left flank (see picture below), where they ran into more Croats (what a surprise huh?). Some shots were fired, the first of the game, but the range was too long even for the jagers' rifles and so their bullets whistled through the air harming no one.


I might have to make a special rules adjustment, just for this game scenario, to increase the range of the Croat musketry or adjust the firing tables so that the Croats and Jagers can actually hit something. As it now stands, both types of units can only hit on a roll of "1" on a D10 die, which makes it nearly impossible for them to hit anything.


Prussian Jagers and Austrian Grenz- Croats face off in the woods while the jagers cover the flank of the Winterfeld musketeer regiment.
More Croats skulking among the rocks and trees. It looks a little bit like Devil's Den at Gettysburg  with the large rocks added to the terrain. I like to add rocks and strew them all over the ground to break up the monotony of green grass.
The Prussian Jagers could fire away at the enemy with their rifles, but the Croats could not reach them with their musket fire - out of range.


An aeriel view of the situation at the end of Turn 4. Click or double click the picture to enlarge  the view. Picture taken from the Montgolphier Brothers hot air balloon.
 The above picture shows the postioning of the Austiran and Prussian forces, when I called it a night. To me, the interesting part of the game was the fact that the Prussians were able to pry the Croats out of the first line without a shot being fired


Last evening I played Turns 5 through 7 of the action at Kuhstall and I shall post a new report this evening.

Thursday, April 7, 2016

A Small Action At Kuhstall - SYW Report

The Action at Kuhstall, October 1757


In October 1757, the Austrian general Andras Hadik was given the task of conducting a raid on Berlin to take advantage of the open route between two Prussian armies (Frederick's in Saxony prior to Rossbach and Bevern's army in Silesia). The raid was a success with the Austrians breaking into Berlin and leaving after being paid a handsome ransom by the Berliners. At the same time, Frederick sent numerous forces back towards his capital to both fend off the Austrian raid and to capture Hadik's corps.

In our scenario, Hans von Zieten is in charge of a Prussian flying column that has been tracking down Hadik, finally corning the Austrian raiders at a small hamlet called Kuhstall.
Prussian outpost finds Hadik's Austrians
Hadik's Austrian corps consists of the following elements:

3 battalions of Croats
1 Musketeer battalion
1 Grenadier battalion
2 x 3-pounders
1 Regiment of Hussars

Von Zieten's Prussian flying column consists of the following units:

1 battalion of rifle armed Jagers
2 battalions of musketeers
1 battalion of grenadiers
2 x 3-pounders
1 regiment of Hussars


Hadik organizes his troops into three lines of defense.
Hadik posted his forces on a low ridge line that intersected the road from Berlin to Kuhstall. He positioned two battalions of Croats forward of the ridge in two different battle lines. Their orders were to fire one volley at the Prussians and then retire to the second line. Repeat and then fall back up the ridge and rally behind the Austrian grenadiers and musketeers in the third battle line. A regiment of Austrian hussars (Baranyai Hussars) were posted out of sight behind the ridge. Finally, a third battalion of Croats was deployed on the Austrian right flank, hidden in the woods. The Austrian left flank was also anchored by a wooded area, but no troops were deployed here.


The Austrian third line was comprised of veteran grenadiers and musketeers, supported by two 3-pound cannon.

Hadik placed the Baranyai Hussars out of sight behind the ridge and behind the third battle line.

Zieten had driven his troops hard for two days, hoping to make up for lost time and to catch Hadik's raiding party before it could retreat to Saxony and safety. Hadik had a day's march on Zieten, but the Prussians managed to catch up with the Austrians, who were slowed down by the booty that they were carrying with them.

Zieten leads the Prussian Black Hussars to their opening position covering the Prussian right flank.


Zieten posted the Black Hussars on the right flank and the Jagers on the left flank. His best troops, the two battalions of the Winterfeld musketeer regiment and the Kremzow (17/22) Grenadier battalion were deployed in the center along with two small 3-pound cannon.

A view of the Prussian left (Jagers) and center (the IR1 Winterfeld Regiment of musketeers and the Kremzow Grenadier Battalion forming a second line reserve.

A view of the Prussian battle line after the deployment is set up and ready for the battle.

Once Zieten was satisfied with his troop deployment, he gave his infantry commander, Major General von Ingerleben, to commence the advance of the infantry in the center. The infantry would conduct a vigorous attack on the Austrian center, while the Black Hussars would remain in reserve and the Jagers would advance into the woods to protect the left flank of the Prussian musketeers.

I was able to play four game turns this evening and will post the report and pictures of the opening action tomorrow.


Monday, April 4, 2016

Starting With A Clean Slate

The past four weeks have kept me busy getting the Fife & Drum dealer booth stocked and ready for the Seven Years War Association convention this past weekend. I will post a separate convention report later this week.

The basement became a wreck with boxes, bags and figures all over the place, as shown below and When I returned home from the convention, I couldn't stand it any longer so the Great Game Room Clean Up commenced yesterday.


The above picture is the "Before" view of the basement. It is not a pretty sight and I caution you to avert your eyes and not look at too closely.

Here are the "After" pictures, which are much more soothing to the eye:

The black bins hold most of my Finished Goods SYW figure inventory of Fife & Drum figures ( note that I'm transitioning away from the Minden name). I claimed a storage shelf unit from our general household goods storage area and placed it in the room, to the right of the door in the picture above. This allows me to get most of my buildings and terrain into one area.


Above is the central game table, 15 ft by 6ft, with parallel side table that are 2.5ft wide. On the back wall, you can see all of my storage shelves, which span the entire length of the wall. I keep terrain pieces and my Minden - Fife & Drum- SYW and AWI painted armies.


Above is a view of the entire room, noticeably cleaner, tidier and better organized than in the first picture.

I now have a clean game table, an empty canvas if you will, that is ready for a new game setup. So that leads to the question, "which battle should I do next?" Your thoughts and suggestions are welcomed in the comment section below.

Fritz