Sunday, March 30, 2014

Battle of Lobositz at the SYW Association Convention


Battle of Lobositz at the SYW Association Convention
This year's Seven Years War Association ("SYWA") Convention was held in South Bend, Indiana on March 28th and 29th and if I recall correctly, we have been holding this convention for well over 25 years in a row.

This was my first opportunity to field my Minden Miniatures SYW Austrian and Prussian armies at a convention, and what better place to stage a refight of the Battle of Lobositz in 1756 than at the SYWA convention? Drawing inspiration from Charles S. Grant's scenario from his recent book: "Wargaming In History - Volume 9 - Lobositz, Reichenberg, Prague and Kolin", I found that Grant's Lobositz and the size of my painted armies were a perfect match.

I boiled the orders of battle down to the following forces:

Prussian Army

6 btns of musketeers
2 btns of fusiliers
1 btn of grenadiers

3 x 12-pound cannon
2 x 3-pound cannon

4 regiments of heavy cavalry


Austrian Army

6 btns of musketeers
2 btns of converged grenadiers
2 btns of Croats (light infantry)

2 x 6-pounders
1 x 12-pounder
1 x 3-pounder

3 regiments of heavy cavalry

The Rules
I used my own Fife & Drum rules for this game, using a 1:20 figure to man ratio. Thus infantry battalions were 30 figures, cavalry regiments were two squadrons of 12 figures, and artillery , well, I'm not sure what it is, I just try not to put too many guns on the table top.

The rules are printed on one side of a regular 8.5" by 11" sheet of paper. The mechanics of firing, melee and morale are the same, so the players tend to pick up on how the rules work within a turn or two during the game. I don't want a player to perform poorly for the reason that he didn't understand the nuances of the rules. I want my players to concentrate on their tactics with the assurance that the rules are not going to cause them to lose the game.


The Potted Historical Background  Paragraph :)
The background to the battle is well known to many of my readers, but a brief overview follows:

It is 1756 and Frederick II of Prussian has invaded Saxony in a pre-emptive strike to knock the Saxons out of the war before the Austrians can mobilize their forces. Frederick had the Saxons bottled up in their encampment at Pirna, and he chose to utilize starvation as a means of forcing their capitulation. In the meanwhile, the Austrians commanded by Marshal von Browne, have advanced up the Elbe River in Bohemia and await the arrival of the Prussians . Von Browne has a very strong defensive position with his right flank anchored on the Lobosch Berg, a dormant volcano covered in terraces and thorns - suitable places for the Croat light infantry. The Austrian left flank is safely deposited behind the marshy Morellenbach stream while the center is occuppied by most of von Browne's cavalry. It is an unusual deployment, by 18th Century standards, but the ground suits Browne's deployment perfectly.

As the Prussians emerged from the valley, they see a portion of the Austrian army deployed on the field to their front. However, a thick fog shrouds the Austrian left behind the Morellanbach. Frederick sends some of his cavalry to probe the center and find out what is out their. This gradually grows into an ever larger cavalry battle until nearly all of Frederick's cavalry is engulfed in the meleel.

Meanwhile, on the Austrian right, the Croats fight a deadly duel with Bevern's battalions of musketeers. It is hard fighting, but eventually the Croats are forced to flee the Lobosch Berg and hightail it back to Lobositz. With the Loboshberg lost, von Browne orders his right and center to retire behind the Morellanbach and that is essentially the end of the battle. The Prussians were rather surprised at how steady the Austrian infantry had become, compared to its performance in the two Silesian Wars in the 1740s.

The Story in Pictures (click all pix to enlarge the view)


Opening view of the Prussian center and right flank (cavalry), anchored by an artillery battery atop the Homolka Berg.

Prussian left flank with Croats ocuppying the Lobosch Hill.

Danger lurks where Croats appear.

Austrian left flank deploys behind the marshy Morellanbach stream.

Frederick supervises the siting of the Prussian 12-pounders on the Homolka Berg.

A closer view of Frederick: vignette painted by Leuthen Studios.

The game begins!

Grand cavalry melee breaks out in the center of the field.

The Prussian cavalry numbers begin to tell as the Austrian cuirassiers are pushed back. The Prussian center - infantry- now begin their advance on the town of Lobositz, hoping to cut off the Austrian right from the rest of the army.
An overview of the action late in the contest. Austrians begin to retire through the town of Lobositz, while the Prussian attack in the center tries to reach the road ahead of the Austrians. At the top of the table we see the Austrian left retire back across the Morellanbach.
As the Austrian cede the Lobosch Hill, the Prussian right presses the attack, but they are too late to catch the Austrians.
The Post Mortem

I have run the Lobositz scenario about 4 or 5 times now, and I have to say that this was one of the best game scenarios that I have ever had on my watch. There was considerable "back and forth" in the cavalry melee that seemed to capture the historical action to a "T". Using Charles S. Grant's advice, I divided my cavalry regiments down from one 24-figure regiment to two 12-figure "squadrons". This created a lot more units buzzing to and fro during the cavalry battle and I really liked the way that this played out. A squadron would pitch into an enemy squadron and fight its melee, then either retire or advance depending on its losing or winning the battle. Another change that I made to my rules was to allow cavalry to reinforce an on-going melee. Previously I did not allow this in my games. I liked the way that this worked out too.

All of the players seemed to enjoy themselves and have a good time playing the game. Every figure on the table was a Minden Miniature, save for a couple of RSM limber riders that I used on my own limber teams. This type of game takes a lot of effort to put on, but when you have a great group of players and the game turns out better than expected, then you have a winning combination that makes it all worth while.

Monday, March 10, 2014

New 17th Light Dragoons Greens

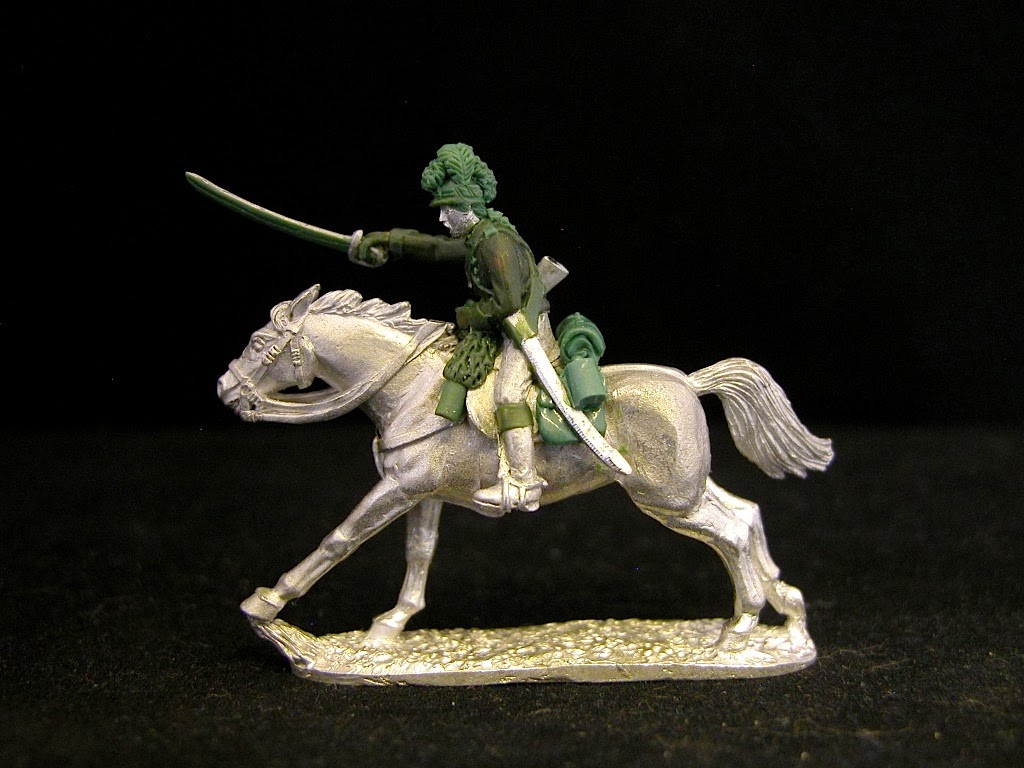
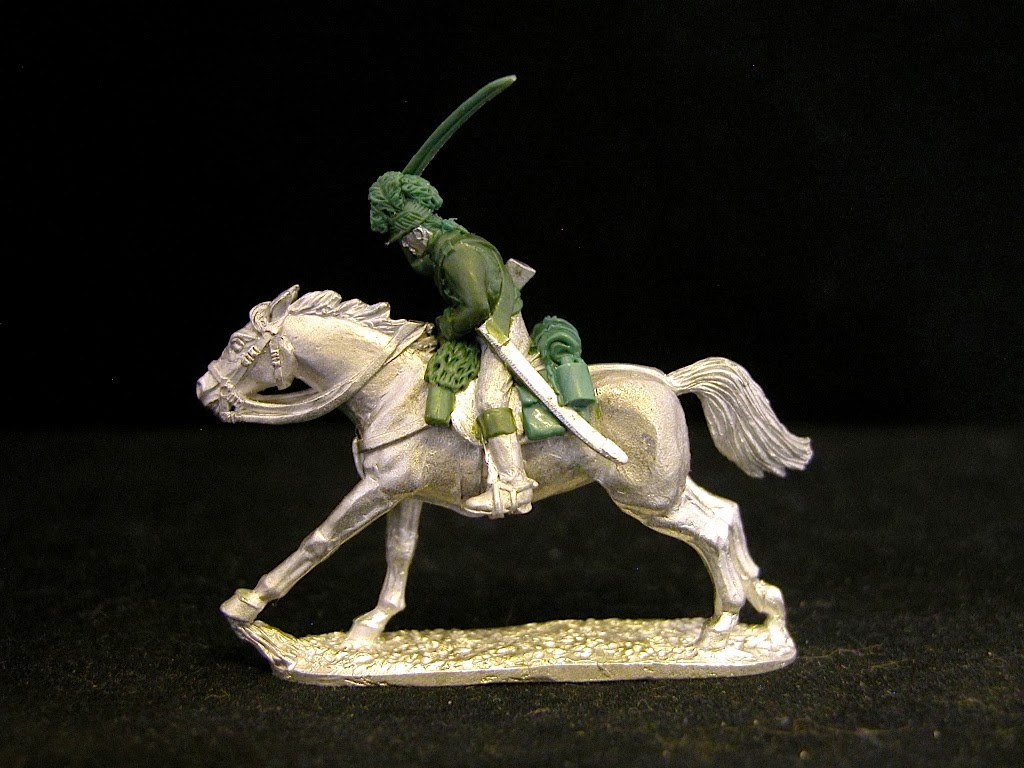
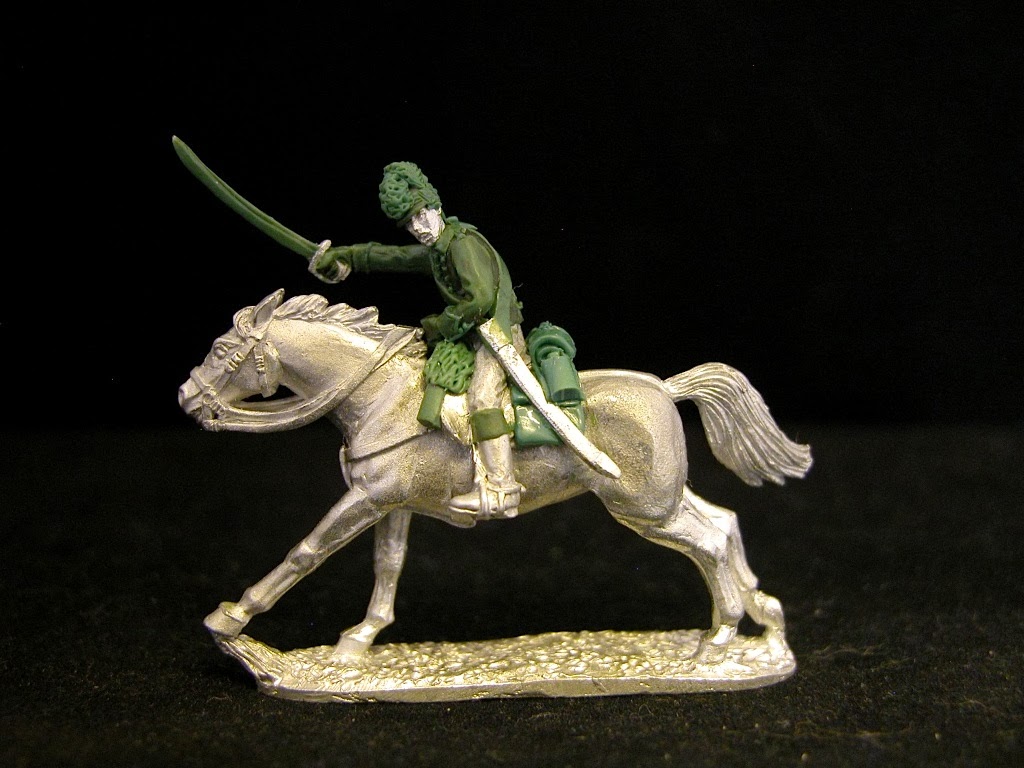
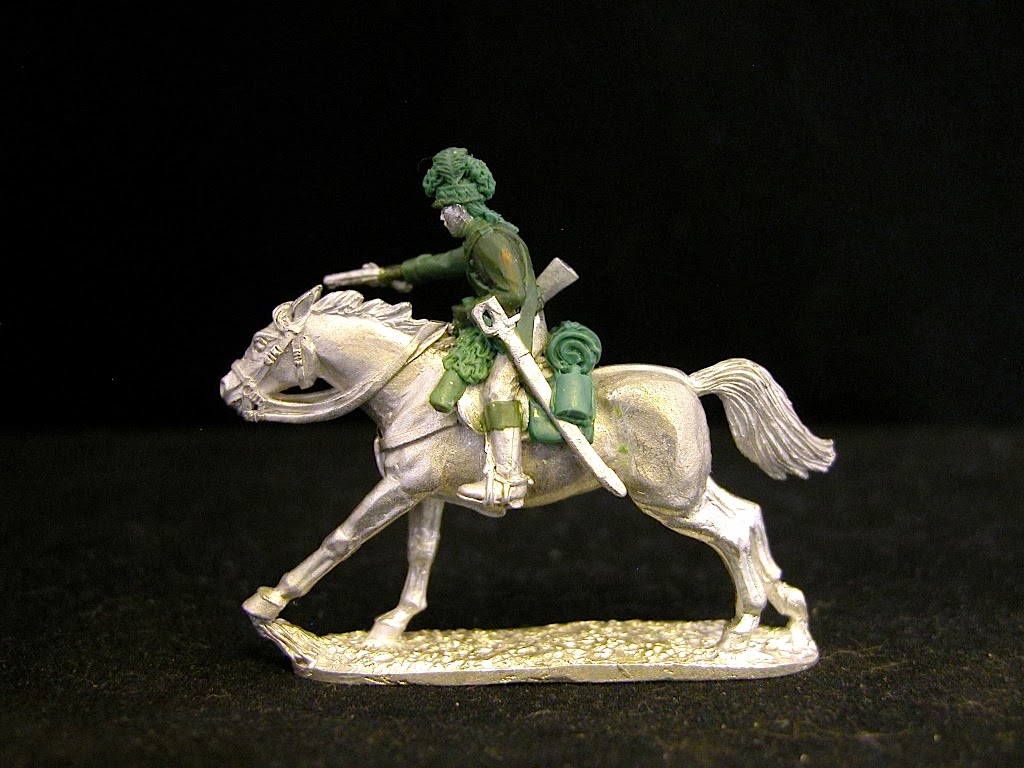
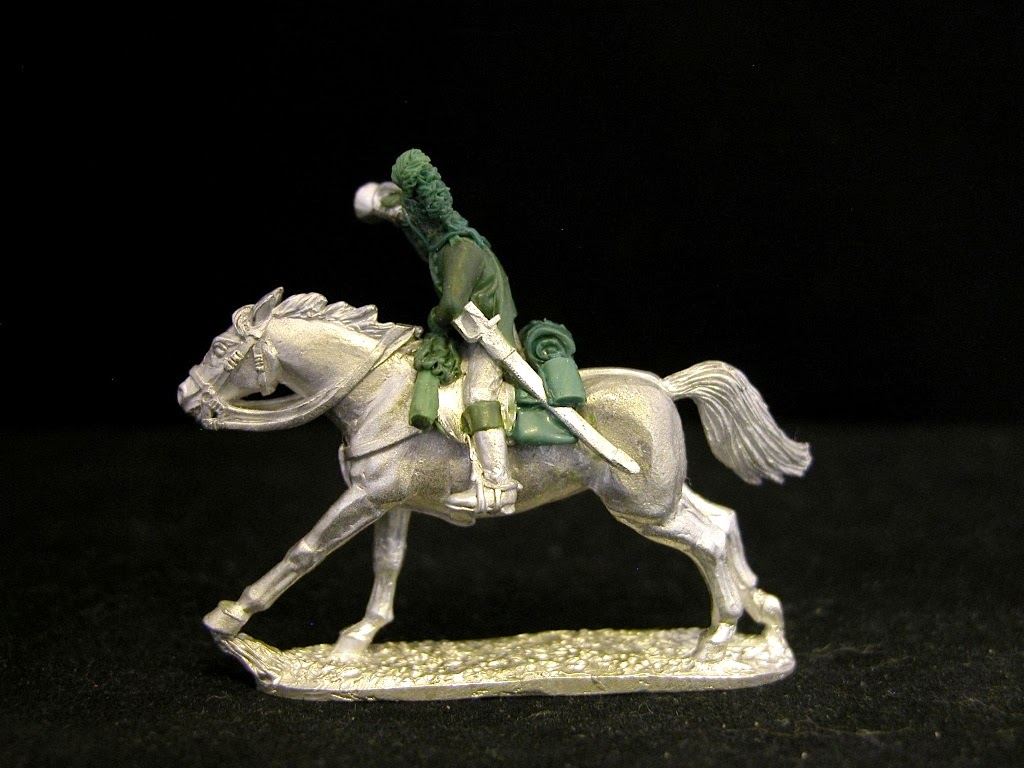
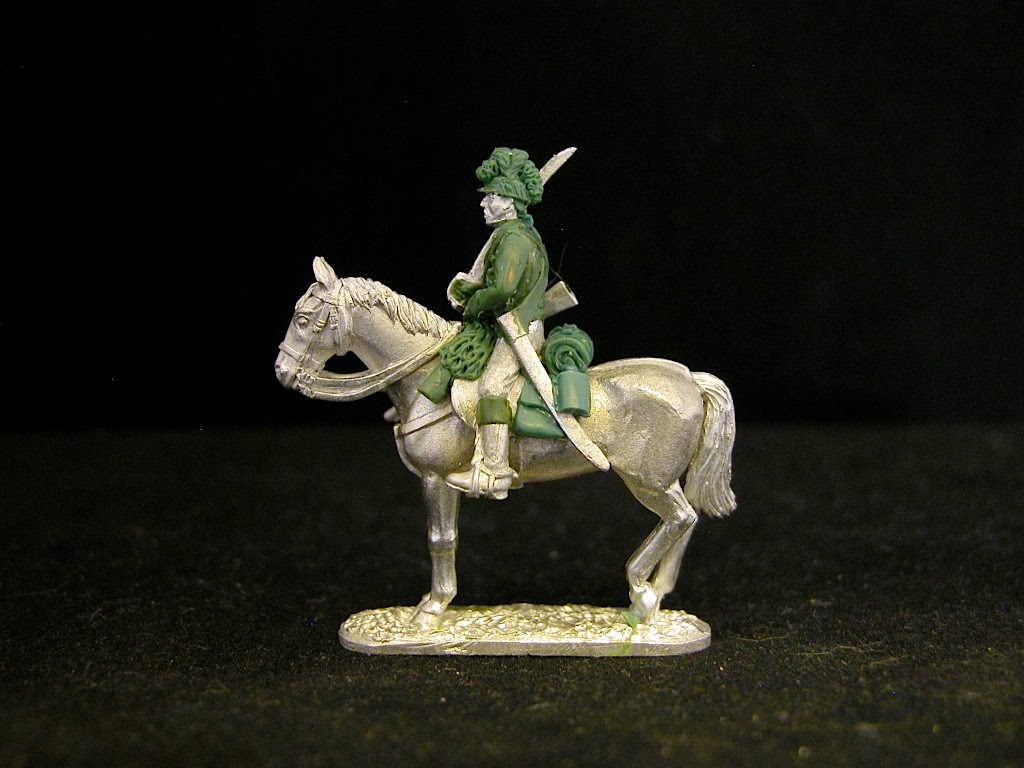
Here are some pictures of the 17th Light Dragoons (4 poses) sculpted by Richard Ansell for the Fife & Drum AWI figure range. The variants, shown in order below, are officer, trumpeter, trooper firing pistol, and trooper charging. The whole set is meant to depict the regiment at the charge .

17th Light Dragoon Officer

Saturday, March 8, 2014

British Legion Greens Have Arrived!

British Legion Trooper Charging.
(Click All Pictures to Enlarge)

 The other day I received a file full of pictures of the latest AWI dragoons that Richard Ansell recently completed. These include the 3rd Continental Dragoons (5 poses), the 17th Light Dragoons (4 poses) and Tarleton's British Legion cavalry (7 poses). All three sets are in energetic charging poses in contrast with the earlier 1st Continental Dragoons and 16th Light Dragoons which were done in skirmishing and shouldered sword poses.

So if you want a traditional "marching with shouldered sword" or "skirmishing" poses, you would select the 1st Continental and the 16th Light Dragoons. However, if you prefer the more energetic "charging" poses, then the 3rd Continental, 17th Light Dragoons and the British Legion are would you will be looking for.

The greens have been sent on to Griffin Moulds to have the master and production moulds made, and then to cast the finished pieces. So allowing for some extra lead time, I would estimate that all of the new figures will be produced and in stock sometime in May 2014.

I will post pictures of the British 17th Light Dragoons and the 3rd Continental Dragoons later next week, so as to spread things out a little bit.


British Legion Trooper, Hacking

The British Legion trooper hacking downward with his sword (see above photo) is one of my favorite poses. You can really get a lot of variety in your regiment using the five charging poses shown on these pages.


British Legion Officer, Charging

British Legion Trooper Charging & Firing Pistol
British Legion Trumpeter, Charging

British Legion Trooper, with Shouldered Sword


British Legion Trooper Firing Carbine


Monday, March 3, 2014

How It All Began

I think that my grandparents gave me my first box of metal Britains Guards that they had purchased during a trip to London. I must have taken a shine to them immediately because thereafter, I was sure to receive more small red boxe of the figures for my birthday and Christmas. I added plastic Heralds ACW figures and Swoppets ( I really looked those WotR figures that they made). My armies were rather modest, probably 50 to 100 figure in all.

One year I gave a box of Guards to a friend (Tom Platt) for his birthday and he got hooked. I was particularly envious of him when his grandmother bought him that 200 figure Changing of the Guard set, which set me permanently behind him in the arms race. We would set the figures up on the floor and stage our battles, using a form of free kreigspeiling rules that we made up on the fly. Tom and I usually combined our metal forces into one Royal army while all of our collective plastic figures were the hoard of Bad Guys. Tom was the King, since he had the largest forces, and I was one of his generals.

I also discovered Airfix HO scale plastic WW2 figures and Rocco Mini Tanks equipment around age 12 and we would fight North African battles in my backyard sandbox. My teenage years and college saw my interest in toy soldiers wane and I didn't really think about them much until about 1980, when I was visiting London. I happened to stumble upon the Under Two Flags store and saw a large display of 54mm British colonials in square, fending off a hoard of Dervish. Having a bit more pocket money in my young adult days (age 30 perhaps), I bought the whole display and shipped it home. Over the years, I added more forces to my 54mm collection.

Then circa 1985-86, I wanted to repaint some Steadfast metals with a darker khaki color, so I visited a local store called The Hobby Chest to buy some enamel paints. It was there that I saw an advertisement for the Little Wars war game convention. It sounded interesting so I stopped in at the convention and was flabbergasted by what I saw: toy soldiers and a hall packed full of convention participation games. I did not know, until then, that the war game hobby even existed. The first game that I saw was Hal Thinglum's massive Isanhlwana game in 25mm. I was gobsmacked by what I saw and I stayed there for a good hour just watching the Zulus overwhelm the 24th. After that I roamed around the hall and watched a few games, Napoleonic games looked complicated even then. I then saw an interesting little game featuring soldiers wearing tricorn hats: French vs British. It was the SYW and the figures were the RSM range with the game being hosted by the owners of RSM. I vaguely recalled something about Frederick the Great of Prussia fighting the Austrians, but that was about all.

However, I knew in an instant that this is what I was looking for. The fellows at RSM got me started with a couple packs of British and French infantry, and as I ordered more figures over the phone , I got to know the proprietor Dennis Smail better. He invited me to drive on down to Lexington, Kentucky any weekend and play in a game. It only took one game to sink the hook firmly in my mouth and after that, I made the 400 mile trip ( one way) to Lexington once a month. I was totally enamored with the RSM figure range and soon I had two large Prussian and Austrian armies. I thought that the RSM figures ( made by Steve Hezzlewood ) were the most elegant toy soldiers that I had ever seen.

Via Dennis, I started attending the annual Seven Years War Association convention where I met Bill Protz and a host of other Wargame luminaries in the states. I acquired as many Christopher Duffy books that I could get my hands on, as his books were the only English language books on the topic. I also managed to acquire the Holy Grail of SYW wargaming : a copy of Sir Reginald Savory's book "His Britannic Majesty's Army in Western Germany during the SYW".

Bill Protz eventually burned out on publishing the SYWA Journal, so I took over the reins and published the journal for the next seven years, before I too burned out on the task of publishing a quarterly magazine. Along the way, I invited Christopher Duffy to our annual convention, offering to pay his airfare and hotel from the magazines budget. This started a long term association that Duffy has had with our group spanning more than 20 years. The ultimate highlight was going on two battlefield tours with Duffy and some 18 or so members to walk the battlefields in eastern Germany, Poland and the Czech Republic.

Time to wrap it up here, but the next big event was seeing the figures that Richard Ansell was creating for Frank Hammond''s Minden Miniatures range. These were like modern day editions of Steve Hezzlewood's old RSM range. Again I was hooked and in a long roundabout way, I ended up acquiring the Minden range from Frank last year , to augment my Fife & Drum AWI range and now the future is all blue skies and sea shells and balloons.