Wednesday, February 21, 2024

Pickett's Charge Play Test Game


Union troops defending "The Angle" atop Cemetery Ridge in the center of their line.
This is Lt. Cushing's battery of 3-inch ordnance rifled cannon.


On Presidents' Day our group travelled to the home of our gaming friend Keith Leidy to run a play test of my Pickett's Charge game for Little Wars and Historicon later this year. I hauled all of the soldiers and terrain bits to Keith's house several days ahead of the game so that everything would be ready to go once all of the players showed up on game day.

The purpose of the play test covered several aspects; (1) setting up the terrain and seeing how many troops could be used on the 6ft by 24ft tables that I will use for my convention games; and (2) playing the scenario and giving the rules a work out. As a result I was able to determine the optimal spacing of terrain on the table top, things such as where to position the Emmitsburg Road and Cemetery Ridge, and figure out the frontages of the Confederate brigades that will be involved in my game scenario. Along those lines, it is important to see how many turns of movement the Confederates need to reach the road and then to be in a position to directly engage the Union regiments. After all, we are asking the Confederate troops to cross 6 to 8 feet of table top distance before they hit the Emmitsburg Road, and as such we need the infantry movement to be of sufficient length so as to minimize the amount of time it will take them to cross that deadly open space.

Union forces atop Cemetery Ridge

The Emmitsburg Road runs down the length of the middle table.

The Confederates starting position on Seminary Ridge.
The actual game will have an elevation for the ridge and game mats
will decorate the length of the table top.


We settled on infantry movement of 16-inches plus one D6 die and this seemed to work well.

We also worked on things such as the range of small arms and artillery. The game test indicated that the Confederates would take a moderate number of casualties from artillery fire until they reached the Emmitsburg Road, which acts a significant terrain obstacle for the advancing Confederates.


Confederates in the Emmitsburg Road. There will be road sections on the table
in the convention games.


For a brief moment I was concerned that the Confederates were not taking sufficient casualties, but once they got stuck climbing over the post and rail fences along the road, they were in range of small arms fire and this proved to be devastatingly effective. I think that by the time we stopped the game, the Confederates only had two regiments that stood any chance of reaching the copse of trees on Cemetery Ridge. The rest of their regiments were either all shot up or running away.

I think that we did a good job of achieving historical results, however, this does not make for a very good or playable war game in a convention setting. So we are going to tweak the effectiveness of musket/rifle fire to give the Confederates some chance of reaching the Union position on Cemetary Ridge.


The Angle defended by Webb's brigade.


Union troops in th Copse of Trees at the center of the Union defense.

Our first pass at small arms fire provided the firing unit with three D6 per stand of figures that the regiment has. So as the regiment loses figures and remove a stand, the fewer dice it will have to use to fire at the opponent. We agreed that that the small arms fire was too effective so in our next play test on March 5th we will reduce the number of dice to two D6 per stand. So now a fresh regiment will fire with ten D6 dice (5 stands x 2 D6 = 10 D6 dice) instead of 15 dice.

We are using ranges of Short, Medium and Long range for musketry and the firing unit will need to roll a 6 to hit at long range, a 5 or a 6 at medium range, and a 4, 5 or 6 at short range. A regiment gets to use a stand for purposes of determining the number of dice that it will roll. So for example, a 30 figure regiment has five stands of six figure, but has lost five figures from firing. That regiment will still get to use that fifth stand when it shoots, but once that sixth man goes down and the stand is removed, the regiment will only have four stands and thus throw 8 D6. The mechanics will be the same for the next game, but the number of dice thrown will be reduced.

Artillery fire rules worked well and we don't think that we have to make any significant changes. Each battery consists of two cannon, both having crews of 4 figures plus one reserve or mulligan figure that can be used to replace the first crew casualty. A cannon rolls one D6 for each crew manning the gun. Confederate artillery can fire at Cemetery Ridge up to the point where the Confederates cross over the Emmitsburg Road. After that the Rebs are deemed to be too close to the ridge to fire over the infantry.

Morale checks are straight forward with a unit rolling two D6 and having to roll a number of 6 or 7 or more on the two dice. (plus some morale modifiers). We don't have the Confederates taking any morale tests until they reach the Emmitsburg Road.

In the meantime, I have a lot of things to do ahead of our next play test on March 5th: painting another brigade of Confederates (90 figures), building more road sections and post & rail fences, revise and update the rules


Tuesday, February 20, 2024

The Devil's Den Recreated


The famous Gardner photograph of a dead Confederate sniper amongst 
the boulders of the Devil's Den at Gettysburg. Historians determined that
Gardner posed the picture, dragging a corpse to the site and setting the rifle upright.

I posed a similar picture using a 54mm figure and a musket casting among some large rocks from my back yard.


Same diorama, different soldier casualty figure.

The other day I was removing my 54mm Civil War figures from my game table and getting them ready to transport to my friend Keith Leidy's house so that we could conduct a play test of my Pickett's Charge game. At the last minute I decided to create a mini diorama of the famous Garnder photograph of the dead Confederate rifleman at the Devil's Den at Gettysburg.

One of the pluses of 1/32 scale or 54mm figures is that they can be used to make some war dioramas and they look better than using, say, 28mm war gaming figures.

Now I am looking around for suitable figures to recreate the famous photo of the three Confederate prisoners after the battle of Gettysburg. I did find a nice 1/32 figure of Alfred Waud sitting on a tree stump, sketch pad in hand, getting ready to draw the picture of the battlefield. Stay tuned to see that figure painted.

Update

We ran a successful playtest of Pickett's Charge yesterday, setting up the terrain and troops at Keith's mammoth game table of three 6ft by 32ft tables. I will post pictures later this week. 

And now that I have cleared all of 54mm Civil War figures off of my table, space has opened up to set up a Seven Years War battle. This will be largely an all cavalry game between the Russians (boo!) and the Prussians (huzzah!). Recent events in Ukraine reminded me of the various Russian raids into Pomerania and trans-Oder River Silesia. The Russians wantonly looted and burned down villages so in this scenario Frederick has had enough of this and has set a trap to stop and/or capture a Russian raiding party. I will be posting pictures of this game within the next week or two.


Saturday, February 10, 2024

Scenario Testing: Setting Up The Terrain


The table set up on my home turf. This is not Keith's table (s)

Click on all pictures to enlarge

(or double click if you dare)


Yesterday I traveled out to Woodstock to visit my friend Keith Leidy. Among other things, Keith is the proud owner of a huge basement that can hold three tables measuring 6ft wide by 36ft long. Call me envious.

The purpose of the trip was to set up the war game terrain for my upcoming 54mm Pickett's Charge game at Little Wars convention. I will host the game at this year's Historicon too. The idea was to lay out all of the terrain and all of the troops and see how much room that we would have to run the game at the conventions. We cut the table off at 24ft long, which is what I will use at the conventions, rather than use the whole 36ft. 

The left wing of the Union army defending Cemetery Ridge.

The famous Copse of Trees and The Angle which were the focal points of
Pickett's division attack.

Views of the whole enchilada:


The Confederate starting position on Seminary Ridge. Since this is just a
terrain test, the actual ridge is not presented in this picture.

A view of two of the three game tables in Keith's basement.
The middle table shows the length of the Emmitsburg Road, with the Confederate 
attack moving from right to left in this picture.

The third table where the Union army is deployed on Cemetery Ridge.
The ridge terrain hasn't been used in this picture because we were 
running a test to look at the positioning of the terrain and the troops.


The view of the battlefield from Cemetery Ridge. The Emmitsburg Road is in the middle,
the Codori barn marks the left end of the game table, and the Confederate infantry is in
the far distance.

The Union forces on Cemetery Ridge, showing the right flank of their position.
It's hard to believe, but we ran out of space for one of the Union brigades, so one 
brigade will be deployed as a reserve behind Cemetery Ridge.

Ground level view of one of the Union regiments. Each regiment has 30 figures
and each brigade has three regiments.

The Bryan House marks the right hand side of the table.

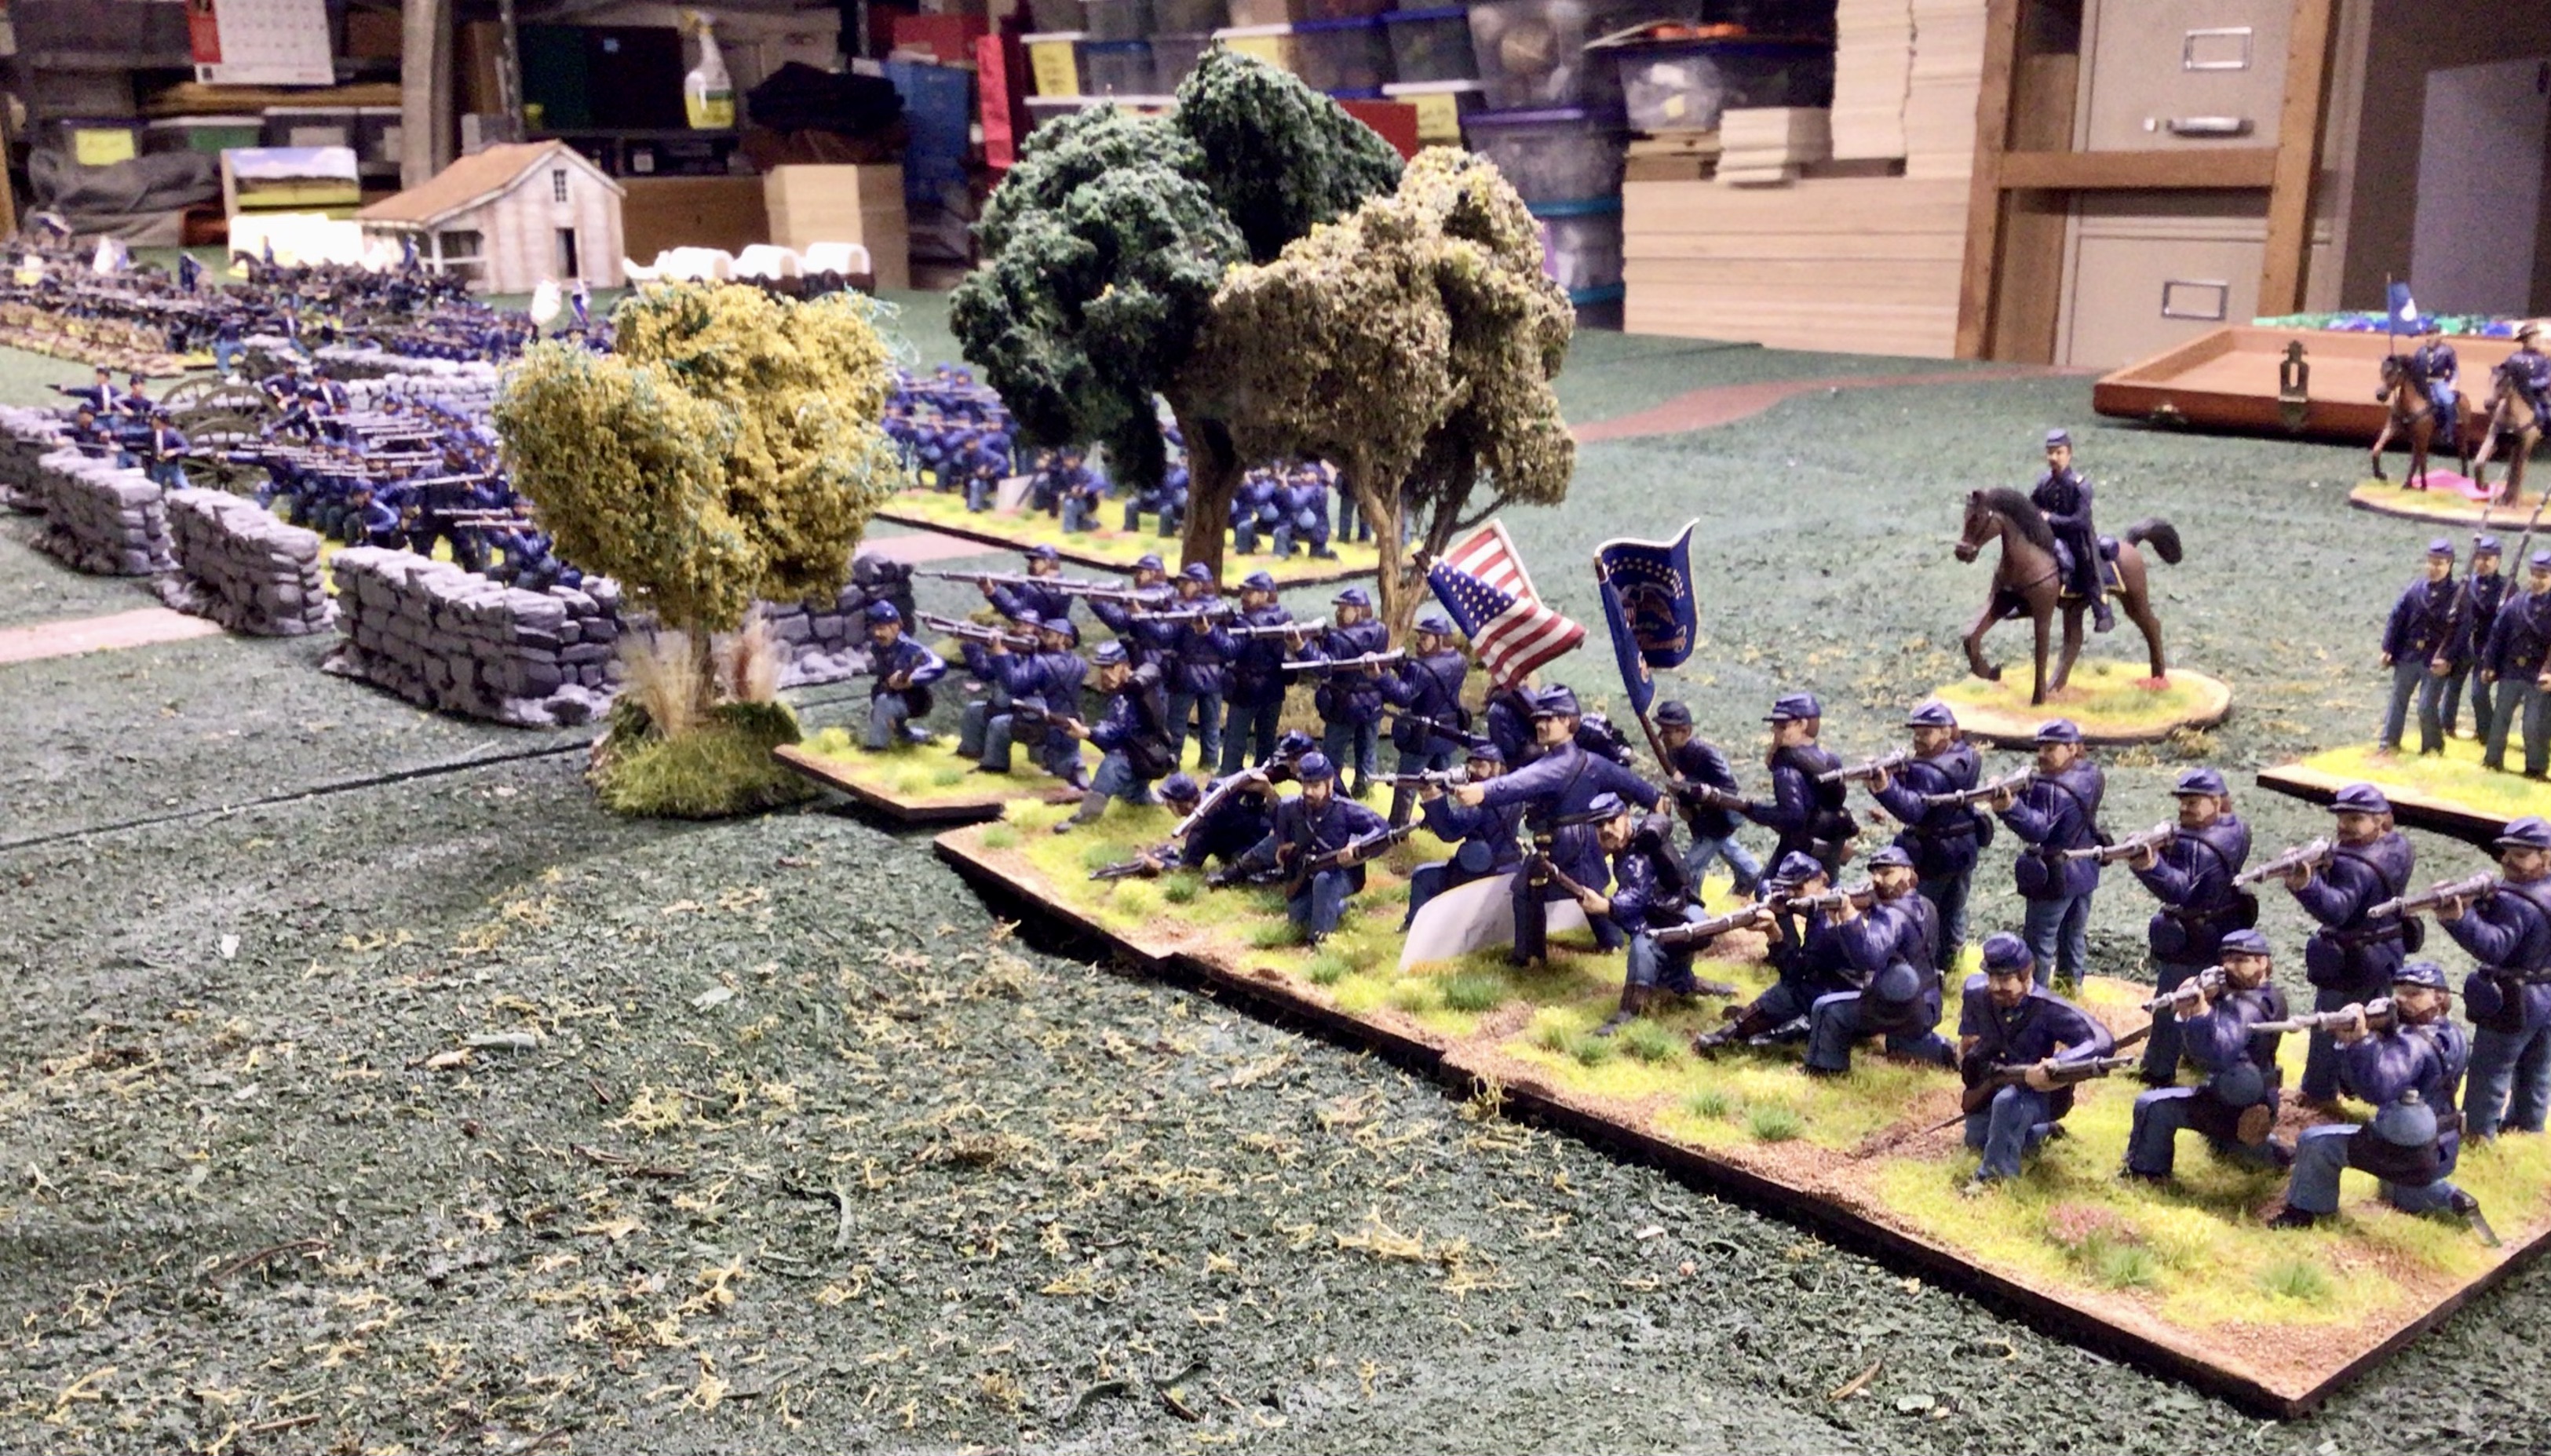
One of the Union brigades deployed to the right of the Copse of Trees.


For the first time I could see all of the figures out on the game table at the same time. My initial fear was that I might not be able to fit all of the Confederate regiments on the allotted space. Fear not, for my colleagues suggested that I would need more Confederates for the game. Yikes! Pickett's Division will occupy the righthand half of the game table with two brigades in the front and one brigade in support behind. The lefthand half of the table will be occupied by Pettigrew's Division.


Rules

As with my Khartoum and Abu Klea Sudan games last year, I want to use rules that are developed specifically for this game in a convention setting. The rules have to be simple enough for all of the players to understand and to use in a timely fashion. The rules will fit on one side of a 8-1/2 by 11 sheet of paper. There won't be a lot of complications such as having charts for different types of rifles and artillery. Every soldier is assumed to be armed with a rifle and all of the artillery is either 12-pound smooth bore Napoleons or a rifled cannon (Parrot, 3lb ordnance rifle or any other type of rifled cannon). Keeping the rules simple moves the game along and results in a game that will run about three hours. This is an absolute must for any convention game. My Sudan rules met all of this criteria and performed very well when I hosted the Battle of Abu Klea at Historicon.

The Play Test Game

We will be playing the first of three play tests of the scenario and the rules on Presidents' Day. I will be keen to see how long it takes the Confederates to cross that deadly open ground and to see how many of their troops reach the walls on Cemetery Ridge. On the one hand, I don't want to see the Confederates so shot up after they cross the Emmitsburg Road that they can't continue the attack; and on the other hand, I don't want them to reach the Union position with minimal casualties and then swarm over the walls. I want the artillery to inflict some damage on the Confederates at long distance, but not so much that units are all depleted before they even reach the Emmitsburg Road. Several play test games will help us find the right balance in the rules.

What Is Ahead?

It looks like I will have to paint two more Confederate brigades of 90 figures each, or 180 total figures. I expect to be able to knock out one brigade before Presidents' Day and maybe have the second brigade finished by the first week of March. My figure painting is actually running well ahead of schedule for my July Historicon games, noting that I have painted approximately 900 54mm figures as of this blog post.


Thursday, February 8, 2024

Making Dirt Roads - WIP


The road sections with the wallboard paste freshly applied and sprinkled 
with railroad ballast material. When the sections dry, they will be dry brushed
and bits of green static grass will be applied.


Yesterday I started work on the 18 feet of dirt roads that I will need for my Gettysburg Pickett's Charge games at Little Wars and Historicon this year. The road sections are not finished yet, but I thought that you would enjoy seeing them as "work in progress."

My Method For Making Road Segments

The basic road segment is made from cork bottomed place mats that you would use on your dining room table. I bought mine from Target. Sometimes the mats aren't available in-store, so one can order them on-line and either have them delivered to your home or you can elect to pick them up at the nearest Target store. The placemats are 16-inches wide and so I cut them out of the cork at 5-inches wide by 16-inches long. I have also cut some shorter sections at 4, 6 and 12-inch lengths to give me flexibility when I set up a road on my game table. I also cut out some wedge shaped pieces that allow the road to curve in another direction.

I mix some brown acrylic paint into a quart or pint jar of pre-mixed spackle compound (it's basically drywall board paste) and stir in the paint until it looks like chocolate pudding. Then I use a small artist trowel or a spoon to slather the "goop" over the cork. Then I take the end of a paint brush and score some wheel tracks onto the road and then finish off the piece by sprinkling some fine railroad ballast (Woodland Scenics) onto the wet goop. I will let the goop dry overnight and then drybrush some lighter colors over the road section. When that is done, then I will glue down some green static grass to represent grass on the model.

Here are several pictures of the road sections that I have placed between the post and rail fences. The pre-mixed spackel compound has been slathered onto a section of a cork placemat, cut to 5" wide by varying lengths (6/12/16 inches). Once the goop dries I will get to work with some dry brushing of lighter colors onto the road piece and then glue down some bits of green static grass. The fence sections shown below are terrained in the same manner, although a lot more grass is glued down onto the fence sections compared to what I will use on the roads.


A nice overhead view of the Emmitsburg Road. The roads will be finished after 
the sparkle compound dries.


Before and After: work in progress.

Here you can see the cork place mats cut to 5-inches wide (where the cavalry figures are)
and before the wall board paste is applied. In the foreground you can see a road section
that has been gooped up with a mixture of wallboard paste and brown paint. Fine 
railroad ballast is sprinkled onto the paste while it is still wet.

I am estimating that my version of the Emmitsburg Road will stretch 18 feet across the game table. I have about 8 feet of road sections nearly finished and so 10 more feet of roads isn't as daunting as it sounds.

Wednesday, February 7, 2024

Emmitsburg Road


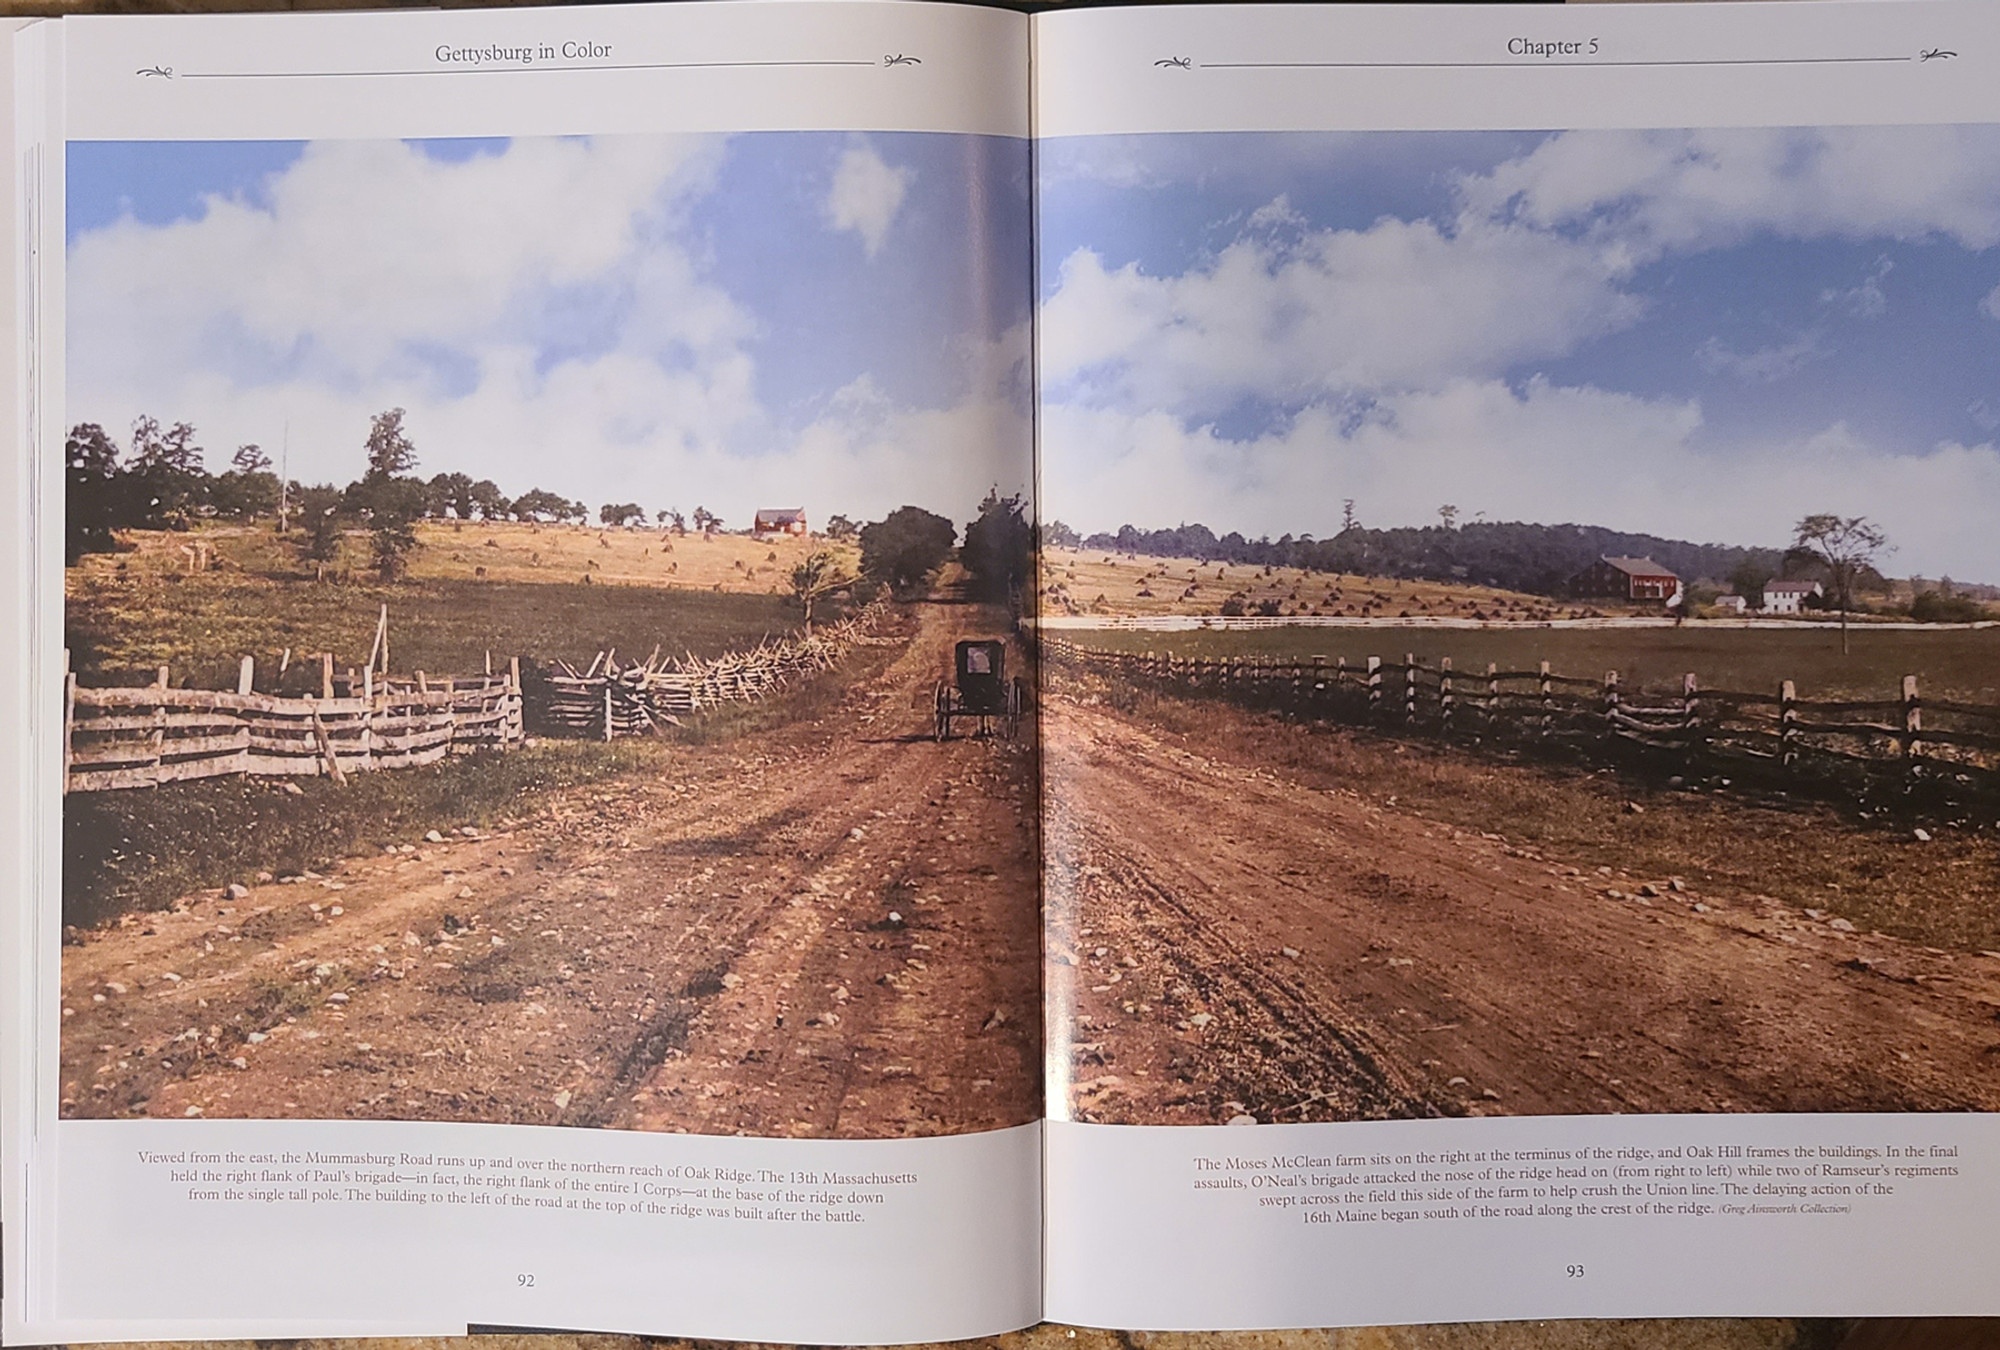
I am working on the road terrain for my Pickett's Charge game and wasn't sure about the color of the ground in the road. I found a couple of pictures on the Net and I think that I found my answer. I was also able to confirm that the Emmitsburg Road did not have an improved surface nor toll collection booths. So it is basically a dirt road with post and rail fences on either side.


This picture of the Emmitsburg Road depicts the missing rails from the 
post and rail fences, but there is also some evidence of stone walls topped with 
wooden rails.


Baltimore Pike on the left and the Emmitsburg Road on the right in a picture
likely taken in the 1860s after the battle of Gettysburg. Today, a toy soldier 
shop is located where the two-story building in the center is shown.


cc

Monday, February 5, 2024

Don't Fence Me In, A Tutorial


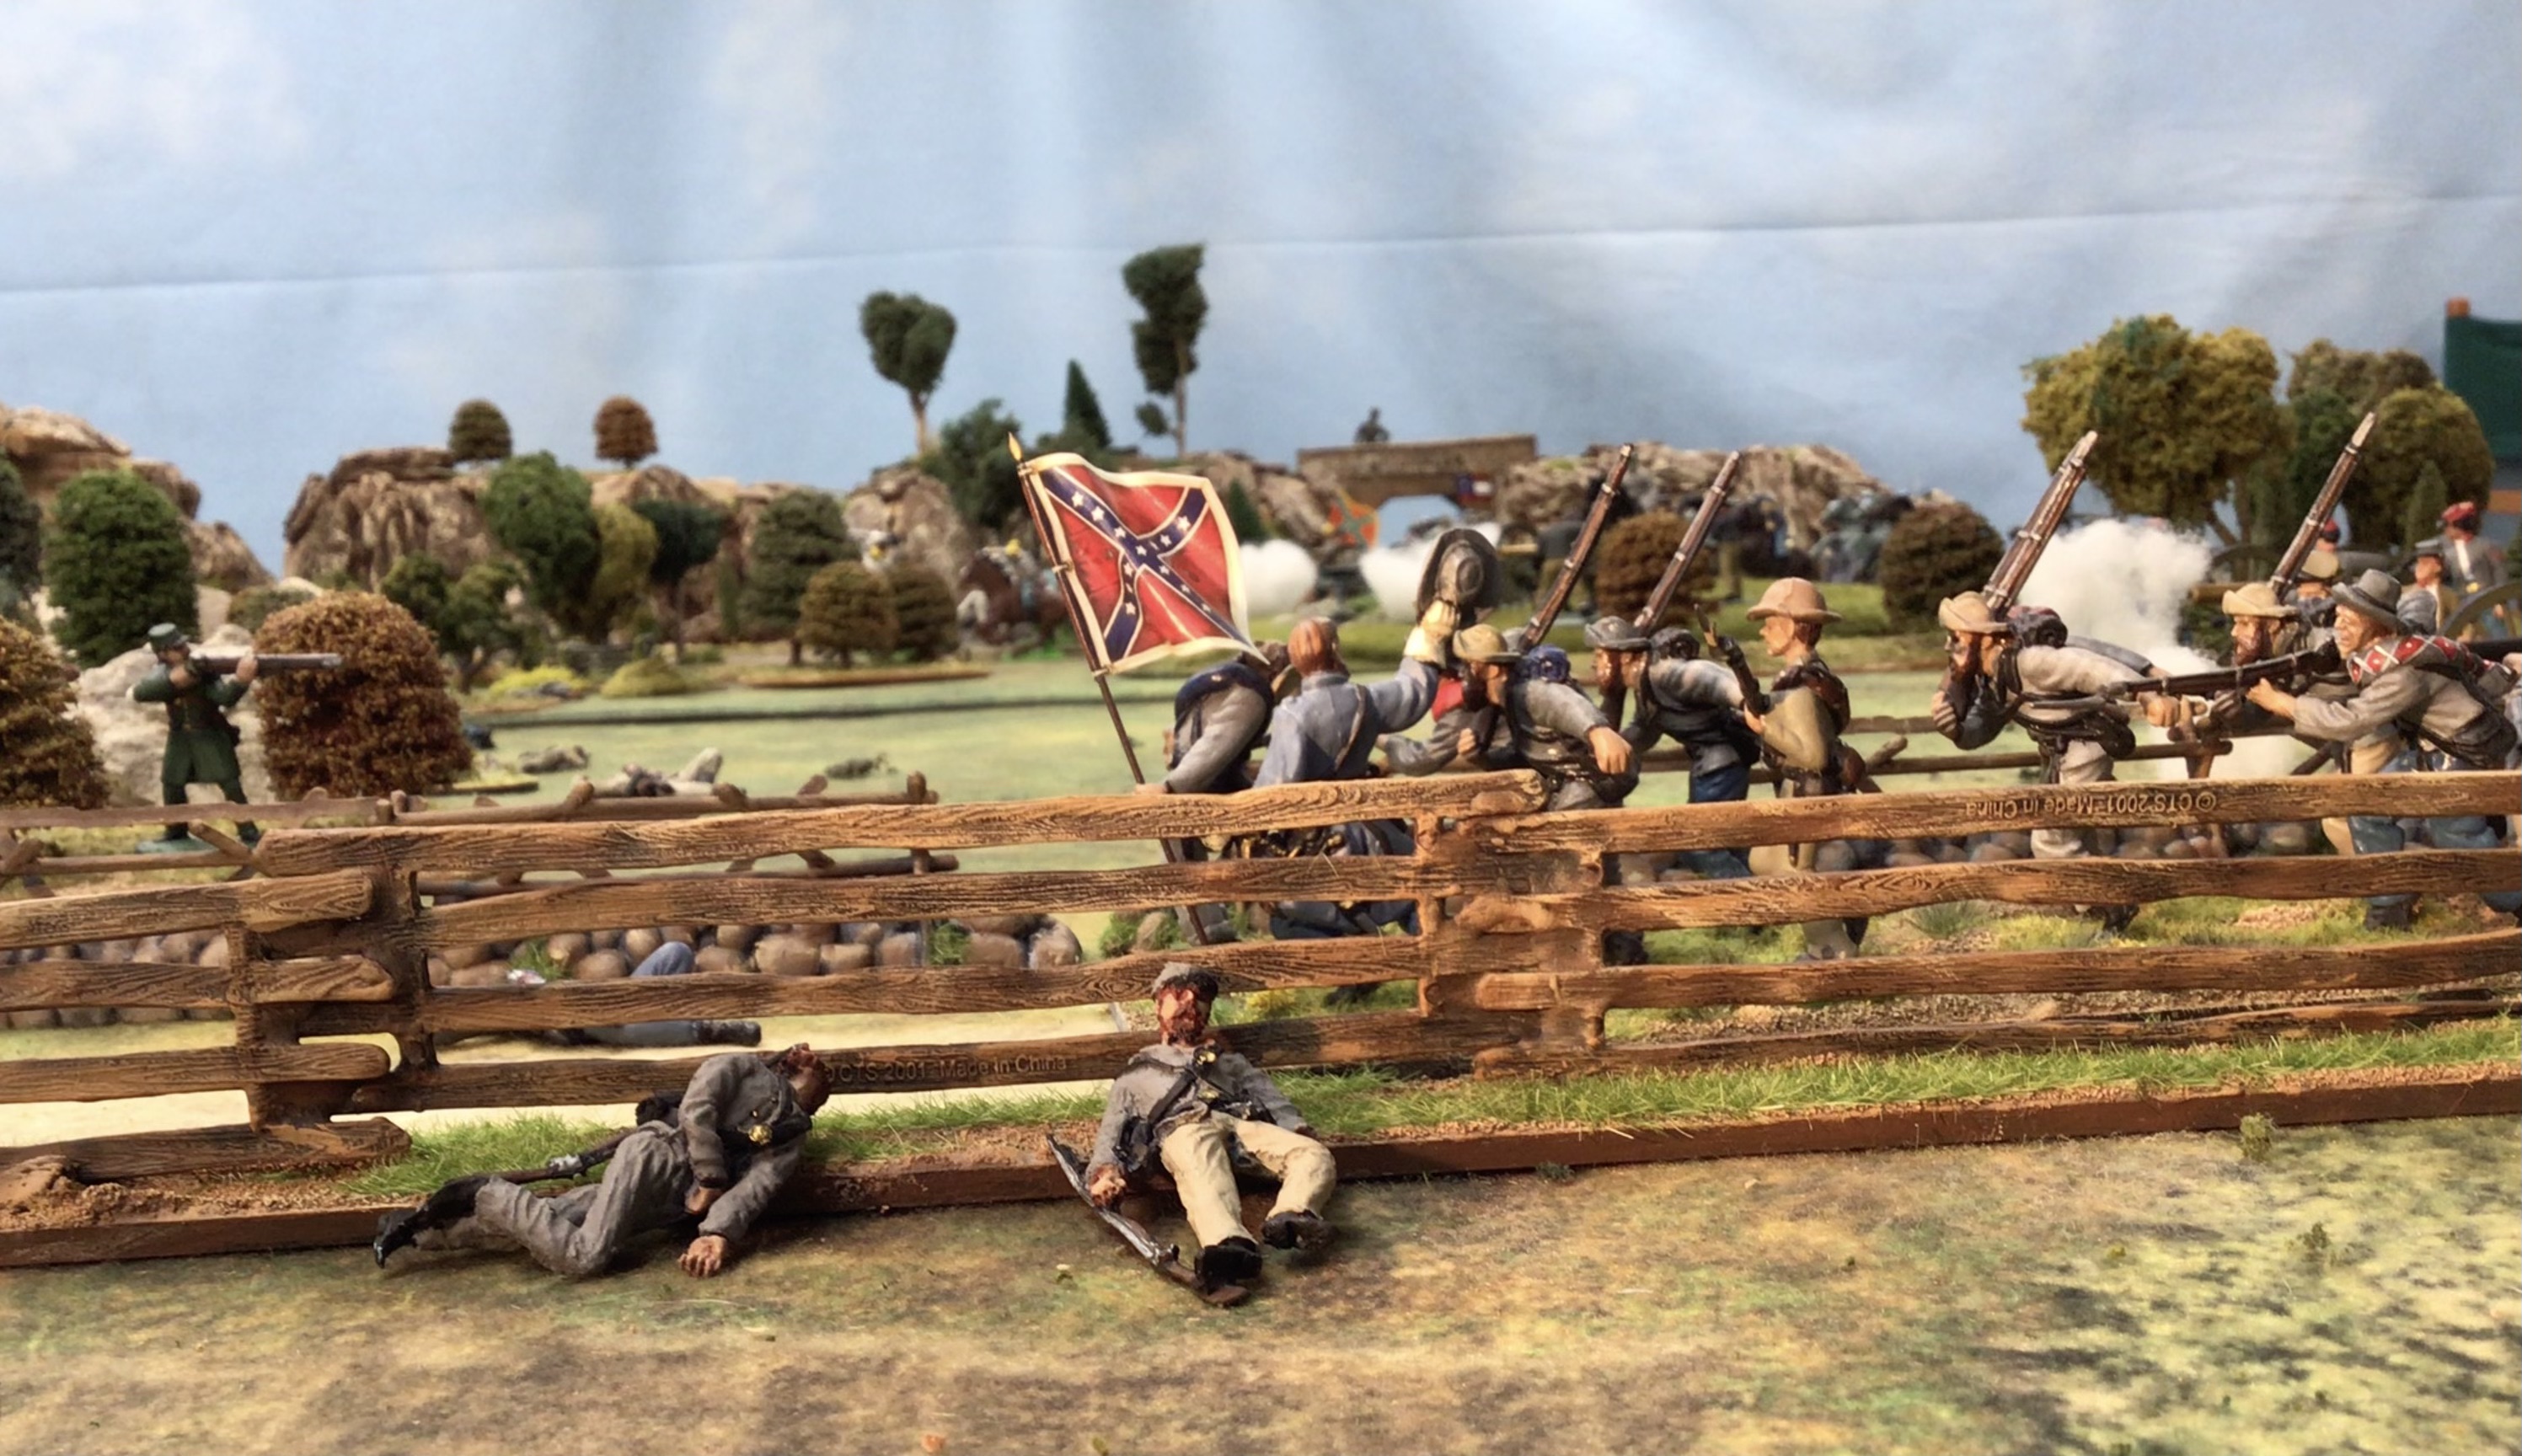
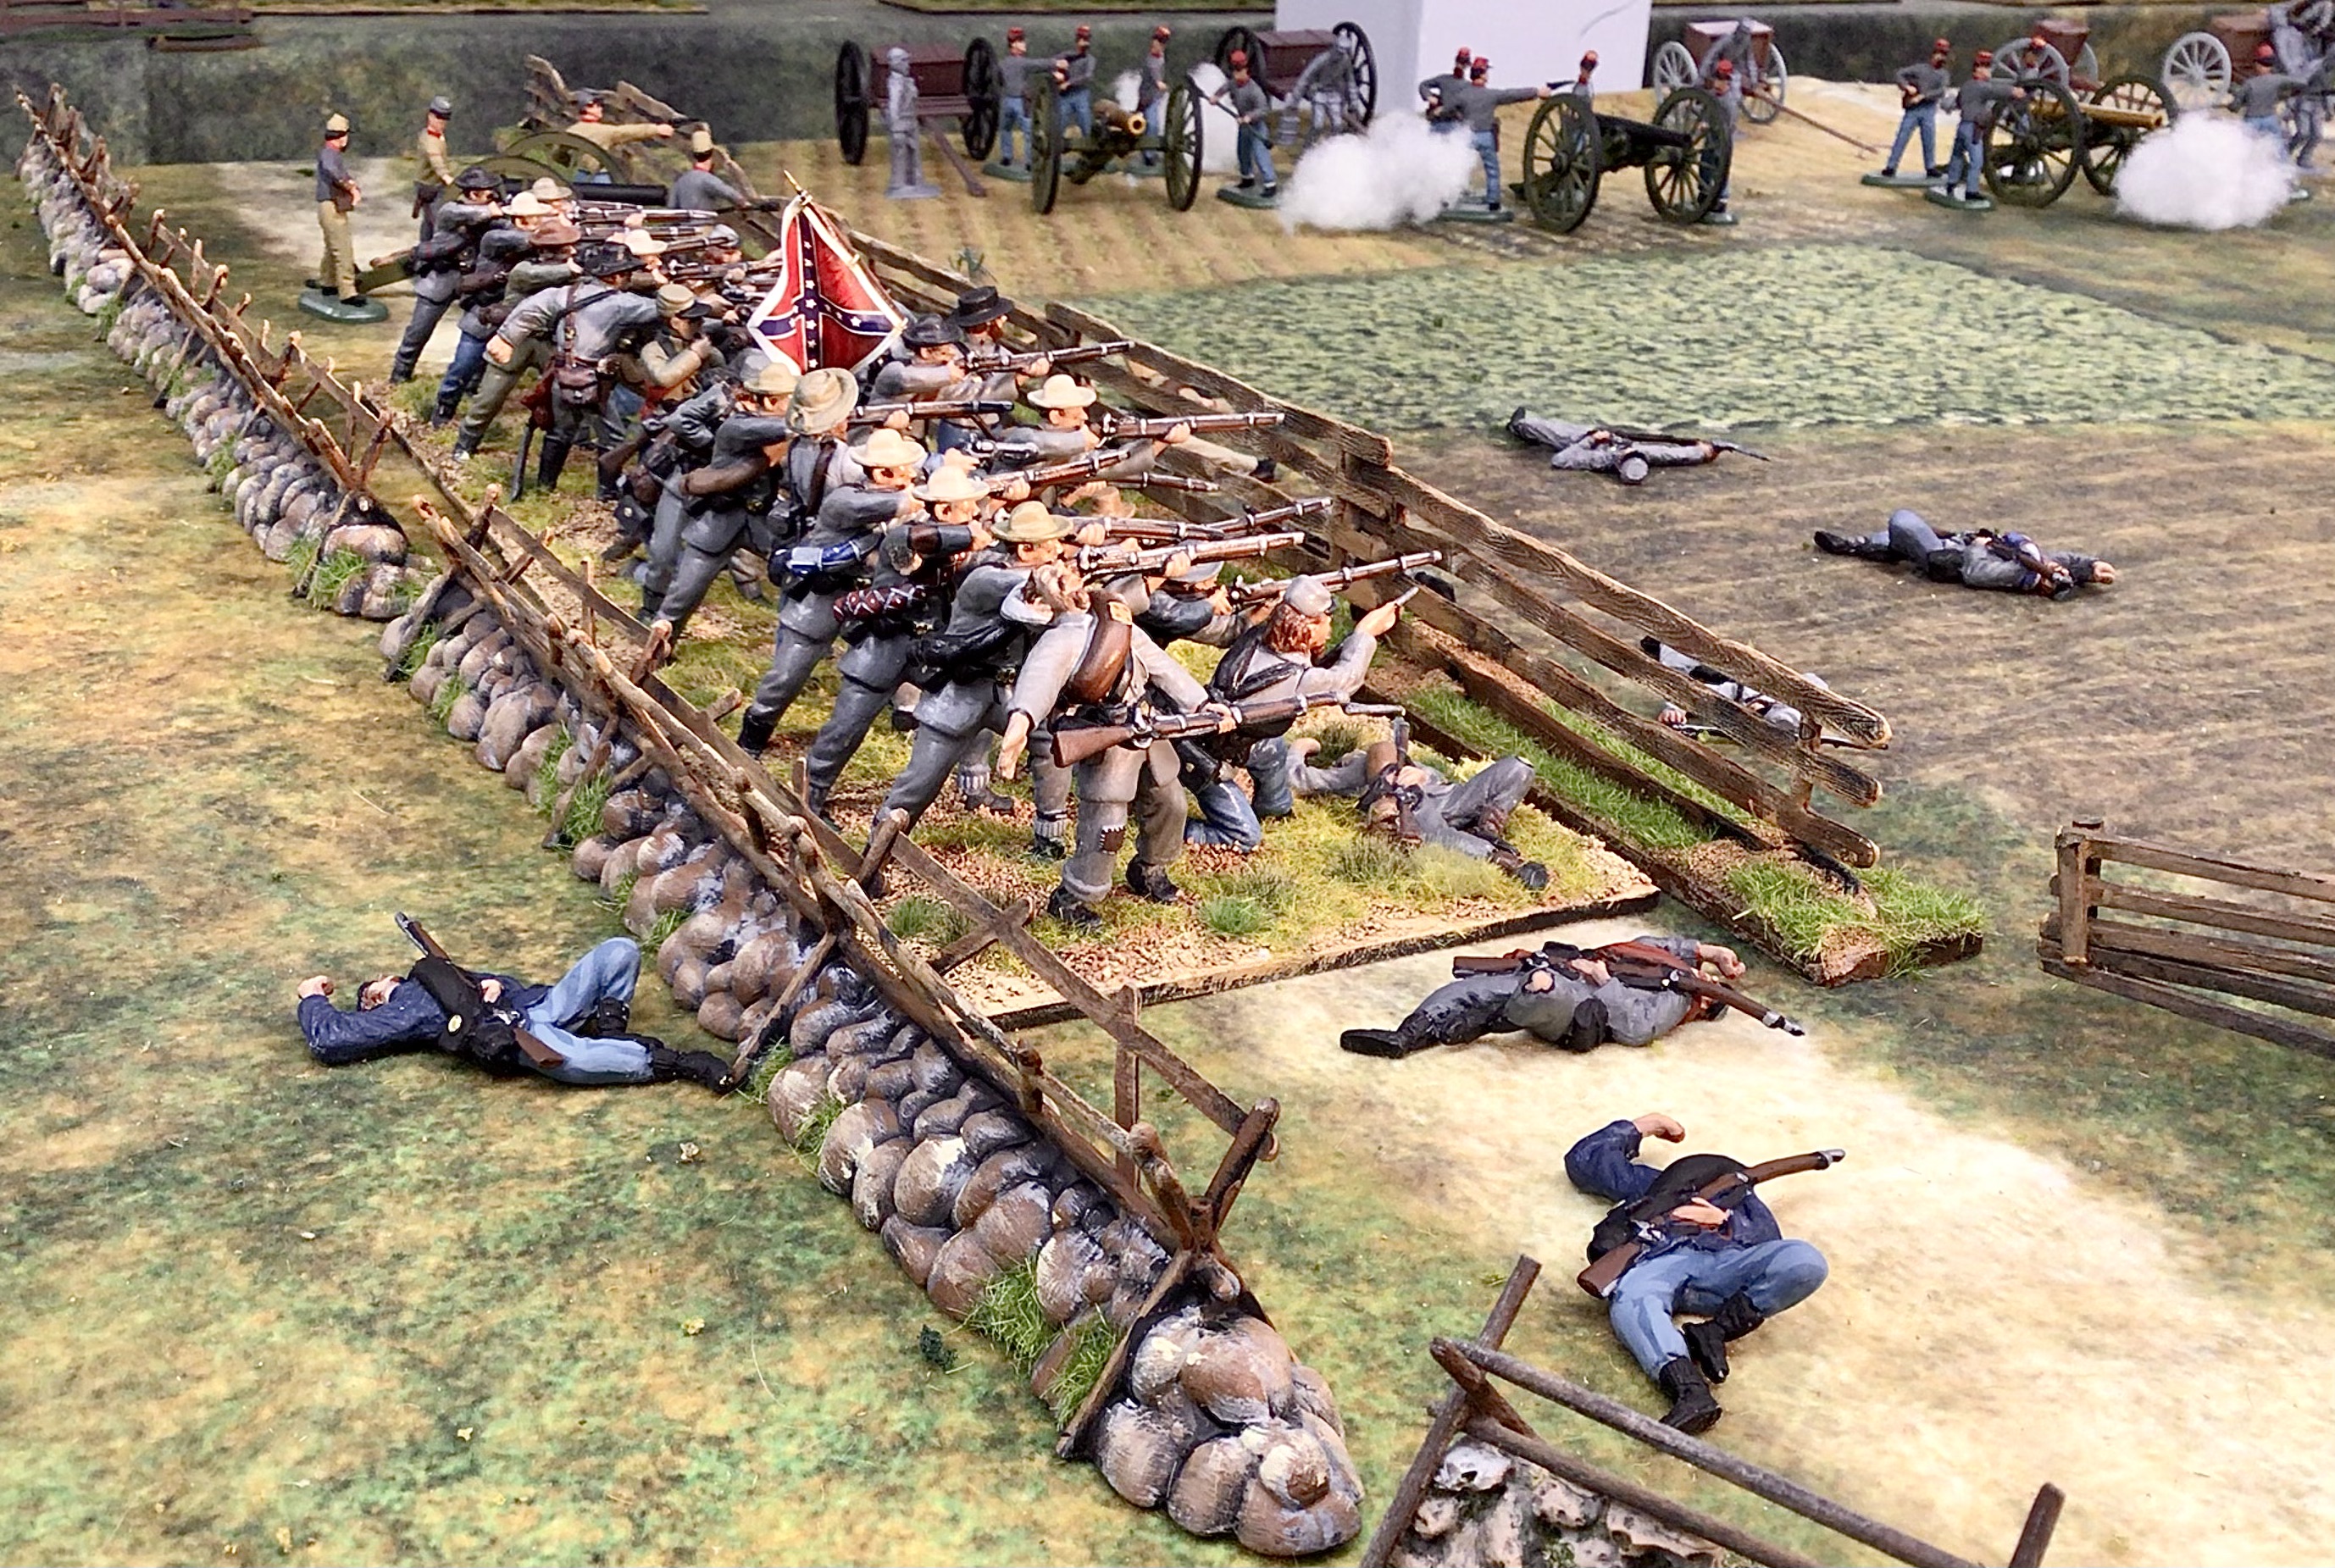
CTS post and rail fences. CTS also makes the Confederate soldiers on the road.
The casualties are Barszo figures from LOD Enterprises.


The Emmitsburg Road will stretch diagonally across the full 20-24 feet of length on  the game tables that I require for my 54mm Pickett's Charge war game scenario. I estimated that the road will travel about 18 feet, so because the road has post and rail fences on each side of the road, the math says that I will need 36 feet of fencing. Yikes!

To that end, and with Little Wars convention rapidly approaching, I decided that it was time to drop the paint brushes, set the figures aside, and start working on the game terrain.

I really do not have the desire to make that quantity of fences out of barbecue sticks and balsa wood, so I was happy to find a suitable short cut in the form of plastic fences made by Classic Toy Soldiers (or "CTS"). The company makes brown plastic post and rail fences 6-inches in length and eliminates the need for me to make all of those fences from scratch.

There is one slight problem though, the plastic fences do not appear to be high enough to my eye. The fence should be about chest high on a man of average height. I would need to raise the height of the fences using shims or balsa posts or a thicker base to accomplish this task.

The plastic fence at its original height raises to about the knees or waist of the figures


Here is a picture of the fences, painted and based on a section of a yard stick
purchased from Staples.

I decided to work on some prototypes of fences to determine what would look best. In the above picture, I pushed the rail sections into the slots of the adjoining fence piece and then used two part epoxy glue to join the pieces together. I then used a wooden yard stick for the base, cutting it into two 18-inch long bases. I placed some blobs of epoxy putty to hold the fence upright while the glue set. Then the fence was terrained with Red Devil Spackle which is a commercial brand of wallboard paste. I use this medium for all of my terrained bases because you can mix brown paint into the paste to make it look like dirt. If a piece of the terrain were to chip off, then the underlying terrain would still be brown, rather than white.

Wallboard paste purchased at the local Mom and Pop Ace Hardware store.
I prefer to support the small businesses rather than purchase my supplies
from "big box" companies such as Home Depot, etc.

Stir in some brown acrylic paint to turn the paste into a chocolate pudding color


Here is what the "goop" or "mud" looks like after the brown paint has been stirred in.


Let's get back to making the fences. The construction method that I used, as previous described above, didn't quite work for me. I didn't like the bulky look where the two fences joined.

My next idea was to cut out some wood posts from balsa or bass wood, and then attach the posts to the fence piece. This looks more realistic plus the balsa post pieces help the fence stand up rather than falling over. The fence pieces will still be epoxy glued to pieces of yard stick. After that, the fences will be primed with black primer and dry brushed with varying shades of brown and tan paint. Then the bases will be terrained with my goop concoction. While the goop is still wet, I dip or sprinkle fine railroad ballast onto the base.

Basing fences uses the same procedure as used to terrain figure bases. I 
bought some small trowels from Blick's art supply store to spread the goop
around the figures


Woodland Scenics railroad ballast is sprinkled onto the base.


Once the goop dries, usually in about one hour, I can then dry brush some lighter colors onto the fence bases and then apply small bits of static grass to simulate grass.


The modified fence pieces with balsa wood posts added.

I decided to go with two 6-inch fence pieces an a 12-inch section of wooden yard stick and also make some shorter 6-inch pieces to give me some flexibility on the positioning of the fences on my game table. The 12-inch sections will also be easier to store in boxes for transporting to Little Wars and Historicon. I will post pictures of the finished fences after I have made and painted them.

Here is a final bit of eye candy for your viewing pleasure.


A Confederate regiment takes up position behind my new post and rail fences.


Same unit, but from a different angle.


Aerial view of the battle field.


Kemper's Confederate brigade cross that deadly open space to engage the Union  troops.

This weekend I am transporting all of my ACW terrain over to Keith L.'s house (he of the three 6ft by 32ft long game tables) so that I can set up the terrain and figure out the required spacing for the terrain and figure regiments on the tabletop. This will give me an idea of how the tables will look at the upcoming Little Wars convention in Lombard, Illinois in April. I will post pictures of the set up at Keith's house in a future blog post.

Other than that, the figure painting is nearing completion. I have 15 Union regiments painted and based and I have 12 Confederate regiments painted and based. I plan on adding one more brigade of three regiments to the Confederate army in my game.


Saturday, February 3, 2024

Graham Cummings - RIP


From left to right: Gary Phillips, Graham Cummings (standing), me and Des D.
Photo taken by Robbie  at one of the Wild Geese weekends in Kenilworth.


Yesterday I was shocked to hear the terrible news of the passing of Graham Cummings. I got the news from Paul R. via Facebook. Graham's family had posted the news on Graham's Facebook page.

I had an inkling that Graham's sudden illness was very serious, you can read about it in the very last blog post that Graham made on his Scotia Albion blog. Scotia Albion blog However, I had not realized how serious the virus was.

Graham and I worked together in the miniatures business due largely to the fact that both his Crann Tara and my Minden / Fife and Drum figures were created by the same sculptor, Richard Ansell. Graham was the UK representative for a part of my figure ranges. I got to finally meet Graham at the first Military Gentleman gathering at Partizan around 2015. He picked me up at the train station and we drove over to Griffin Moulds to see how our miniature figures were made. I had a good opportunity to get to know Graham better and realize what a fine fellow he was.

Graham, we will miss you.


a