


 |
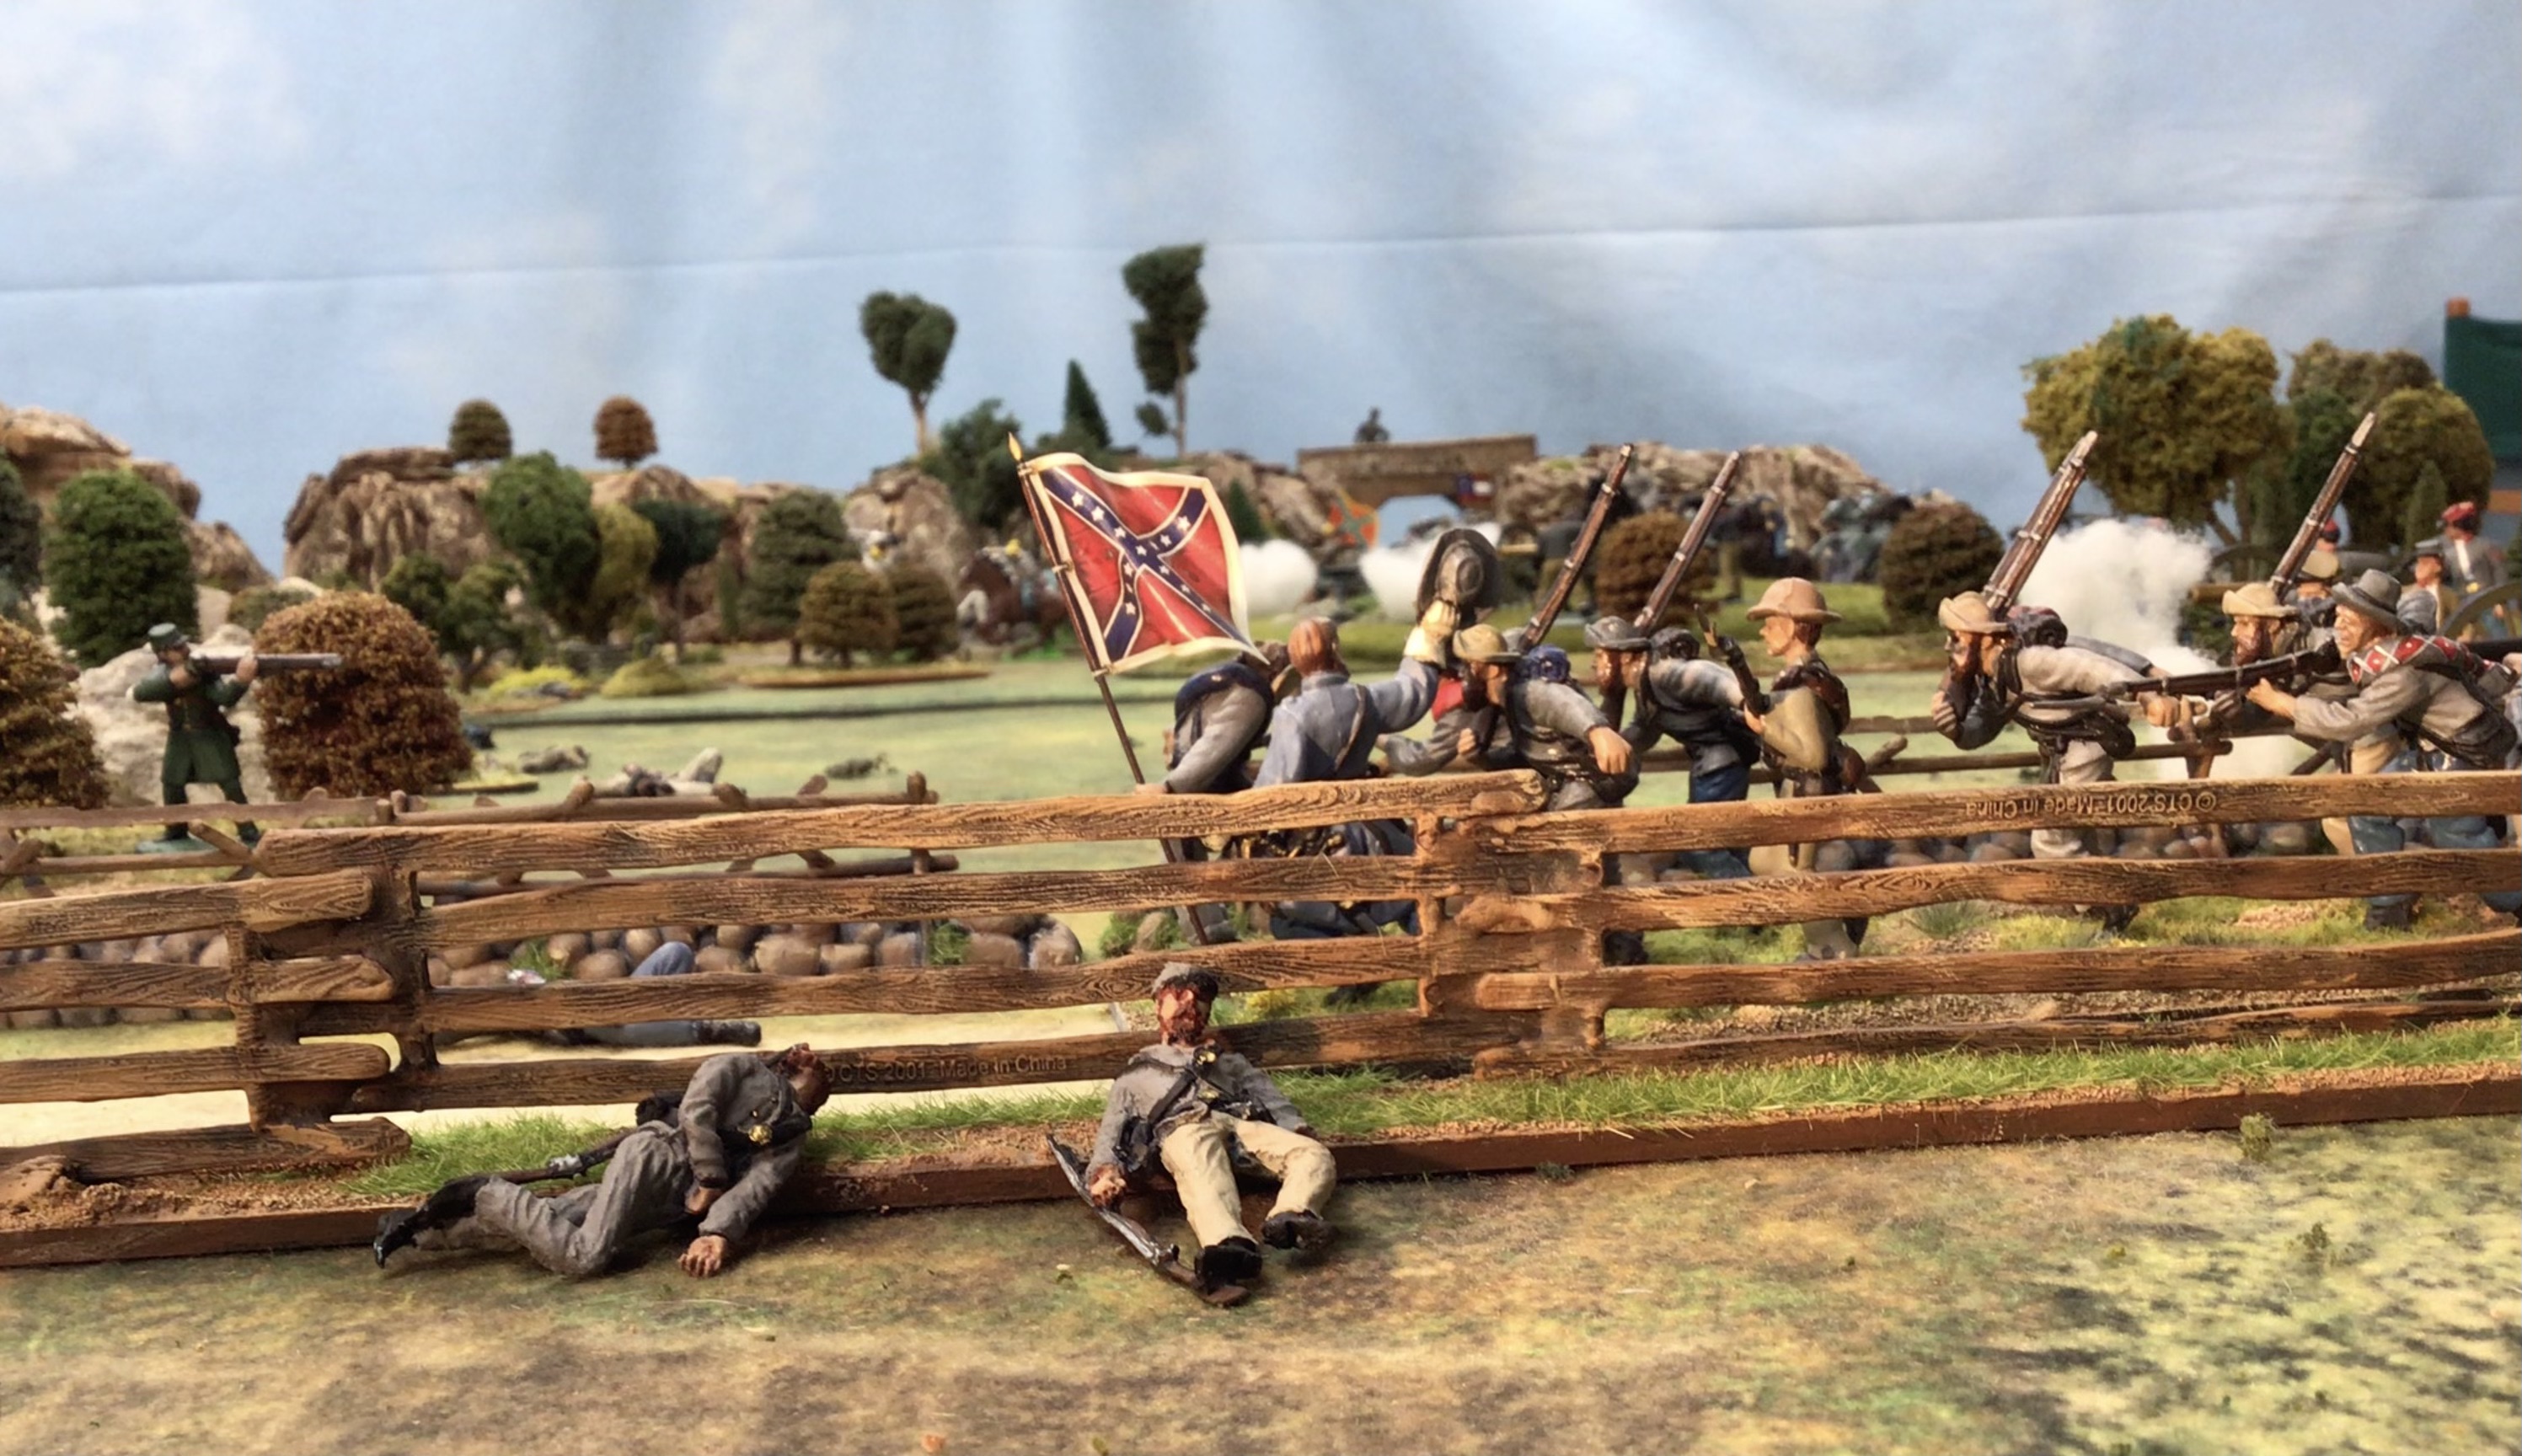
| CTS post and rail fences. CTS also makes the Confederate soldiers on the road. The casualties are Barszo figures from LOD Enterprises. |
The Emmitsburg Road will stretch diagonally across the full 20-24 feet of length on the game tables that I require for my 54mm Pickett's Charge war game scenario. I estimated that the road will travel about 18 feet, so because the road has post and rail fences on each side of the road, the math says that I will need 36 feet of fencing. Yikes!
To that end, and with Little Wars convention rapidly approaching, I decided that it was time to drop the paint brushes, set the figures aside, and start working on the game terrain.
I really do not have the desire to make that quantity of fences out of barbecue sticks and balsa wood, so I was happy to find a suitable short cut in the form of plastic fences made by Classic Toy Soldiers (or "CTS"). The company makes brown plastic post and rail fences 6-inches in length and eliminates the need for me to make all of those fences from scratch.
There is one slight problem though, the plastic fences do not appear to be high enough to my eye. The fence should be about chest high on a man of average height. I would need to raise the height of the fences using shims or balsa posts or a thicker base to accomplish this task.
 |
| The plastic fence at its original height raises to about the knees or waist of the figures |
 |
| Here is a picture of the fences, painted and based on a section of a yard stick purchased from Staples. |
I decided to work on some prototypes of fences to determine what would look best. In the above picture, I pushed the rail sections into the slots of the adjoining fence piece and then used two part epoxy glue to join the pieces together. I then used a wooden yard stick for the base, cutting it into two 18-inch long bases. I placed some blobs of epoxy putty to hold the fence upright while the glue set. Then the fence was terrained with Red Devil Spackle which is a commercial brand of wallboard paste. I use this medium for all of my terrained bases because you can mix brown paint into the paste to make it look like dirt. If a piece of the terrain were to chip off, then the underlying terrain would still be brown, rather than white.
 |
| Wallboard paste purchased at the local Mom and Pop Ace Hardware store. I prefer to support the small businesses rather than purchase my supplies from "big box" companies such as Home Depot, etc. |
 |
| Stir in some brown acrylic paint to turn the paste into a chocolate pudding color |
 |
| Here is what the "goop" or "mud" looks like after the brown paint has been stirred in. |
 |
| Basing fences uses the same procedure as used to terrain figure bases. I bought some small trowels from Blick's art supply store to spread the goop around the figures |
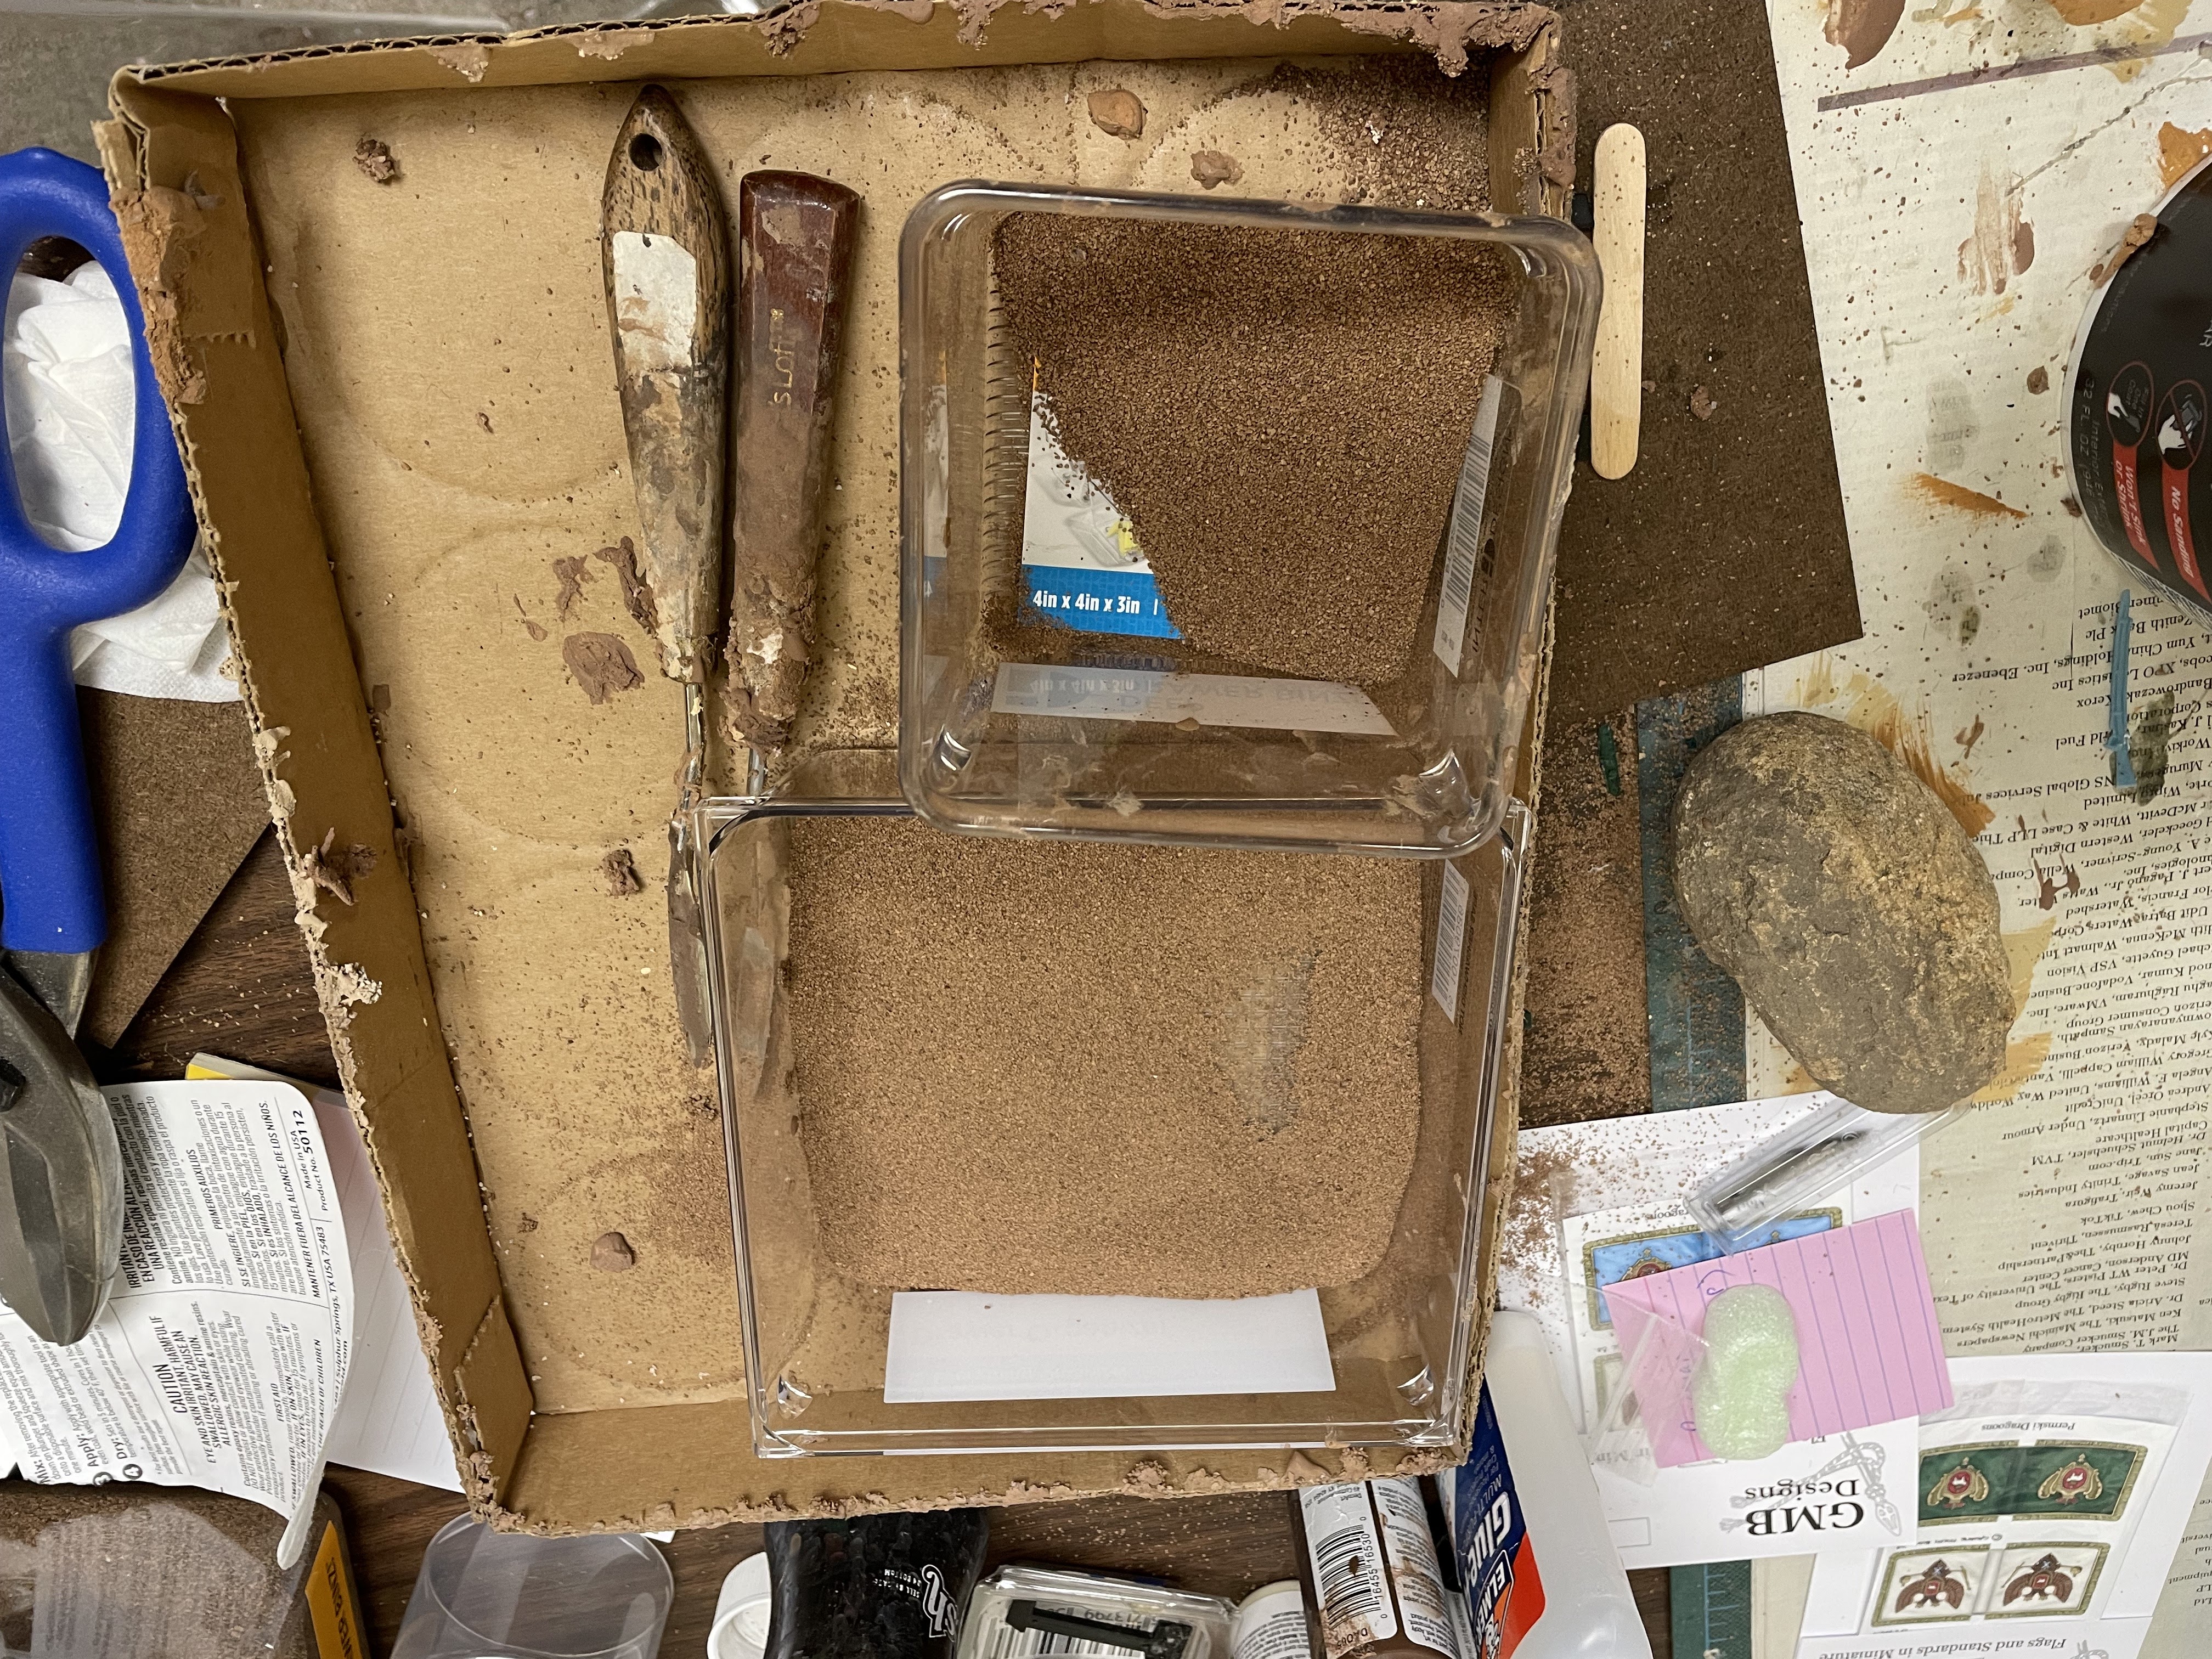 |
| Woodland Scenics railroad ballast is sprinkled onto the base. |
 |
| The modified fence pieces with balsa wood posts added. |
I decided to go with two 6-inch fence pieces an a 12-inch section of wooden yard stick and also make some shorter 6-inch pieces to give me some flexibility on the positioning of the fences on my game table. The 12-inch sections will also be easier to store in boxes for transporting to Little Wars and Historicon. I will post pictures of the finished fences after I have made and painted them.
Here is a final bit of eye candy for your viewing pleasure.
 |
| A Confederate regiment takes up position behind my new post and rail fences. |
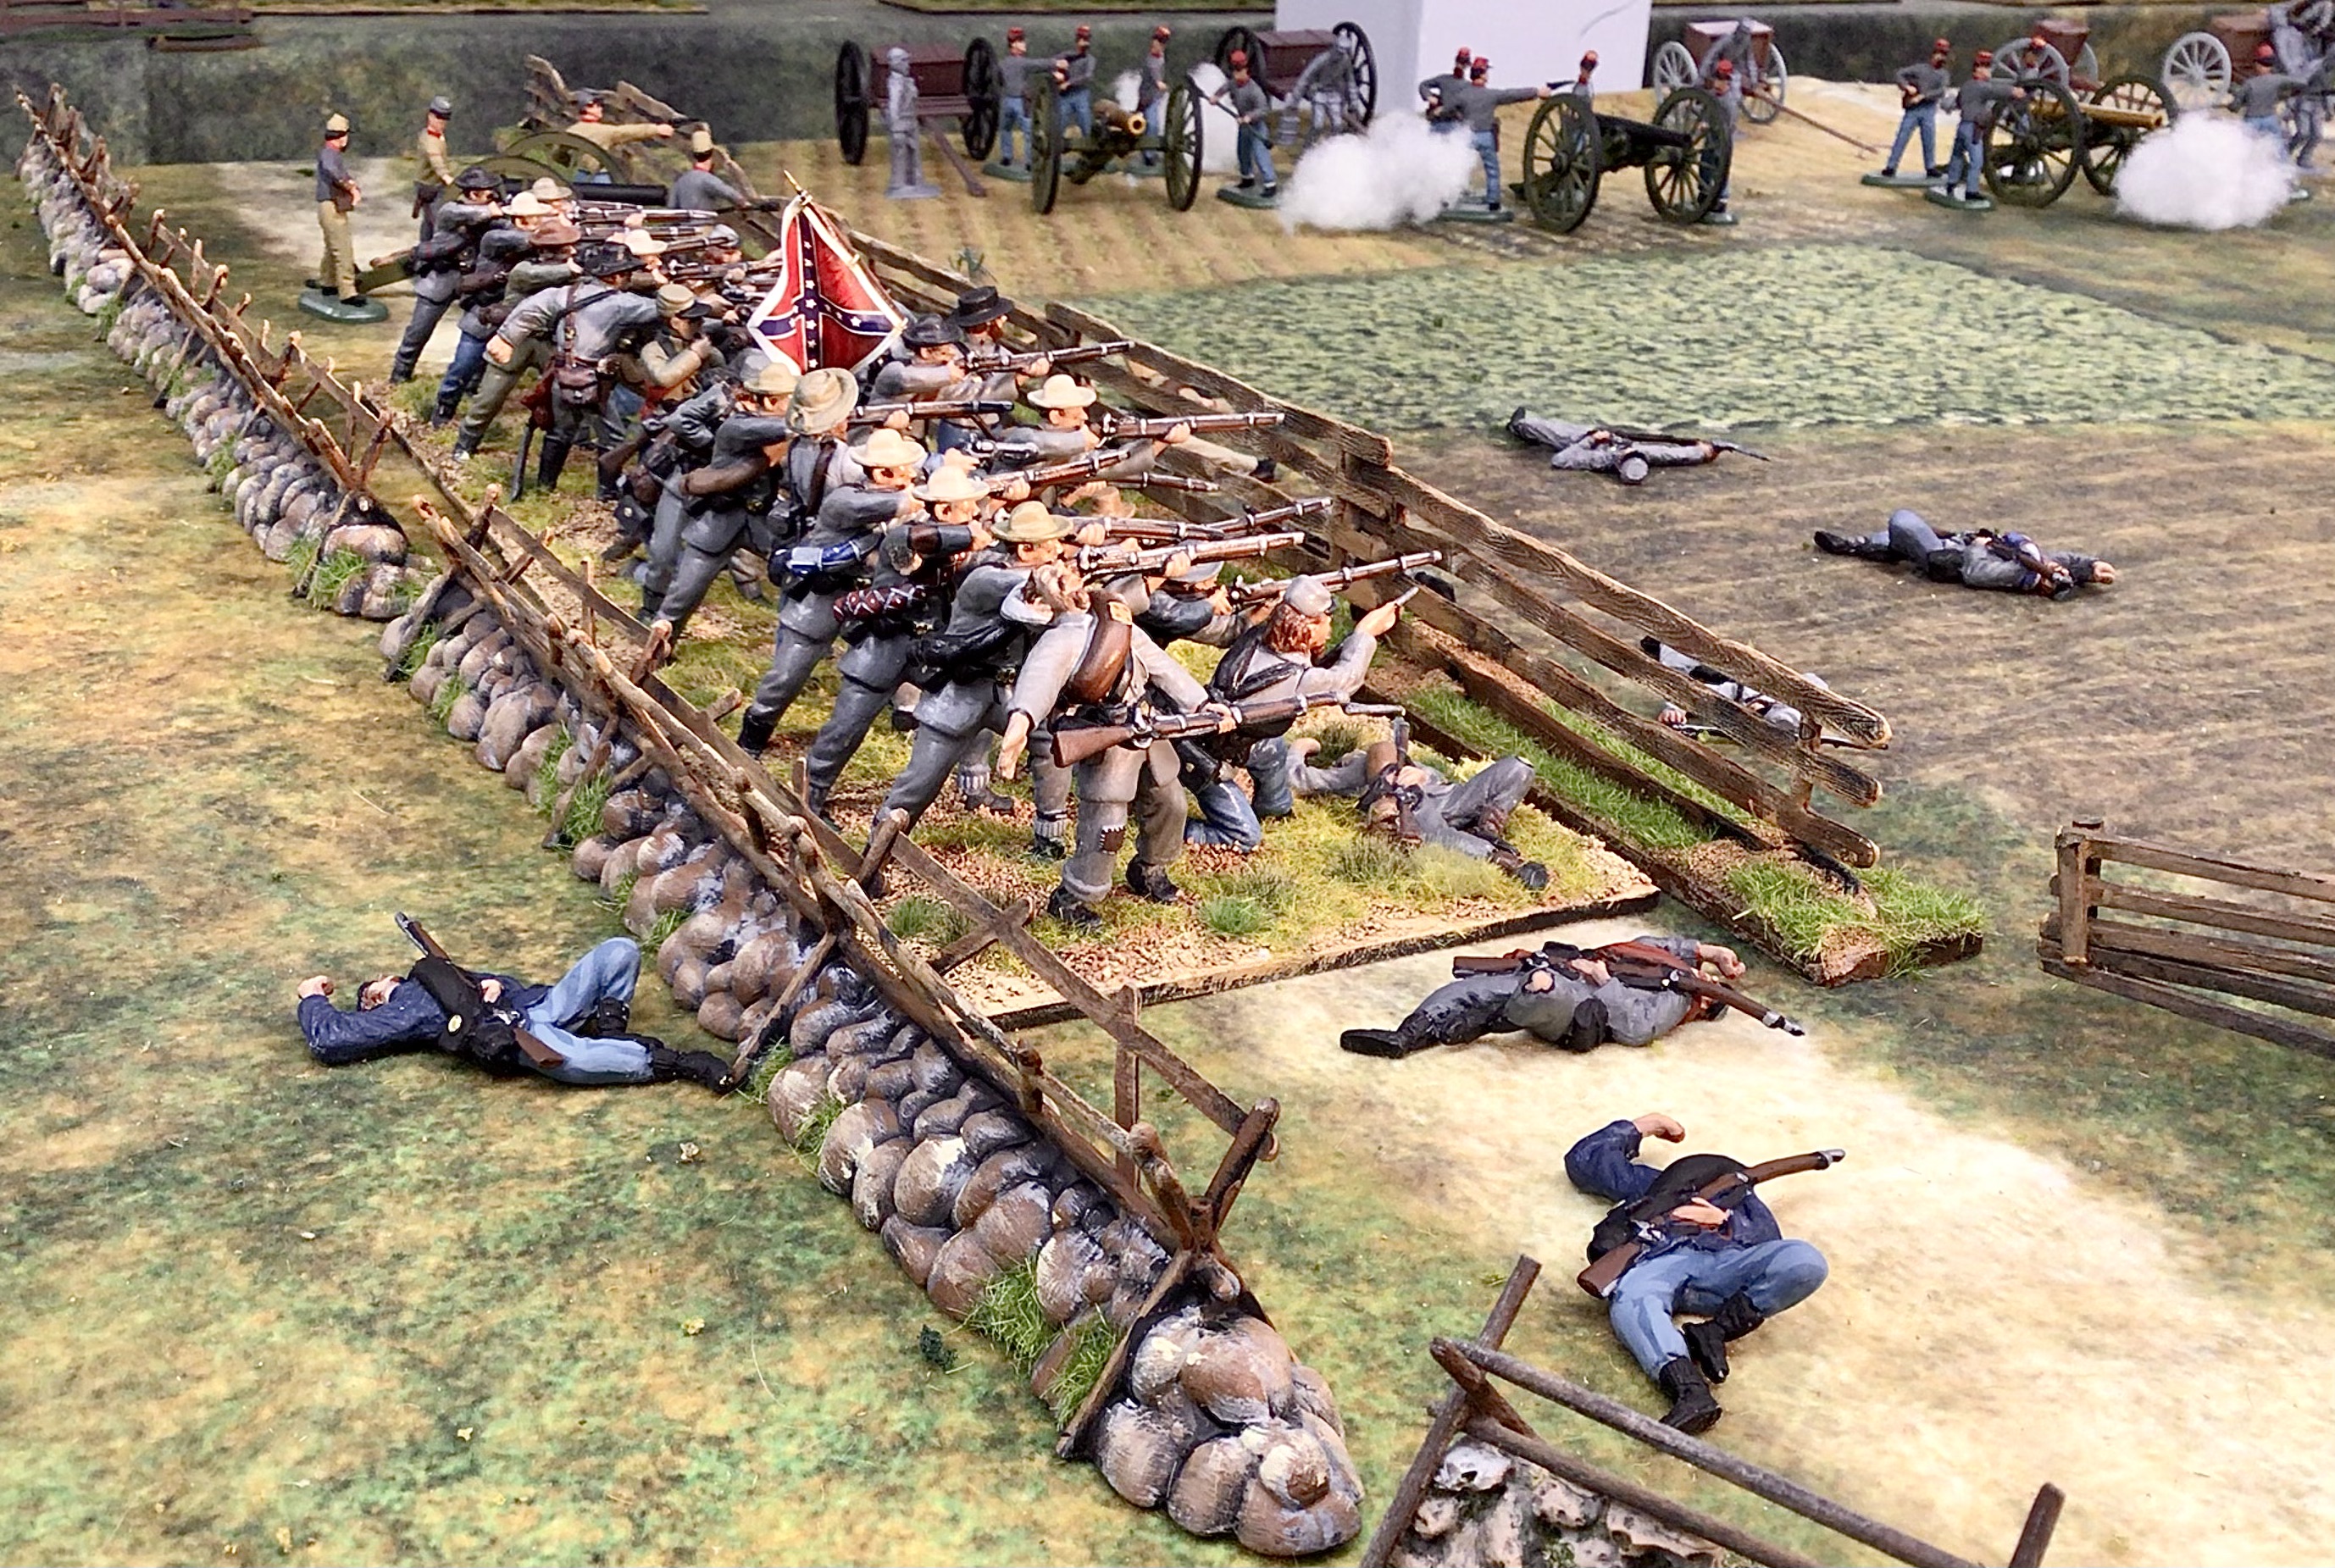 |
| Same unit, but from a different angle. |
 |
| Aerial view of the battle field. |
 |
| Kemper's Confederate brigade cross that deadly open space to engage the Union troops. |
This weekend I am transporting all of my ACW terrain over to Keith L.'s house (he of the three 6ft by 32ft long game tables) so that I can set up the terrain and figure out the required spacing for the terrain and figure regiments on the tabletop. This will give me an idea of how the tables will look at the upcoming Little Wars convention in Lombard, Illinois in April. I will post pictures of the set up at Keith's house in a future blog post.
Other than that, the figure painting is nearing completion. I have 15 Union regiments painted and based and I have 12 Confederate regiments painted and based. I plan on adding one more brigade of three regiments to the Confederate army in my game.

Looking great! I'm a confirmed 25/28mm guy, but your project is inspiring.
ReplyDeleteThose fence pieces were originally Marx and came in the Giant Blue and Gray in 1960. The rail fence on top of the rocks was originally made by BMC and came in their Gettysburg playset.
ReplyDeleteYou should look in Zouaves and Cavalry. Both are available in plastic.
Excellent work. Nice to see that you have move full force into 54 MM. AWI next?.....Bill