|
| The Coldstream Guards stop the charge of the French Carabiniers cold. (the Guards were played as regular line infantry in this game rather than as Guard class) |
Yesterday nine gamers convened in Woodstock, IL to play a tabletop re-enactment of the Battle of Minden. Approximately 3,000 figures of 25mm. 28mm and 30mm size were used in the game. The figure to men ratio was 1:10, meaning that each miniature represented 10 men.
The game was played using the rules Batailles dans l'Ancient Regime ("B.A.R." noted hereafter) and they produced a very easy to play and logistically manageable game for such a large game. Generally, our figures are individually based and placed on magnetized movement trays. As casualties are taken, the individual figures are removed. However, for this large game, we decided to use a roster to track unit casualties - if a battalion has 60 figures, then there are 60 boxes to check off whenever one of our Little Men have fallen in battle. I know that some people are averse to using the roster system, but this worked very well and I am tempted to use rosters in all of my games going forward. Casualty tracking is much easier, it is easy to tell when a unit is below half strength or when it has used its first fire, it is easier to pick up the figures at the end of the game and pack them away. And finally, the visual impact is superior to using white rings of death or furry colored pipe cleaners.
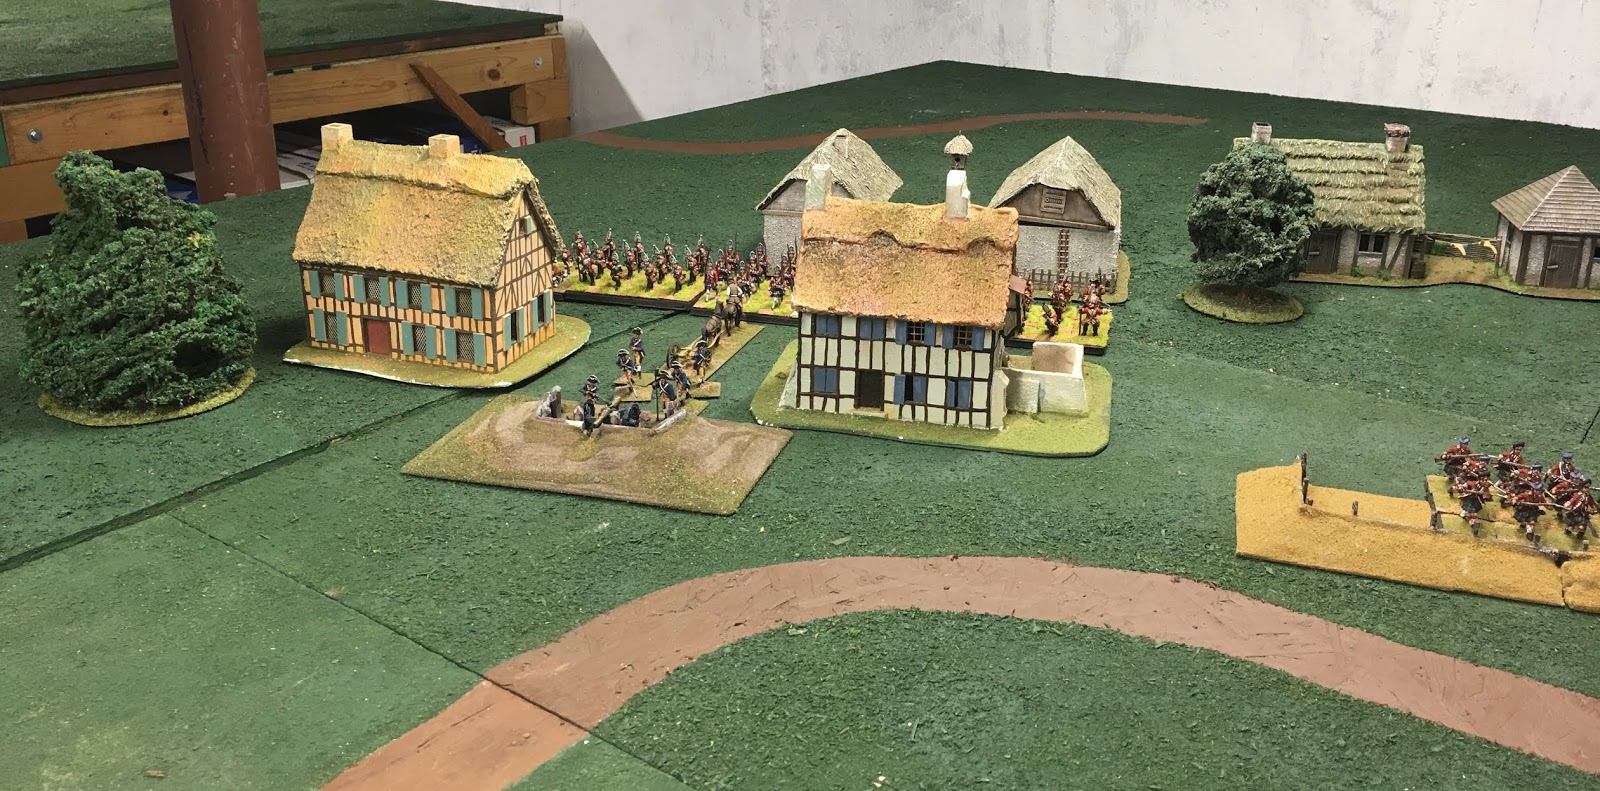
The game was played on three parallel 6 feet by 36 feet tables. The aisles between the tables don't actually exist in terms of the battlefield ground. So for example, if a battalion of infantry is on the edge of the center table, it is actually inches away from the edge of the opposite table. This can sometimes create a fog of war when one or both of the players do not realize that there soldiers are just inches apart rather than six feet away.
Here are a couple of pictures of the tables to give you an idea of the size of the tabletop area of play:
 |
| The left hand table is where the Allies deployed. |
 |
| This picture depicts all three of the tables used in the game. The table closest to the camera is the left table, upon which the Allies deployed at the beginning of the game. The center of the table features the village of Malbergen, which was occupied by the French. Off in the distance was the right table where much of the French army was deployed. In the far corner of the right table was where the Allied left flank extended and anchored on the table edge. |
We divided the table top into two "zones" for purpose of the drawing of cards from the action deck of playing cards. Movement is first determined by the draw of a card (Black = French and Red = Allies) and then another card is drawn to determine which side gets to fire first. Because the action often runs at a different pace in different areas of the table, dividing the table into two playing card zones speeds up the pace of the play. In this game, the center support pole shown in the picture above was the partition line.
Much of my report centers around the action of the British/Allied right flank (French left flank) because this is where I was playing. With the other side of the battlefield so far away in both ground scale and the actually distance from where I played, I really had little idea of what was going on at the other flank during the course of the game.
 |
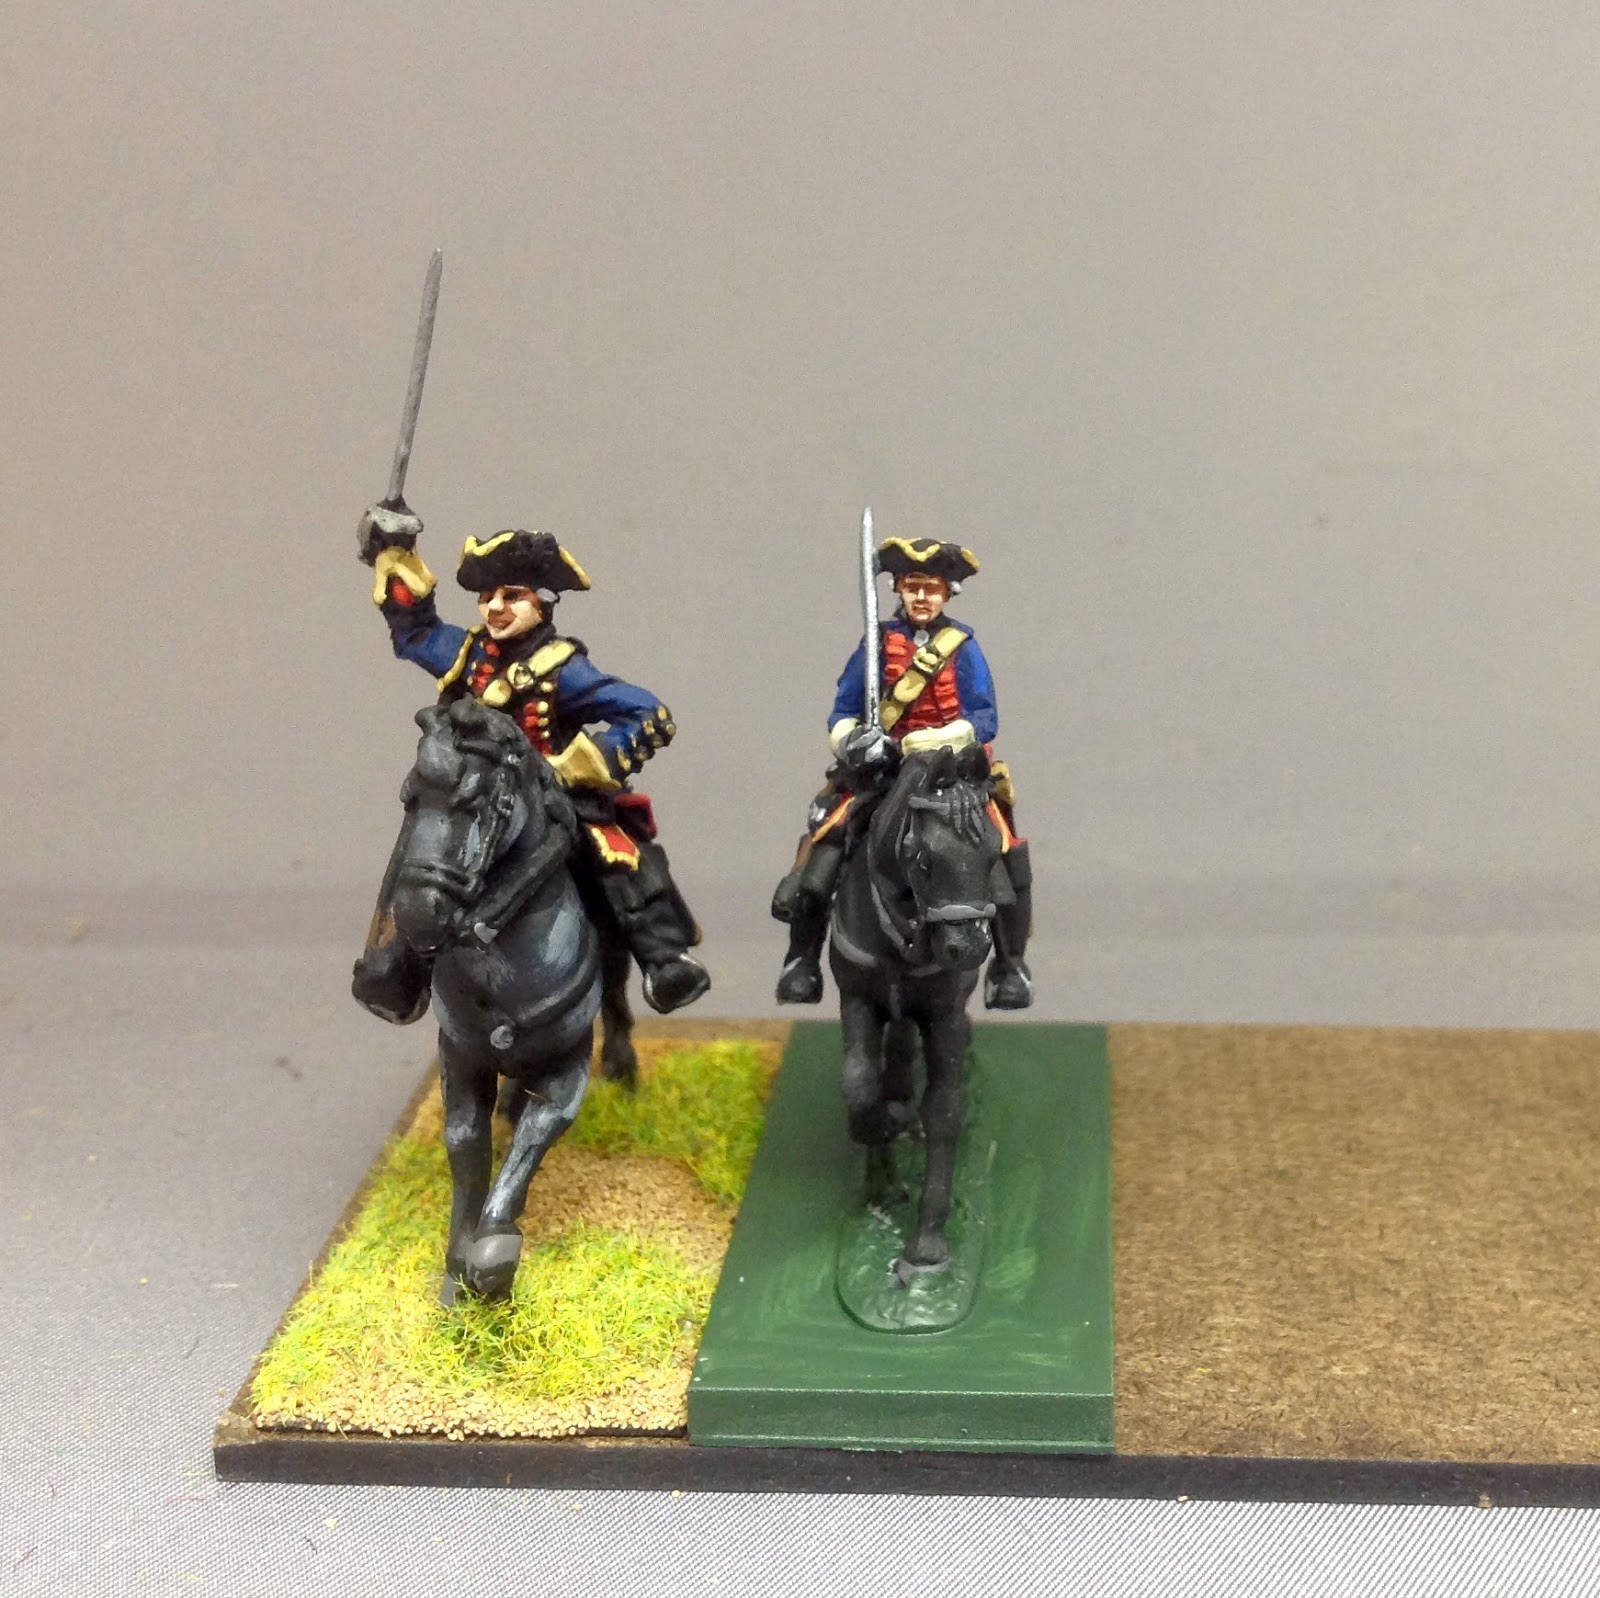
| Lord Sackville's British cavalry brigade would not come into action until Turn 6. |
 |
| Another view of Sackville's British cavalry. I painted 48 of these figures over the past 3-4 weeks and not a single one of them crossed swords with the French |
A Bit of Quick Historical Background
Those of you familiar with the Battle of Minden will know that the terrain forced the French to deploy their army in a most unusual manner - most of their cavalry was in the center rather than stationed on the French flank. Students of the battle will likewise know that due to an unusual set of circumstances a lone brigade of six British and two Hanoverian infantry battalions marched, on their own and with no support, straight into the maw of the French cavalry position.
Because cavalry generally do not use firearms on the battlefield, the French cavalry must have viewed the approaching column of redcoated infantry in much the same manner as a battleship might have viewed incoming torpedoes - there was nothing that they could do to defend themselves. Thus the French cavalry had no choice but to charge the British column or else be shot down by the redcoats' musket fire.
Three different waves of French cavalry charged the British in succession. The first wave charged and were repulsed, as was the second wave of cavalry. The third wave of French cavalry had some moderate success of breaking through the thin red line, but the second line of British regiments shot them out of their saddles.
The French infantry of the left flank, commanded by Guerchy and Prinz Xavier, then marched forward to contest the British with musket fire, but like their cavalry bretheran, the French infantry were repulsed by British muskets and artillery fire. That effectively ended the battle as the French were now in full retreat. The British cavalry on the right wing (commanded by Lord Sackville - boo, hiss!) was in a perfect position to charge into the retreating French army and turn a defeat into a total disaster. However, Lord Sackville refused to commit his cavalry to the battle, and repeated orders sent by the army commander, Prince Ferdinand of Brunswick, failed to spur Sackville into action. Lord Sackville was ultimately court marshalled and kicked out of the army.
My Report of the Battle as Commander of the British Column of Infantry
The first line of French cavalry was required to charge into the British infantry column as part of the game scenario. The French cavalry commander, le duc de Fitzjames, was in the process of turning his cavalry around and retiring to the back table when he was reminded by the game judge that that was a no-no.
 |
| Captain Philips' British battery of 12-pounders dropped quite a few French and Saxons f rom their saddles as they charged into the British infantry. |
The First French Cavalry Charge
Sufficiently chastised, the French cavalry spurred into a charge and the first line of the Royal Regiment, the Graf von Bruhl Saxon cavalry and the French Commissair-Generale cavalry crashed into the British front line, from left to right, the 8th (King's) Regiment, the 11th (Sowle's) Regiment, and the 23rd (Royal Welch Fusiliers) Regiment.
 |
| The British 11th (Sowles') try to fend off the Royals and Graf von Bruhl cavalry regiments, which they did with great efficiency. |
 |
| The horse grenadier squadron of the von Bruhl dragoons steers into the flank of Sowles' regiment. That seems a little bit dodgey given that a straight charge forward would find them crashing into the Royal Welch Fusiliers, but what the hey, it's just a game. |
 |
| Lots and lots of horsies contest the fight with lots and lots of redcoated infantry. The 8th (King's) Regiment in the foreground dispatched the French Royal Regiment to its front, latter routing away. |
 |
| Another view of the first wave of the cavalry fight. |
 |
| The blue-coated Royals flee, the white-coated Commissaire-General waits in support, and the von Bruhl dragoons are pushed back. |
The British fended off the first wave of French cavalry with relative ease. Infantry get a first fire firing bonus of +5 and since the British hadn't used their first fire yet, that increased the number of French cavalry casualties. I should add that I was having some rediculously good saving throws during the melee. Casualties get a chance to be saved if they roll a 4, 5 or 6 on a D6 die. I had one saving roll for 10 figures and 9 of them lived to fight another day. I was beginning to feel a little bit sorry for the French player opposite me. You try your best to stab stab stab at those redcoats and then the Big Guy in the sky decides that nearly all of them had incredible luck on the saving throw.
The French Cavalry Rebound
The French Royal regiment was out of action and the von Bruhl dragoons were "disordered" after being in the melee with Sowles' infantry. Von Bruhl charged again, this time with the fresh Commissaire-General regiment at their sides. Note to self: hmm, we should not allow disordered cavalry to charge until they are back in good order - it doesn't make a lot of sense to me. How do the officers compell a milling mass of horsies to form up and charge again? They don't.
This time the French had better luck than on the first try. They no longer had to deal with the dreaded "first fire" bonus of +5 because th 8th and 11th regiments had already fired at them in the previous charge.
It was a desperate struggle as Sowles' infantry gave as good as they got, but they lost one more man than their cavalry opponents and so they had to take a morale test before the French had to roll some bones. Sowles' rolled a 1 and a 2 - you need a total score of 6 on two D6 dice. So they routed back 24-inches. Would the French pursue? Yes. They pursued for, get ready, 24-inches! This meant that they caught the redcoats and cut them down. The picture below shows the moment of the French cavalry break throw in the center of the British formation.
 |
| The Graf von Bruhl charge again, this time with the Commissaire-General and successfully break through the British infantry line, Sowles' regiment having broken and routed. |
For those of you keeping score at home, a break through is not a good thing.
The Duc de Fitzjames then pulled a nifty little tactic out of his bag of tricks: rather than throw the two regiments back in the fray, they milled about in the rear area of the Allied deployment ground. This ended up tying up a good part of the Hanoverian and British infantry because they had to turn about and face this cavalry so that it would not charge unannounced into their rear. This meant that there were two or three fewer infantry regiments that the French cavalry would have to deal with as the battle went on. Quite clever when you think about it. The act of just being in the rear caused more trouble than it would if they had charged back into the battle.
 |
| The French cavalry that broke through mill about in the rear area of the Allies' lines. |
Here They Come Again!
The second wave of French cavalry was still on the back table (right table), so the British battalions had time enough to go into a number of strange formation contortions as they tried to make ready for threats to their front and rear. Meanwhile, Prince Ferdinand of Brunswick, the commander of the Allied army, pulled two regiments of Hanoverian cavalry and one regiment of Prussian Black Hussars from the battle on the left-center near Malbergen, and sent them in the direction of the British brigade to help them out.
 |
| Hey, don't look now, but here comes the cavalry to save us! These are the white coated Hanoverian dragoons and the Prussian Black Hussars on their way to help in the center. |
A good idea and a timely order, but with the table being 36 feet long, the Allied cavalry reinforcements didn't arrive in time to help out in the center.
 |
| There is trouble a brewin' and its headed our way. The elite Gendarmerie de France cavalry and the Saxon Rutowski Dragoons advance toward the British infantry line. |
The British infantry was sorted out as best it could with the Coldstream Guards moving into the front line (they had not fired yet, mwha ha ha!). The Royal Welch Fusiliers (also hadn't fired yet) were to the right of the Guards, and the remainder of those jaunty and plucky lads of the 8th (King's) Regiment formed up on the left of the Guards. The 3rd (Howard's) Regiment was in a supporting second line, but they were faced to the rear just in case the French cavalry milling about in the rear decided to charge.
The next wave of French cavalry included the cream of its cavalry, the vaunted and awesome Gendarmerie de France cavalry, and another fine regiment of Saxon cavalry - the Rutowski Dragoons.
The 8th (King's) Regiment are now the Diehards
The 8th Regiment had previously fended off the French Royals and had joined the neighboring Hanoverian brigade of von Scheel in its attack on French-held Malbergen. They were engaged in a firefight with the French Regiment d'Eu (doh!) when the Rutowski Dragoons arrived and announced themselves.
"Tut, tut, nothing to worry about," said the men of the King's Regiment. With half the regiment shooting it out with the d'Eu Regiment, the other half of the King's Regiment fended off the Rutowski Dragoons. The 8th had prevailed again against overwhelming odds.
 |
| The Saxon Rutowski Dragoons pile into the King's Regiment, which is partially engaged in a firefight with the French d'Eu regiment. |
 |
| An overhead aerial view of the action in the center of the table, taken just as the third French cavalry attack is launched. Le Duc de Fitzjames can be seen taking a few snapshots of the scenery. |
The men of the King's Regiment, perhaps now they should be known as The Diehards, reloaded their muskets, tightened up their bayonets and then waited for the next attack. This time, the Rutowskis returned with the Gendarmerie de France, no less! Sheesh, what do we have to do to get a little respect around here?
 |
| The Gendarms, on the right, join the Rutowski Dragoons. The weight of numbers proved too much even for The Diehards, who broke and routed. |
The King's Regiment was now down to one figure over half strength (they would have had to take a morale check to stand up to the charge if they had less than half their original strength) - 31 figures out of the original 60 figures in the regiment. However, the weight of numbers was with the French-Saxon cavalry and the men of the King's Regiment were finally broken in the melee.
Sometimes in a wargame, a particular unit stands out and does something heroic that will be talked about in future games to come. Die hard men of the King's Regiment, die hard!
And Now For Something Completely Different - Action in Other Areas
OK, so in other areas of three 36 foot long tables, some stuff was going on in one area, and some people were doing things in another area. Who knows what; I'm up to my eyeballs in horse flesh and I have no idea of what else is going on. Fortunately, I was able to take a few photographs of the Allied attack on Malbergen.
 |
| Hanoverian troops (I know, British flag - stand ins for Hanoverian troops) attack the village of Malbergen, which is stoughly held by the Irish Bulkely Regiment. |
 |
| On the left side of Malbergen, the Hessian brigade of von Imhoff attacks Nicolai's French brigade, which is supporting the defense of Malbergen. In the foreground, von Wangenheim's super brigade of British, Hanoverian and Prussian grenadiers sit idly by and watch the action. |
Ah, who cares? Let go back to the cavalry action in the center of the battlefield. You know, the place where legends are made.
The French Third Wave of Cavalry. Don't these guys ever give up?
Now the large (5 squadrons) 60-figure regiment of French Carabiniers decided to join in the fun and they decided to charge into anything wearing redcoats.
 |
| The French Carabiniers close with the Coldstream Guards. The Royal Welch Fusiliers are to the right, en potence. The Howards' are in the rear facing the other way. |
 |
| In the middle background you can see the French Gendarmes attack, described elsewhere in this report. |
 |
| My goodness, that's a lot of French cavalry! |
 |
| Not anymore |
 |
| Present, fire! |
Oh, By the Way, Lord Sackville Finally Stirs.
At the start of Turn Six, the British cavalry brigade of Lord Sackville finally saw fit to earn their pay today and they advanced forward in two lines.
 |
| A French general is amused by the sight of Sackville's cavalry finally beginning to stir. |
And Then Time Ran Out
It was now about 3:30Pm in the afternoon and we had been fighting since about 9:30AM in the morning, with a one hour lunch break.
Way way off in the far corner on the Allied left flank, von Wangenheim had stopped de Broglie's attack against some earthworks. Wangenheim also had a secure hold on Kutenhausen, so the left flank of the Allies was totally in their favor.
In the center, the French maintained a death grip on Malbergen and it didn't look like they were going to be dislodged any time soon. They had repulsed von Scheel's Hanoverian brigade and von Imhoff had lots of fresh troops, but it was going to take several more hours of game time to play this out.
On the Allied right, Lord Sackville was now taking his brigade on an afternoon's trot, but they were looking at three fresh French battalions in Guerchy's brigade and three more battalions from Prince Xavier's Saxon brigade was advancing in the center to support the cavalry attack.
Counting noses, it looked like the battle was going in the French favor in the Allied center and right flank areas. And those dang Commissaire-General cavalry were prancing about in the rear areas of the Allied lines.
We all agreed that the French had won the Battle of Minden 2019.
We all agreed that the French had won the Battle of Minden 2019.
 |
| The Minden Theatrical Players FRONT (L-R) Gary, Rolf, Brent, Jim and General Pettygree (in hat) BACK ROW (L-R) Der Alte Fritz, Chuck the Lucky, Kieth (our host) and John the Formidable. |
My thanks go out to the other eight players, four of whom had travelled from Minneapolis, MN to play in the game. They are a great group of guys with a great sense of humor and the sense that we are here for a social gathering as much as it is for a wargame. Thanks also must go to our host, Kieth L. for providing a magnificent playing venue, and to his wonderful wife, Donna, for cooking a very tasty mid-day meal and never-ending plates of home-baked sweets and snacks.
Undoubtedly there will be more gala big battalion games in the future. Next time I hope that we can gather in more travelers from far and wide to join us in our game.
Undoubtedly there will be more gala big battalion games in the future. Next time I hope that we can gather in more travelers from far and wide to join us in our game.