


 |
| The baggage zariba in the foreground and Stewart's Camel Corps troop forming square in the upper righthand corner. Metemmeh and the Nile can be seen in the far background. |
Following up on his victory at Abu Klea earlier this month, General Herbert Stewart advanced his Desert Column onwards to Metemmeh and the Nile River. The objective was to reach the Nile and meet up with Gordon's steam boats from Khartoum. The boats would then transport the 1,000 plus troops of the Camel Corps to Khartoum, for what purpose, only God knows. The Mahdi had already invested the city with something on the order of 40,000 Dervish troops.
However, orders being orders, Stewart pushed on to the Nile. At the very least his troops would need the water to survive for much longer so there was nothing else left to do. Stewart led the majority of his troops forward to the Nile and left a rear guard behind to protect the wounded, the baggage and the rest of the artillery.
 |
| General Herbert Stewart (on camel on the right) and his staff survey the scene in front of them. |
 |
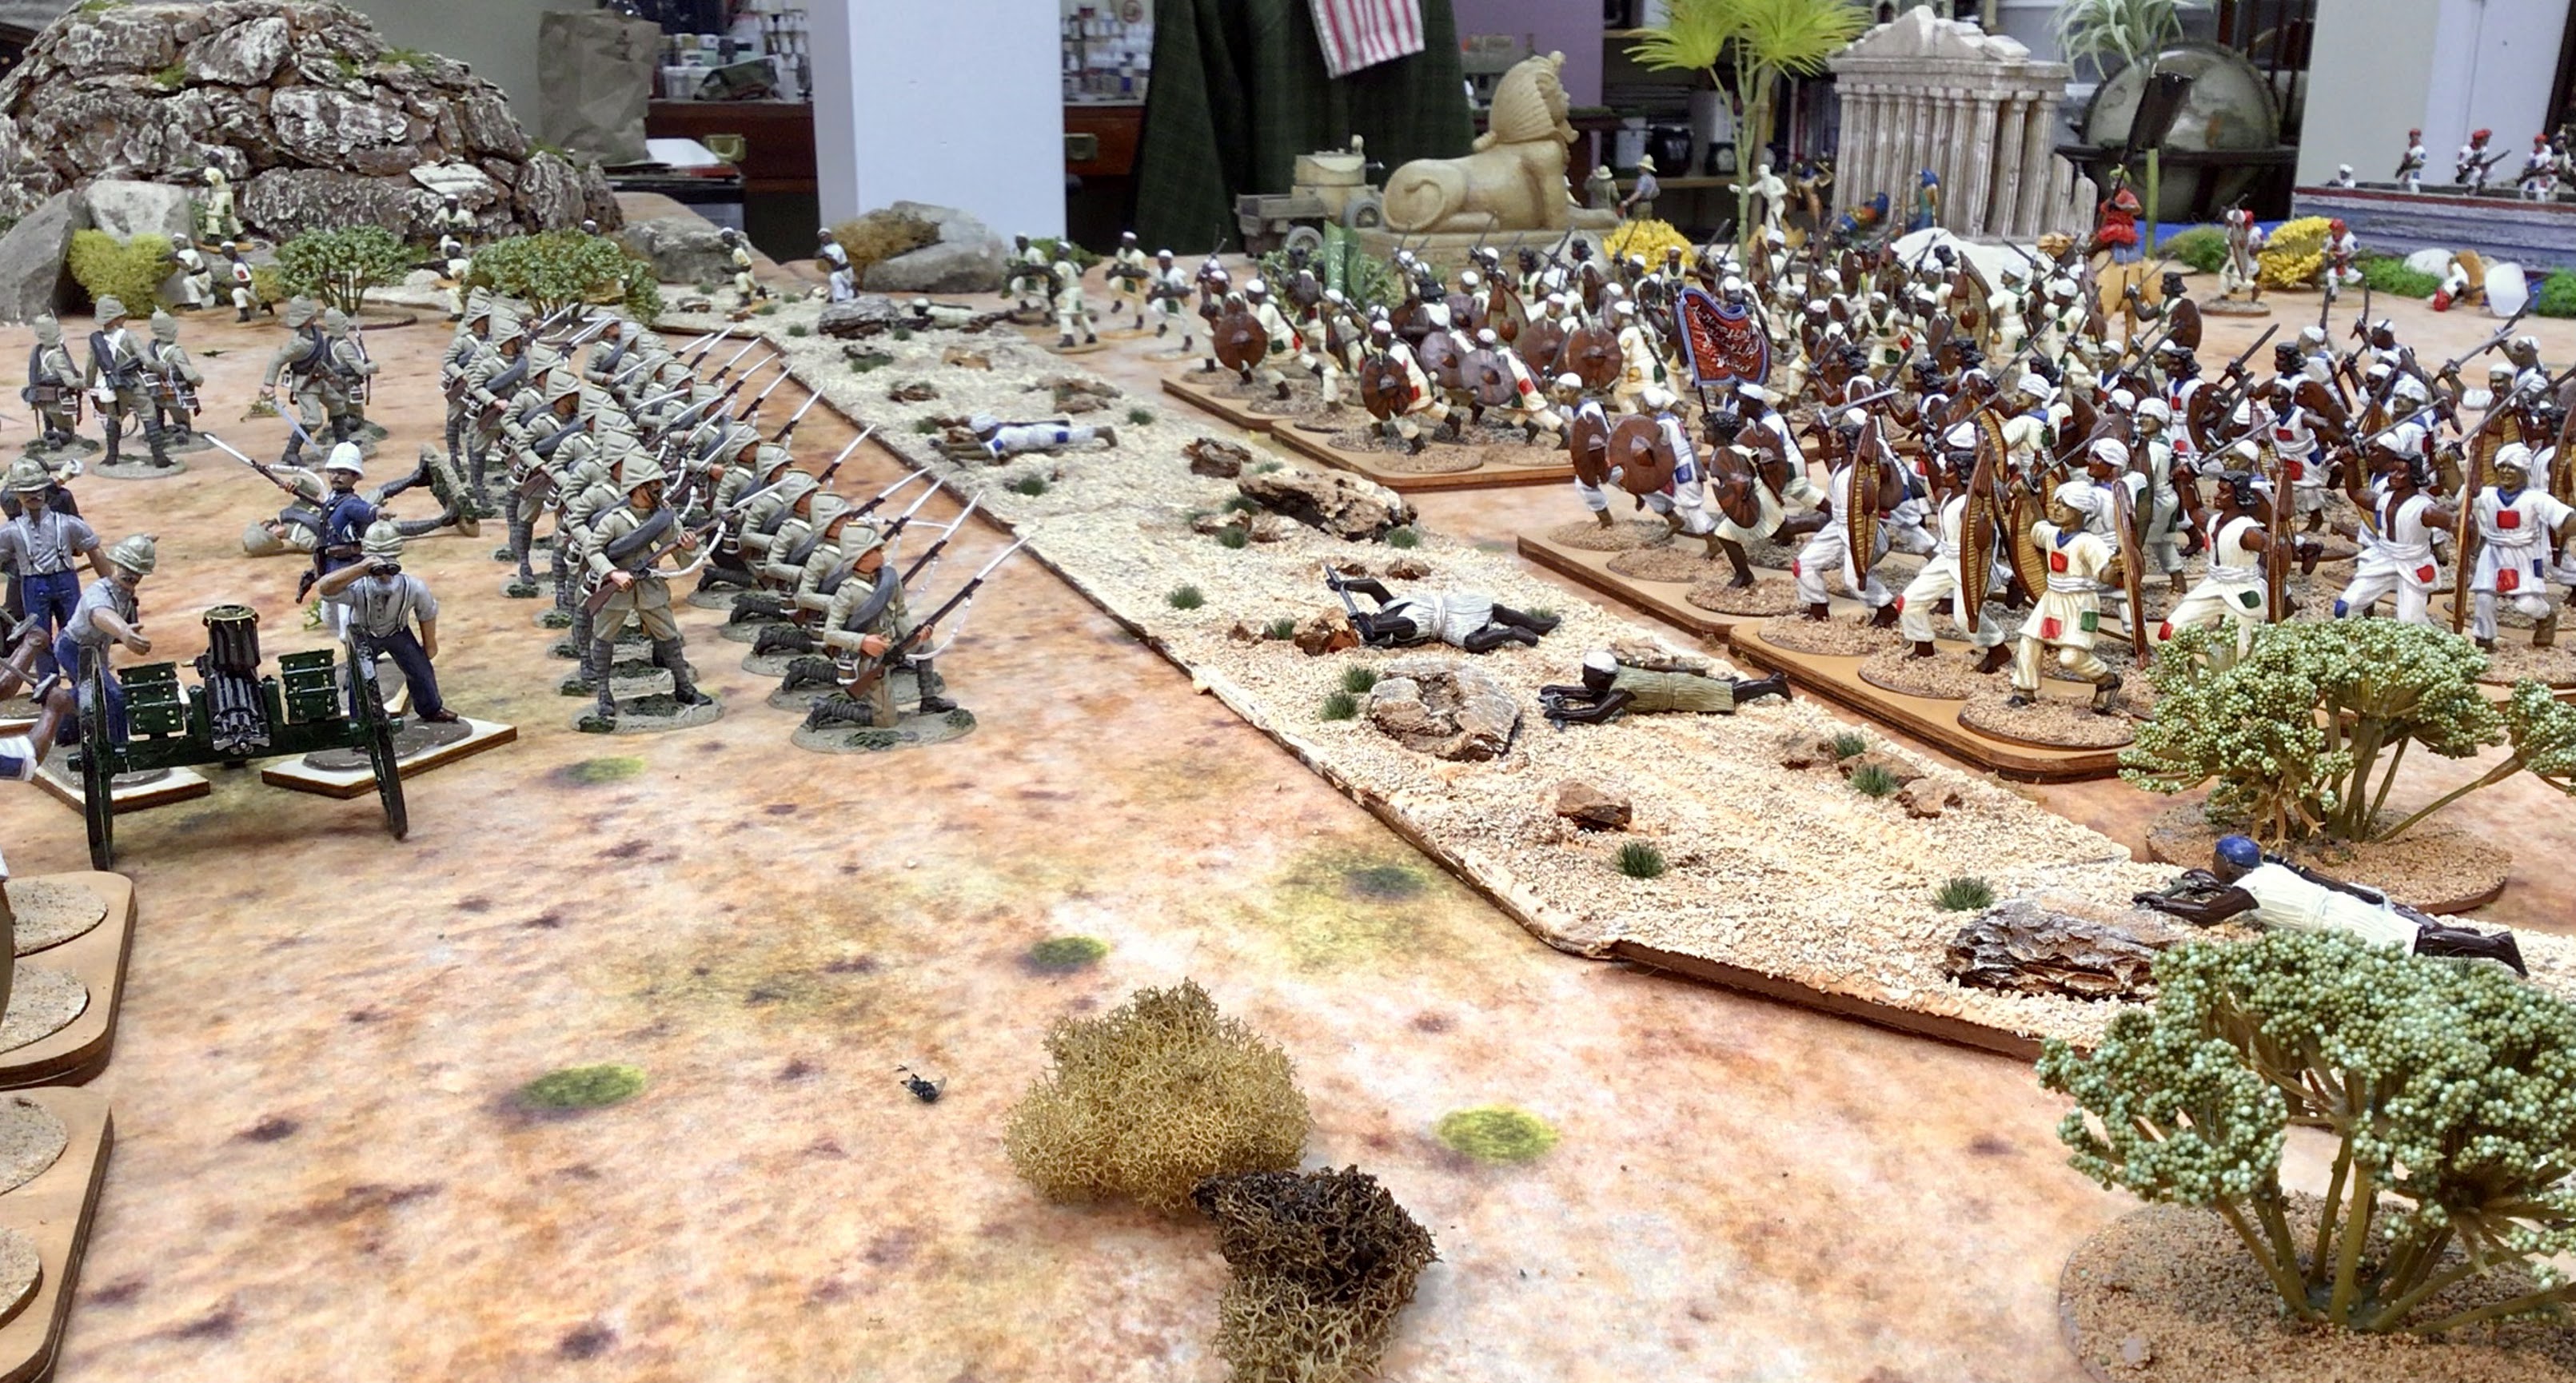
| This is what they see: the Metemmeh contingent of the Dervish army. Dervish riflemen hide in the wadi in front of the village of Metemmeh. |
 |
| And what do we do when we see Dervish? Why form square, of course! |
 |
| Berber riflemen take pot shots (from the comfort of hills, rocks and Acacia trees) at the British square. |
 |
| Dervish riflemen surround the British square. |
The Potted History Bits
The historical armies' strengths at the battle are estimated at 1,200 British and as many as 7,000 to 8,000 Mahdists. British losses from the battle were 121, including General Stewart who was mortally wounded, and the Mahdists losses are unknown, but thought to be considerably higher. Lt. Colonel Mike Snook, in his book Go Strong Into The Desert, estimates 900 men in the square and 454 in the zariba (excluding medical, transport, commissariat and other non-combatants totaling 120). Snook estimates that there were 300 native drivers and 2,750 camels in the zariba. Total casualties were 26 killed and 100 wounded during the battle.
Below is a map depicting the historical disposition of forces at the battle. Stewart had moved his main force onto a piece of high ground and established a square to fend off the expected Dervish attack. The baggage zariba was located on another hillock that could provide artillery support for Stewart's command. Arab riflemen circled around Stewart's position and peppered it with an endless staccato of bullets, killing and wounding a number of soldiers, Stewart amongst them. He would die several months after the battle.

I highly recommend acquiring a copy of Mike Snook's book, cited above, for the amount of detail, maps and readability of any book that I've read about this part of the campaign. Copies are available from the Perry Miniatures web site.
*****************************************************
Back To The War-game Stuff
Here is the roster of forces in my wargame which was fought over the course of two days (September 28-29, 2022):
Desert Column Forces
45 x Camel Corps
40 x Yorks. & Lancs. regiment
12 x Egyptian Lancers (substituting for the 19th Hussars in my army)
1 x Gatling Gun with four crew
1 x War Correspondent (a brave soul)
2 x Senior Officers (Stewart and Wilson)
1 x Gadabout glory seeker (Colonel Frederick Burnaby)
Total figures: 107 figures
Baggage Train Guard at the Zariba
20 x Yorks. & Lancs. regiment
2 x Gatling guns (8 crew total)
1 x 7-pound Screw Gun (4 crew)
1 x Senior Officer
Total figures: 35 figures
The Dervish army, of course, would attempt to interdict the Desert Column's march to the Nile and destroy it if at all possible. Noting that the Mahdists did not engage all of their forces at Abu Klea, I assumed that the same variable would be present at the follow up action at Abu Kru.
Dervish Forces
96 x Berber Contingent
100 x Metemeh Contingent
50 x Beja warriors
40 x Riflemen
The above list of forces reflects figures that are available in my collection of 54mm Dervish troops and do not reflect the actual forces engaged in the battle.
****************************************************
I am mindful of the fact that battles in the Sudan start to look the same: a British square forms up in the desert and it is attacked from all sides by crazed Dervish fanatics, etc. There is probably some truth to that, but I find that each battle sort of tells its own story. The roll of dice determine the fate and outcome and storyline of my battles.
 |
| The Berber Contingent blocks the direct path to the Nile, but look out for the Metemmeh warriors creeping up through the Acacai trees out there on the right flank. |
Turn One:
My wargame of the Battle of Abu Kru lasted five turns. The first turn saw the square advancing towards a dry wadi in their path between them and the Nile River. At the same time, Dervish riflemen surged around the sides of the square and delivered an ineffectual, but unnerving, fire on the British team. General Stewart knew that an attack was coming, so he ordered the square to stop short of the wadi and take up the defense. Note that crossing the wadi disorders the troops that attempt to cross.
Turn Two:
The Dervish commanders remembered from the previous battle that charging a British square in piecemeal fashion was a pointless exercise, so this time they chose to send in everyone at the same time. I might have elected to pepper the square with small arms fire for a couple of turns, but I don't disagree with the Dervish decision to go on an all-out attack on the same turn. Another advantage for the Dervish is that it limited the amount of artillery support that the zariba contingent could provide to their compatriots in the square because our rules don't allow for firing into enemy troops that are engaged in a melee.
The pictures below depict the Berber Contingent charging the square from the right hand side with a supporting band of Beja warriors, on the bottom of the picture, attacking a different face of the square. The Berbers had two 50 figure war bands, but they elected to divide them into two 30 figure groups and two 20 figure groups. The thinking was that this might get the maximum number of Dervish into the face of the square as soon as possible. The uncertainties of dice rolling caused one unit of Berbers to refuse to charge, resulting in a sort of checkerboard attack pattern.
 |
| Well dash it all! The Dervish decided to attack with everything from every side of the square. I say, not very sporting of them. Eh? |
All that said, the Beja warriors made a dash for the square face that was closest to the zariba, and as expected, they got hammered from the artillery fire coming from the zariba (Gatling Guns and a 7-pd Screw Gun). They lost 14 of 50 figures due to the artillery fire, yet they still rolled on towards the square.
On the front face of the British square, the Metemmeh Contingent trotted up to the edge of the dry wadi in preparation to charge the square on the following turn.
 |
| The Metemmeh tribes advance at the trot towards the front face of the British square. The dry wadi to their front will disorder them (the Berbers) as they hurl their bodies into the battle. |
 |
| Egads, that's a lot of Dervish. And they are coming my way! |
 |
| The Berber unit just barely visible on the right lost 7 of 20 figures but still managed to pass morale and close with the square. The unit in the center simply refused to charge and the Berber unit on the left closed with the square, lost 9 of 20 figures, and fell back a full move in disorder. |
 |
| Camel Corps troops and their trusty Gatling Gun make short work of the Berber charge. |
 |
| TURN THREE - the Beja attack from the the bottom face of the square in this picture. |
 |
| One side of the square is now a thin khaki line as some of its men have shifted to their right to reinforce the upper left face of the square. |
The Metemmeh contingent attacked the front face of the square.
 |
| Gentlemen, may I introduce you to Mr. Gatling's invention. |
 |
| Nearly 100 Metemmeh Dervish swarm over a third the number of Yorks & Lancs soldiers. |
 |
| When all else fails, count on Colonel Burnaby. Note that the Gatling gun crew have fired and abandoned their gun. |
 |
| War correspondent Melton Prior can be seen scribbling a farewell note to Mother as the Dervish break into the British square. He is joined by the crew of the Gatling gun. General Stewart has joined the fray, atop of his camel to lend support. |
 |
| The three Berber units on the right: the one in the bottom right corner is recovering its morale after being pushed back; the second unit in the middle has closed near the corner of the square and take on the Camel Corps; and the third unit on the top right is routing away after getting shredded by the steady fire of the British troops. |
 |
| The Metemmeh men push back the Yorks & Lancs men and break the square. |
 |
| The other two sides of the square have held their own, repulsing the attackers, but the battle will be decided on this side of the square. |
 |
| The men in the zariba watch in awe as the Dervish seem to overwhelm the square. They can't do anything to stop it due to the ongoing melees taking place this turn. |
To summarize the events of Turn Three, the Beja and the Berbers were repulsed on two sides of the square, a third side had turned into a skirmish line, and the fourth (front) face of the square was being over run by the Dervish from Metemmeh.
 |
| Two segments of the Metemmeh men collide with the Yorks & Lancs. |
 |
| One of the Metemmeh units falls back, probably accomplished by Colonel Burnaby all by himself. The other unit, led by the Black Flag Emir, push the Yorks & Lancs back after whittling them down to only 9 survivors. |
 |
| Aerial view of the battle depicts the extent of the Dervish break through. |
Things were totally desperate at the end of Turn Three and it seemed like a foregone conclusion that the square would break and threaten the entire column with annihilation. British soldiers were clutching rosaries, lucky rabbits feet, four leaf clovers and anything else that might protect them from the slaughter.
 |
| The British form the famous "D Formation". |
 |
| The Black Flag war band on the left continued its melee from the previous turn. The unit on the right had fallen back from an attempted charge on the previous turn, but now they return for more blood. Will it be their's or that of the infidels in khaki? |
 |
| Do we have any good tenors in the ranks? Let's hear a rousing round of "Men of Yorkshire". |
 |
| Burnaby's Camel Corps men do their part and shoot down the thinned out ranks of the final Dervish charge. |
 |
| On the other half of the battle line, the forces of the Black Flag come in strong with 35 figures... |
 |
| ... but finish the melee round with only 21 warriors as the Yorks & Lancs lads hold the line once again, albeit with rather thinned out ranks |
 |
| General Stewart lends confidence to his rank and file troops by his noticeable presence astride his camel. |
 |
| Future students of military strategy will study this battle and write a countless number of tomes about the now famous British D Formation |
 |
| The last stand of the Desert Column? It could have been worse. |
Now Wasn't That A Peach of a Time?
 |
| One of Gordon's steam boat waited for the Desert Column to arrive. |

Beautiful pictures to illustrate this excellent post. Nicely done sir! 👍
ReplyDeleteSuper pics and battle report
ReplyDeleteAnother fine looking battle Jim and a close run thing for sure. Shades of stirring Boys Own stuff type tales!
ReplyDeleteWhat a wonderful looking game - the 54mm collection really is a joy to behold - and your table and scenery is museum standard stuff - outstanding! The result was a little too close for comfort for my partisan British Army point of view, but that would make the game more appealing to players at a participation game, so is a good thing.....I suppose! Personally, I would have preferred to shoot the Fuzzy Wuzzies to pieces at 4-600 yards!
ReplyDelete