


 |
| Battle of Freeman's Farm - September 1777 |
CLICK ON ALL IMAGES TO ENLARGE
With the coming of Spring I decided that it was time to clear the Winter terrain for my SYW game off of my game table and set up a new scenario for the AWI period. Since the Fife and Drum Saratoga range figures have never crossed dice on the table top, I decided to go with some scenary near Saratoga, NY.
I looked at a number of maps for the Battle of Freeman's Farm (or First Battle of Saratoga) and could not really find one that had the close up detail that I sought. Most of the maps that I looked at were too general and really did not give me any help in seeing where the various regiments of each side fought. I finally settled on the William Wilkinson map from the US Library of Congress. This map provides the locations of the first, second, third and fourth positions of the American and British regiments over the course of the battle, fought on September 19, 1777.
 |
| The Wilkinson Map of the Battle of Freeman's Farm (Library of Congress) |
I am also consulting the maps found in the Osprey book about the Saratoga Campaign (by Brendan Morrissey). Finally, I found a close up view of the Wilkinson map in the "Campaign to Saratoga" by Don Troiani and Eric Schnitzer. This latter map is probably the best one that I have found in terms of my ability to transfer the terrain to a table top battle. I only wish that I had found this map before setting all of the terrain on my game table.
...and then I threw all caution out the window and did not use any of the maps for my Saratoga game. What I did use were several mats from Cigar Box Battles and kind of forced the battle map onto what was printed on the existing game mats.
Thus, my naming of the game as Not Quite Saratoga. Here are some of the pictures that I took today for your inspection. The American troops have not yet been placed upon the table.
 |
| Overhead view of the battlefield from the opposite direction of the picture shown in the header picture on this post. |
The Eastern end of the table is a mix of farm land and woods and is the area of the table that would be the closest to the Hudson River. There are two roads running through the woods. The Brunswick troops of von Riediesel's column will eventually travel down one or both of these roads.
 |
| American militia march past the local blacksmith's shop. |

 |
| Backyard view of the Blacksmith Shop and some nearby farms. |
 |
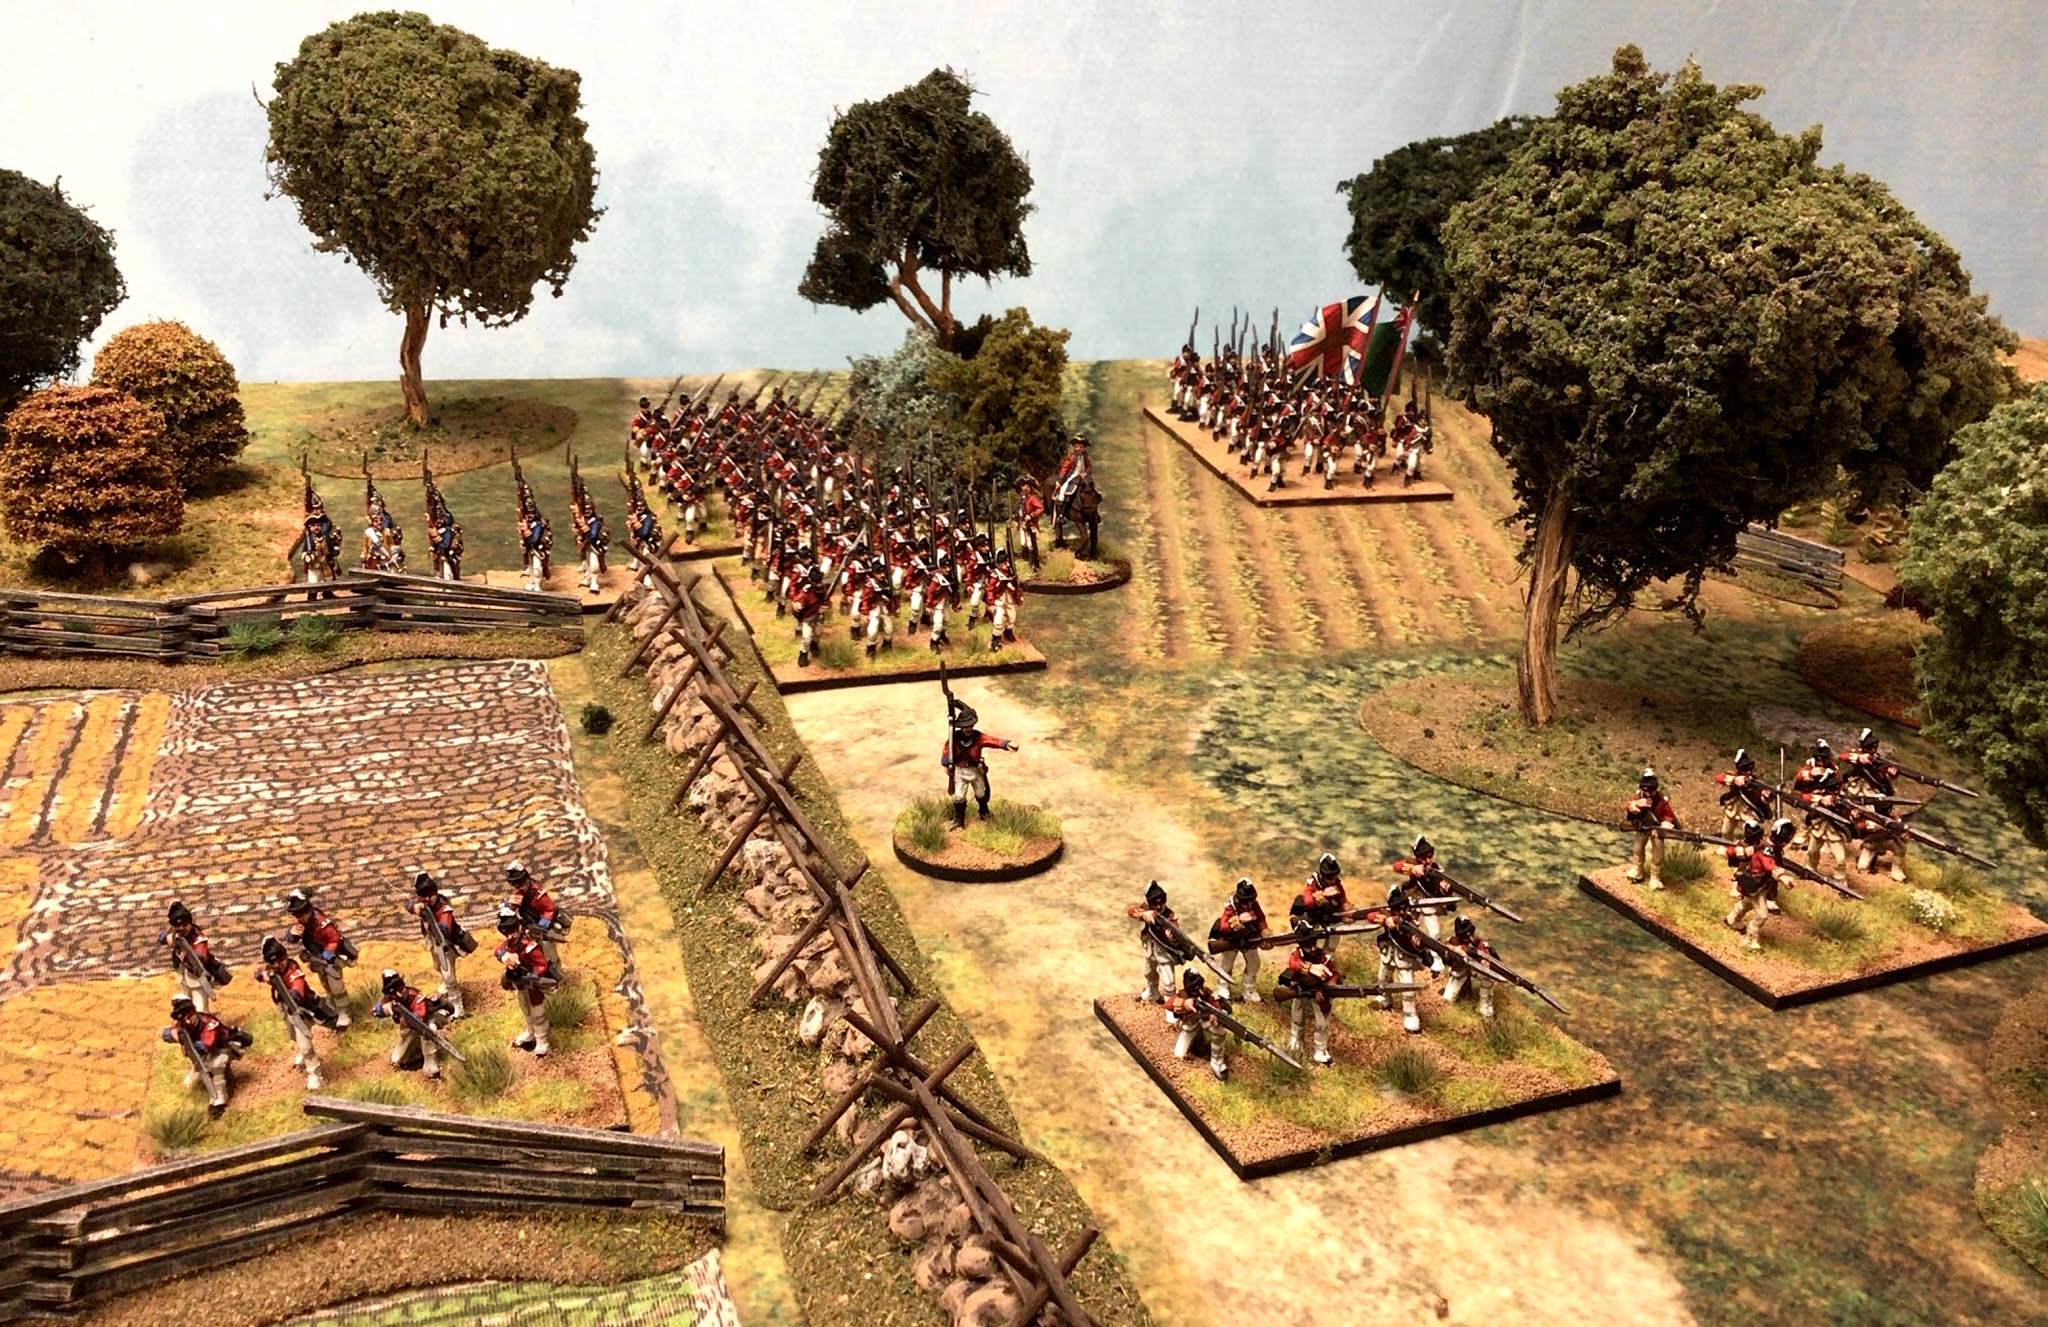
| American Militia deploy in the fields of the Freeman Farm. Now you see them... |
 |
| ... now you don't. The British 62nd Regiment advances and the Militia fall back into the woods. |

The Western End of the Battle Field
McBride Farm
 |
| The McBride Farm. Can you spot John the OFM? |
 |
| A bucolic scene at the McBride Farm as the cows are not yet disturbed by the advancing British Light Companies. |
 |
| A close up view of the British Light Company figures. Each stand represents a company from its parent regiment. |
 |
| The Light Companies take up a position along the snake rail fence line. |
 |
| American Riflemen attempt to slow down the British advance. |
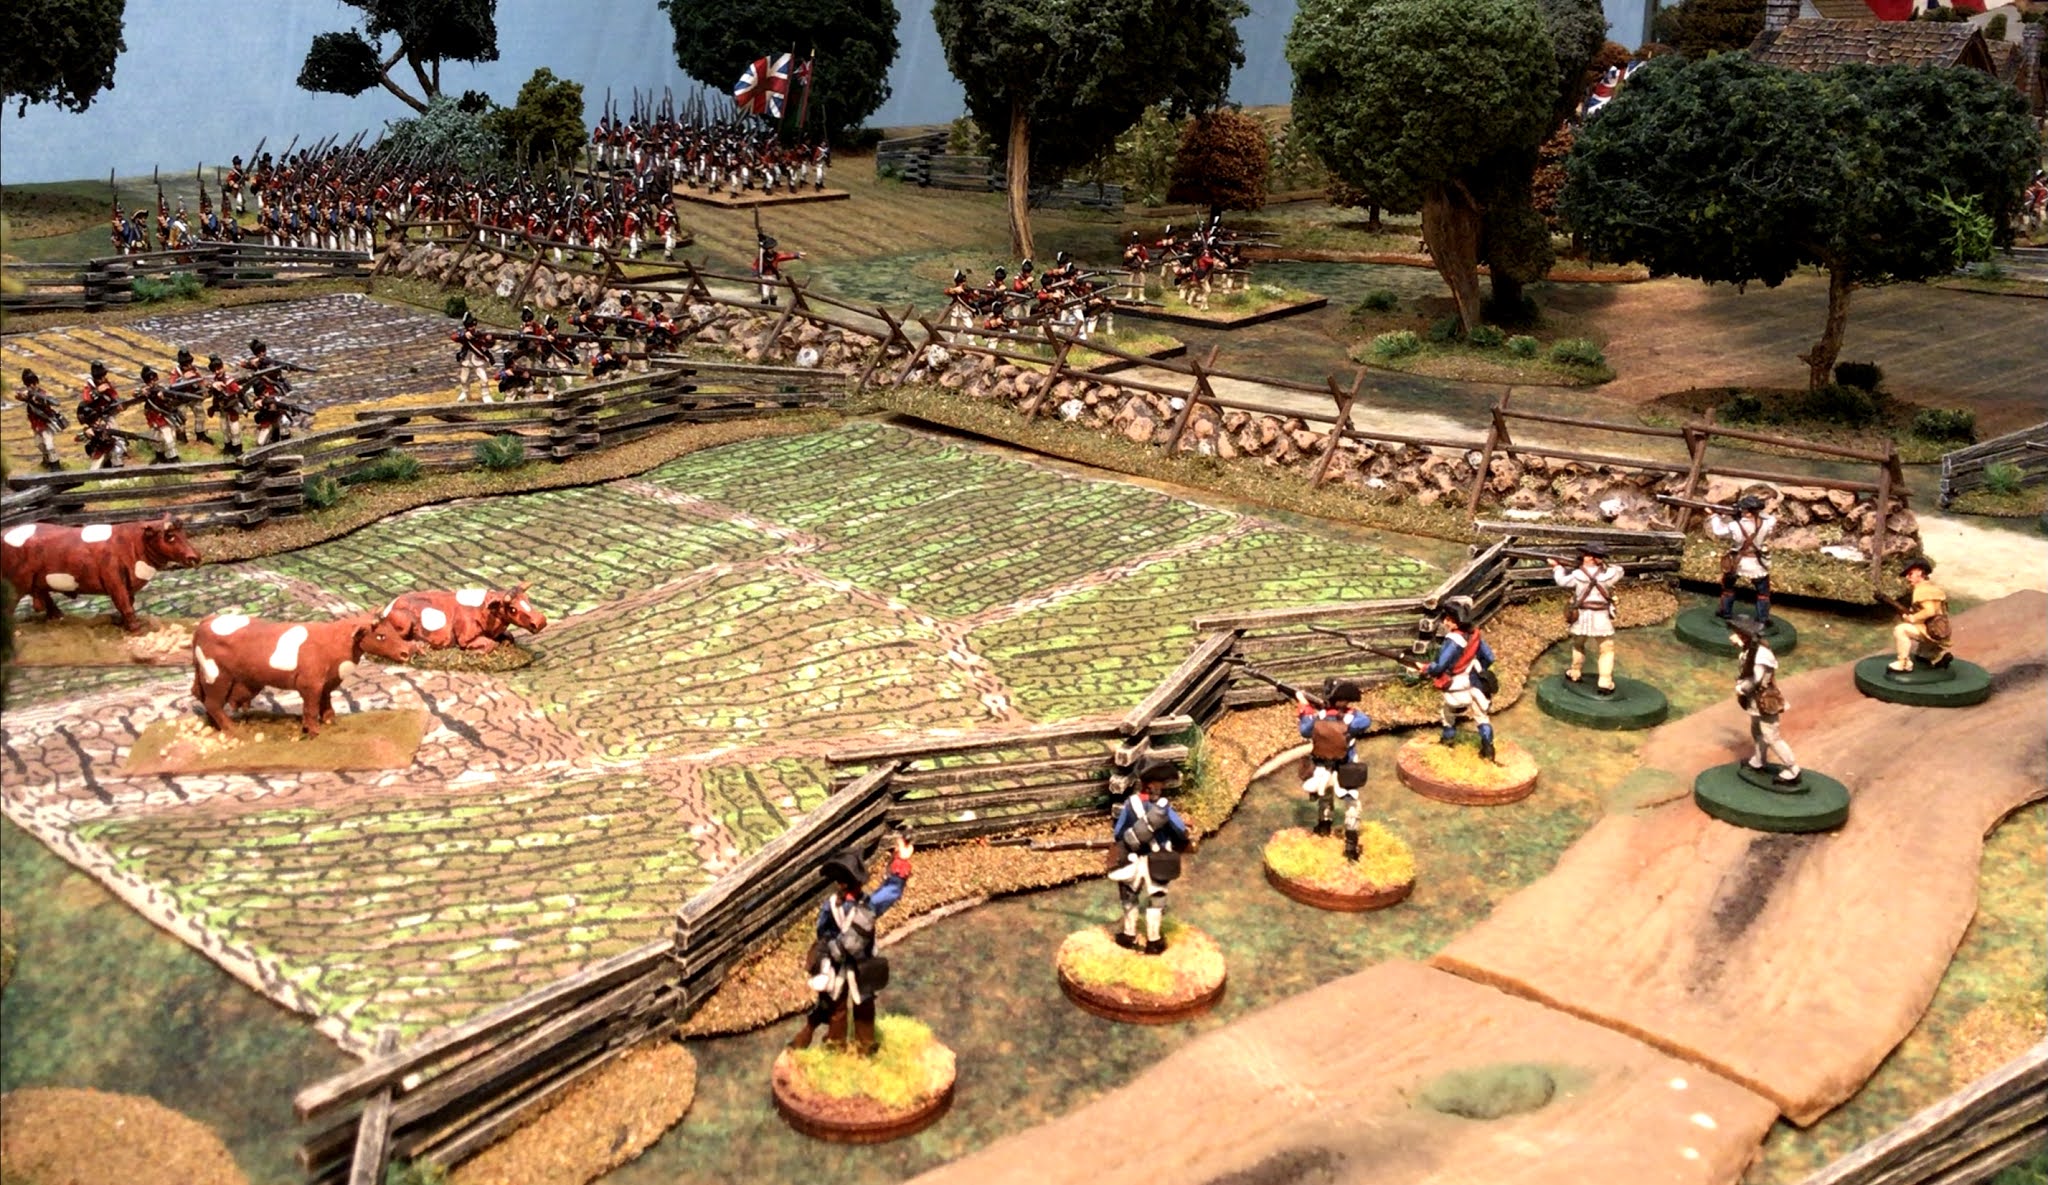 |
| The cows remain non-plused about the events around them. |
nnnnn

Impressive layout there Jim.
ReplyDeleteThat's a stunning looking table!
ReplyDeleteChristopher
That is simply splendid, a joy to look at.
ReplyDeleteThere is no other word save inspiring, that is a stunning looking tabletop, and must be a joy to play on.
ReplyDeleteOh, the lamentable fate of shell shocked cattle.
ReplyDeleteNice - and I agree, civilians in a non-military guise are essential to a well-dressed gaming table. Very nice setup.
Wonderful layout, having great figures is one thing, but you need the terrain to match. Well done and thanks for sharing.
ReplyDeletePaul
Stunning table and minis! It’s almost too pretty to roll dice over, almost...😄
ReplyDeleteThat battlefield is looking great. I love your photos very much.
ReplyDelete