


 |
| A typical narrow Roman street lined with shops on each side. |
I have my games entered for this year's Historicon and now that I know how much table space I have, I can better figure out the layout of my Roman city. I have a 6ft wide by 15ft long center table and two 3ft by 15ft "back tables" that run parallel to the larger center table. I decided that the city will be located on the end of the center table and that I will have to limit the city's footprint to an area measuring 3ft by 6ft. Anything larger will eat into the available space for the table top battle. Thus the table top battle of Hannibal versus the Romans will have an area of 6ft by 12ft.
I was going to use a three large table layout, but after running my Hannibal! games at Little Wars, I saw that I can easily run the game on two tables (or one table with two smaller back tables).
These considerations force me to think long and hard about which buildings are essential and need to be in the show, versus peripheral buildings that can be left out of the game.
Here is a picture of what the city may look like:
 |
| The view from afar. The width of the city is 6 feet so that it will fit on the end of the table. |
Here are several pictures snapped at "street level". If you play in one of my games then I encourage you to stoop down until your eyes are at tabletop level. The view really brings things to life.
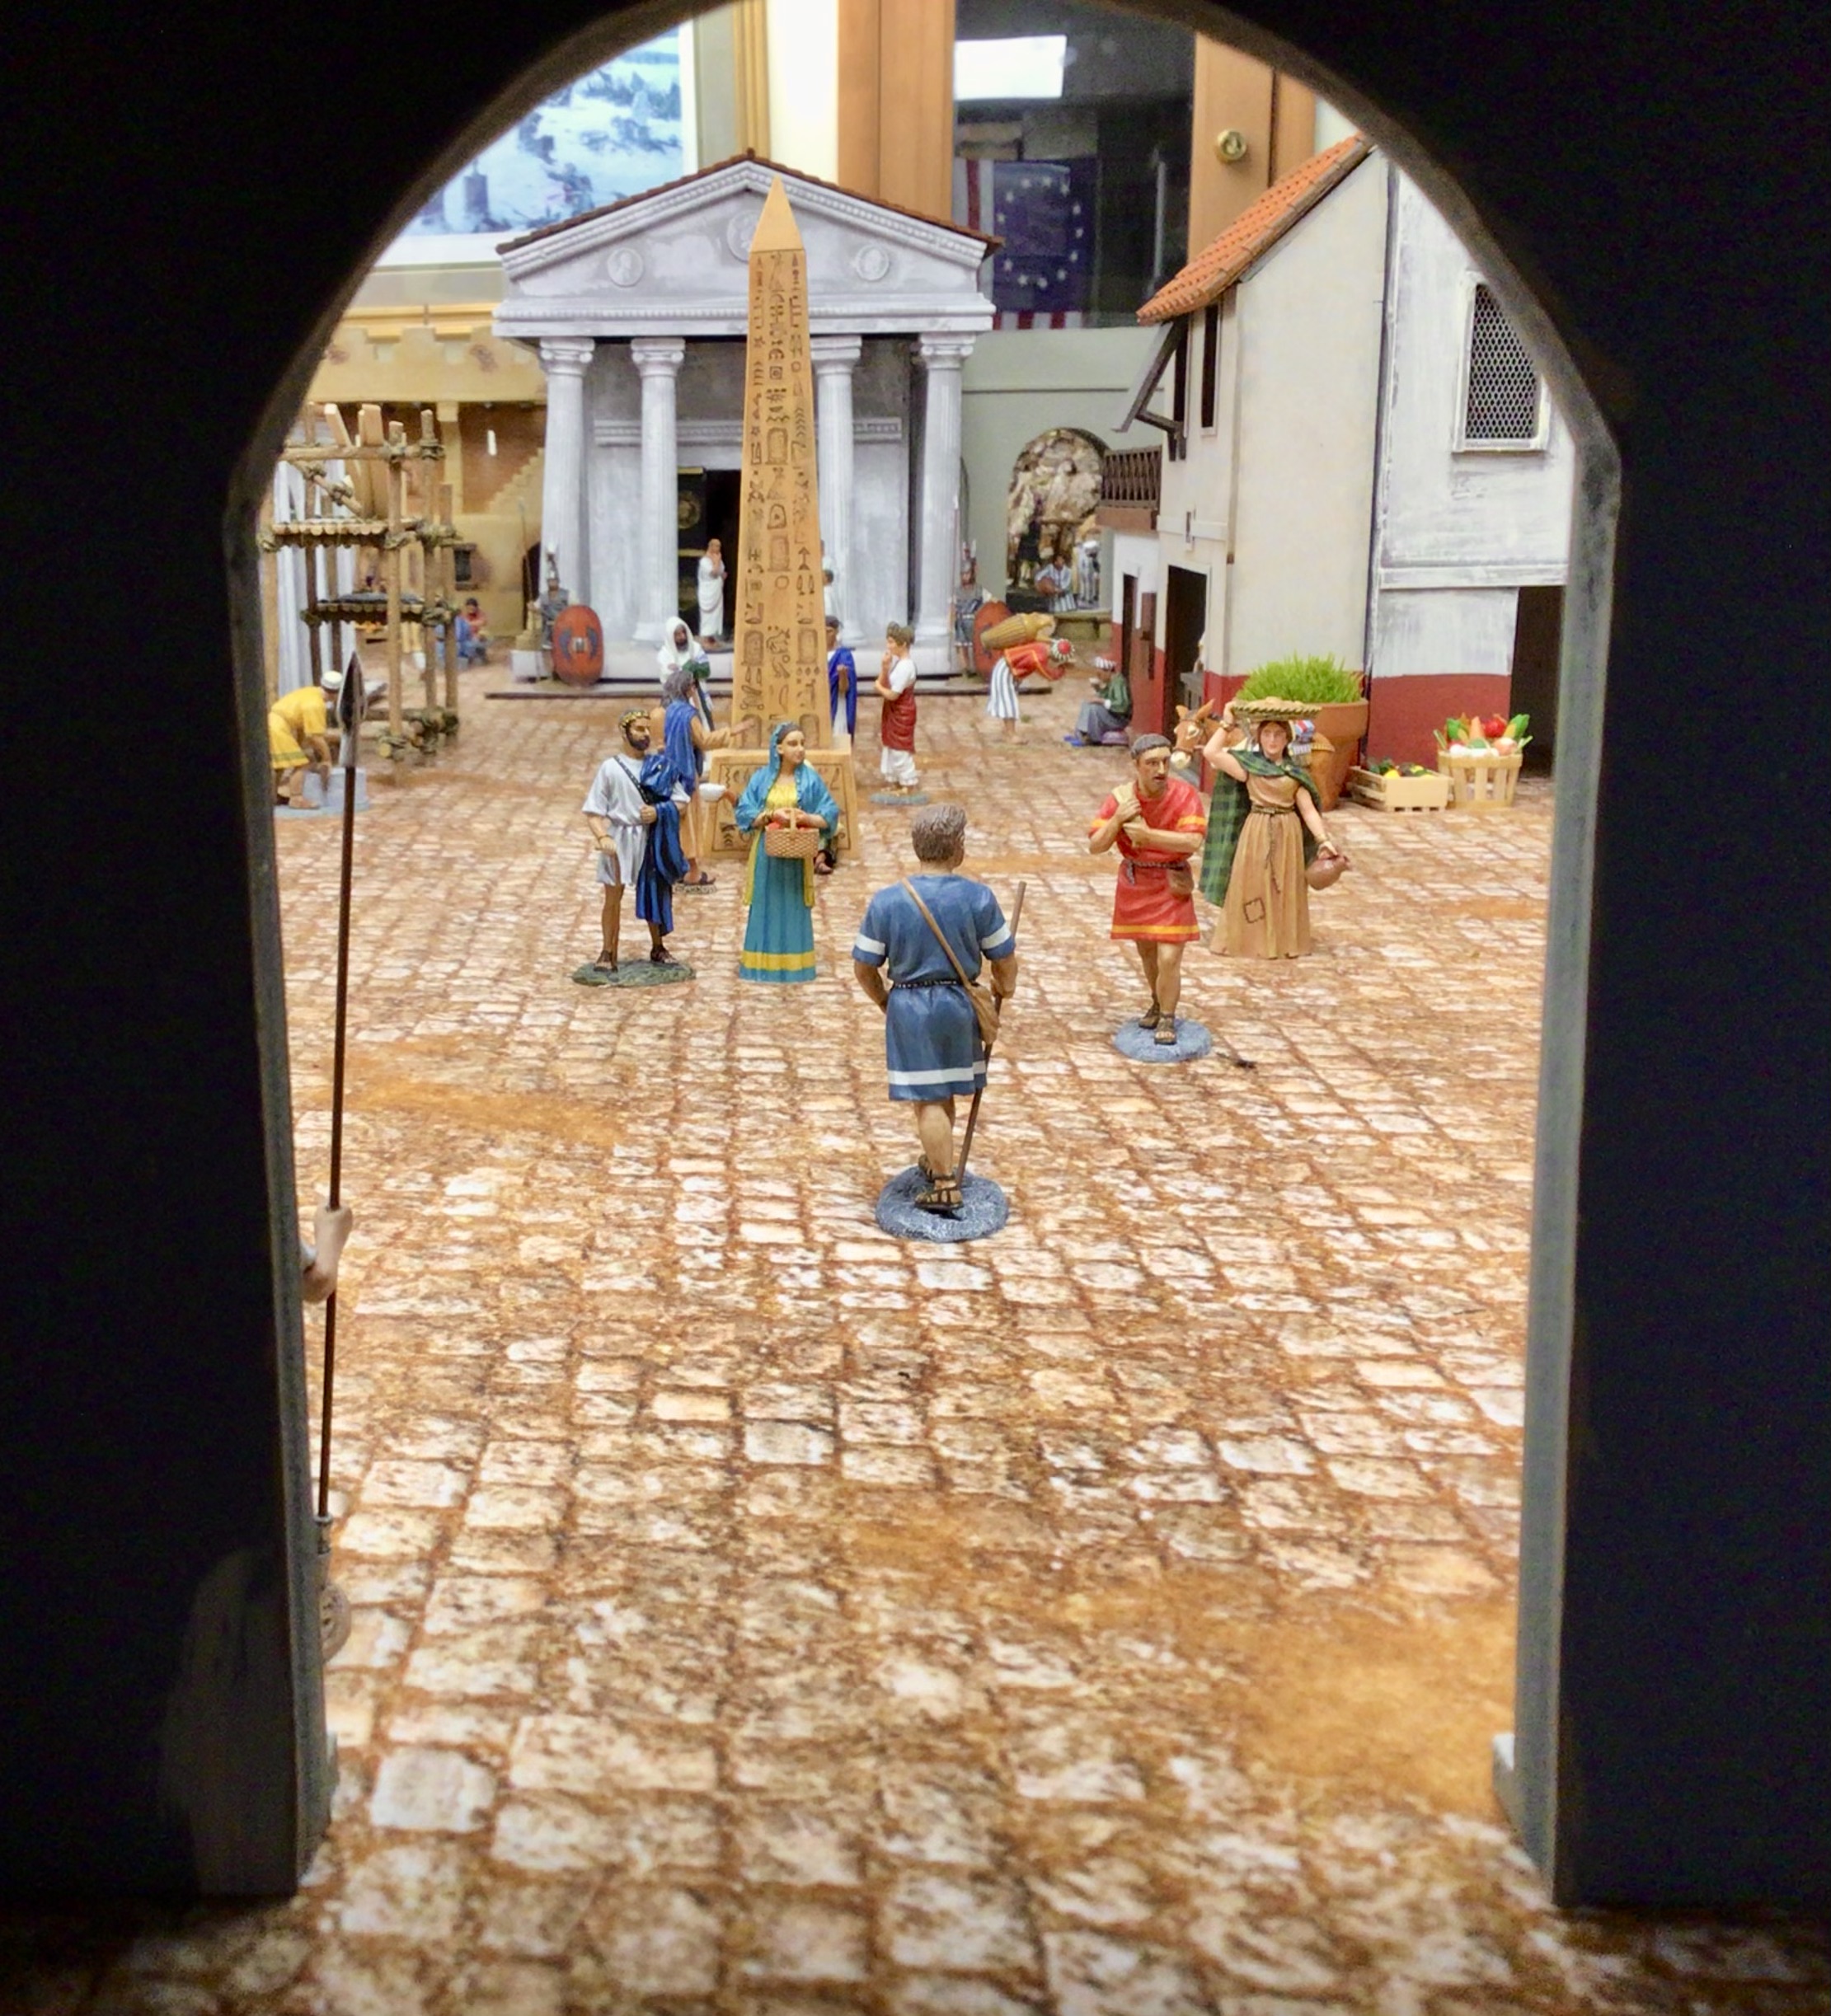 |
| I love stooping down to table level and looking at the terrain at the level of the civilian models. This picture is snapped from the entrance to the victory arch. |
 |
| Getting down to street level lends an air to realism. The buildings on the right are "facades" made by Last Post in New Zealand. My bespoke buildings are on the left side. Figures are from King & Country. This shot is similar to the one at the top of this page. |
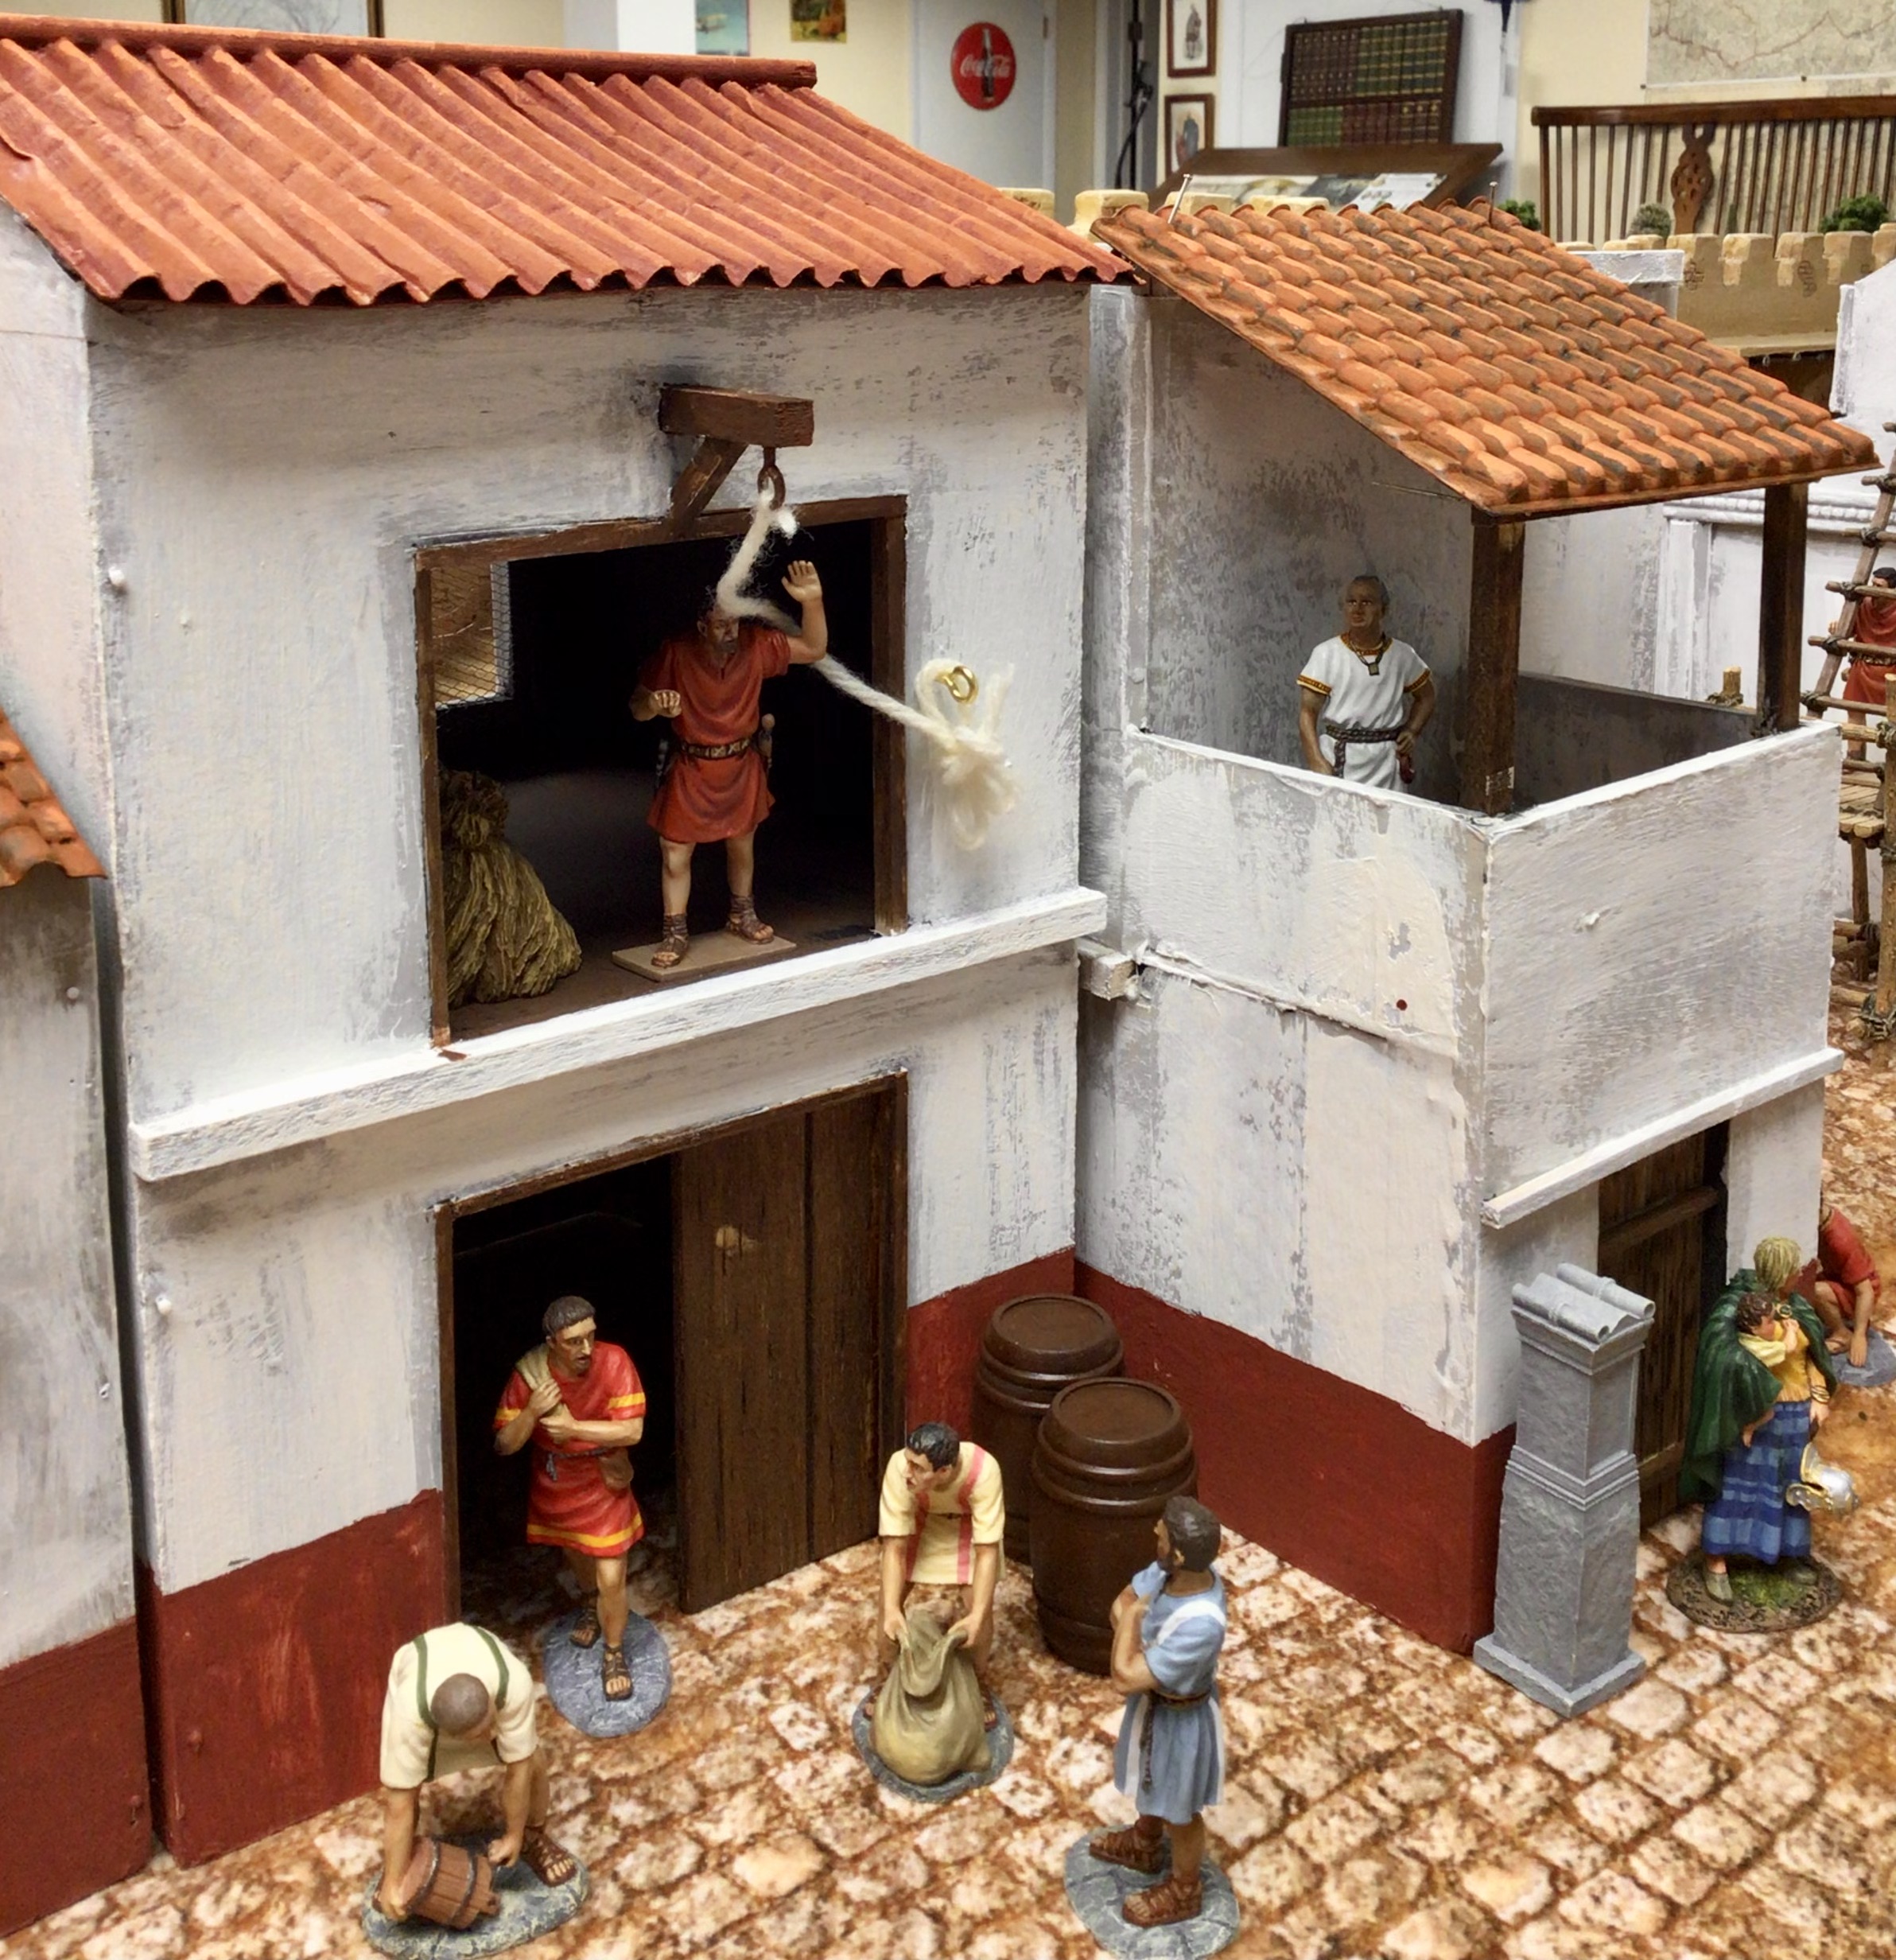
Roman Warehouse
This week I made a two-story warehouse for my city. The materials were foam core board, balsa and bass wood, masking tape, and corrugated cardboard.
 |
| The basic shape of the walls are cut from foam core board. I size doorways to one of my civilian figures. The upper story of the building is the warehouse. You can see the string and pulley, which is used to haul goods up to the second story, above the upper doorway. |
 |
| View of the rear wall of the warehouse. The door is balsa wood that is scored with straight lines to resemble wood planks. There will be a covered eave overhanging the doorway. Cardboard from a shipping box is used to make roof tiles. |
 |
| I use masking tape to cover the joins where the walls come together. This hides the join and it is easy to paint over the tape. |
 |
| Some of the wood work is stained rather than painted. |
Here is the finished warehouse model:
 |
| The front side of the warehouse. |
 |
| The back entrance to the warehouse. |
 |
| The warehouse model "in situ" placed next to other buildings. Again, King & Country civilian models. |
Here are some more pictures of the town:
 |
| The local temple where some senators gather to discuss the issues of the day. |
 |
| Overhead view of the city. |
 |
| Workers making repairs to the roof of the basilica. |
 |
| Some of the shops in the city: the cobbler (left) and the curio dealer (right) |
And finally, I was messing around with setting up a harbor scene, but I won't have enough space in my vehicle to haul this extra terrain to Historicon. Still, it gives me lots of ideas for new things. A Roman lighthouse may be in the offing.

Very realistic!
ReplyDeleteStunning photographs, Jim! Composition and depth of field are topnotch. Taken with your iPhone I presume? In any case, magazine quality on these different scenes. Perhaps an article in the next Wargamers' Annual?
ReplyDeleteKind Regards,
Stokes
Pix taken on both iPhone and iPad - amazing results without using any extra light, although sometimes I use a handheld mini light when I shoot a picture. The editing function in iPhotos helps a great deal too.
DeleteAnd yes, Charles has already corralled me into doing an article for the next Annual.LOL!
Jim
Superb looking town, the whole thing really captures the look, very impressive modelling and a very impressive table setting.
ReplyDeleteLovely pictures of the roman town; spot on - looks so realistic. Perhaps you could add a small fountain ?
ReplyDeleteSomething fun to watch ...https://www.youtube.com/watch?v=-l1O30VUQYs
I do have a nice stone fountain from King & Country. However, it was placed in one of the side streets off of the main square. I've since moved it back into the square after your comment. :)
DeleteJim
Fantastic modelling Jim.
ReplyDeleteWillz.
Nicely done! Great fun to follow along with your progress.
ReplyDelete