


 |
| Colonial America terrain |
CLICK PICTURES TO ENLARGE
This weekend Mrs. Fritz has invited two couples to our house on Saturday to play in a war game that I will be hosting. Yes, you heard that right! She told me that in our 30 years of marriage she could not recall ever having played in one of my war games and that she wanted to give it a try. The other two couples have long been aware of my hobby and they were curious enough to want to try playing a game.
With that in mind, I reasoned that a skirmish style of game would be the best type of game to play and that the AWI (or American Revolution, as we call it in these parts) would provide the most fun. Everyone is familiar with the Minute Men and the Red Coats, etc. so they will have some context and connection to the period that doesn't requiring the level of explaining that something like Napoleon's or the Seven Years War would require.
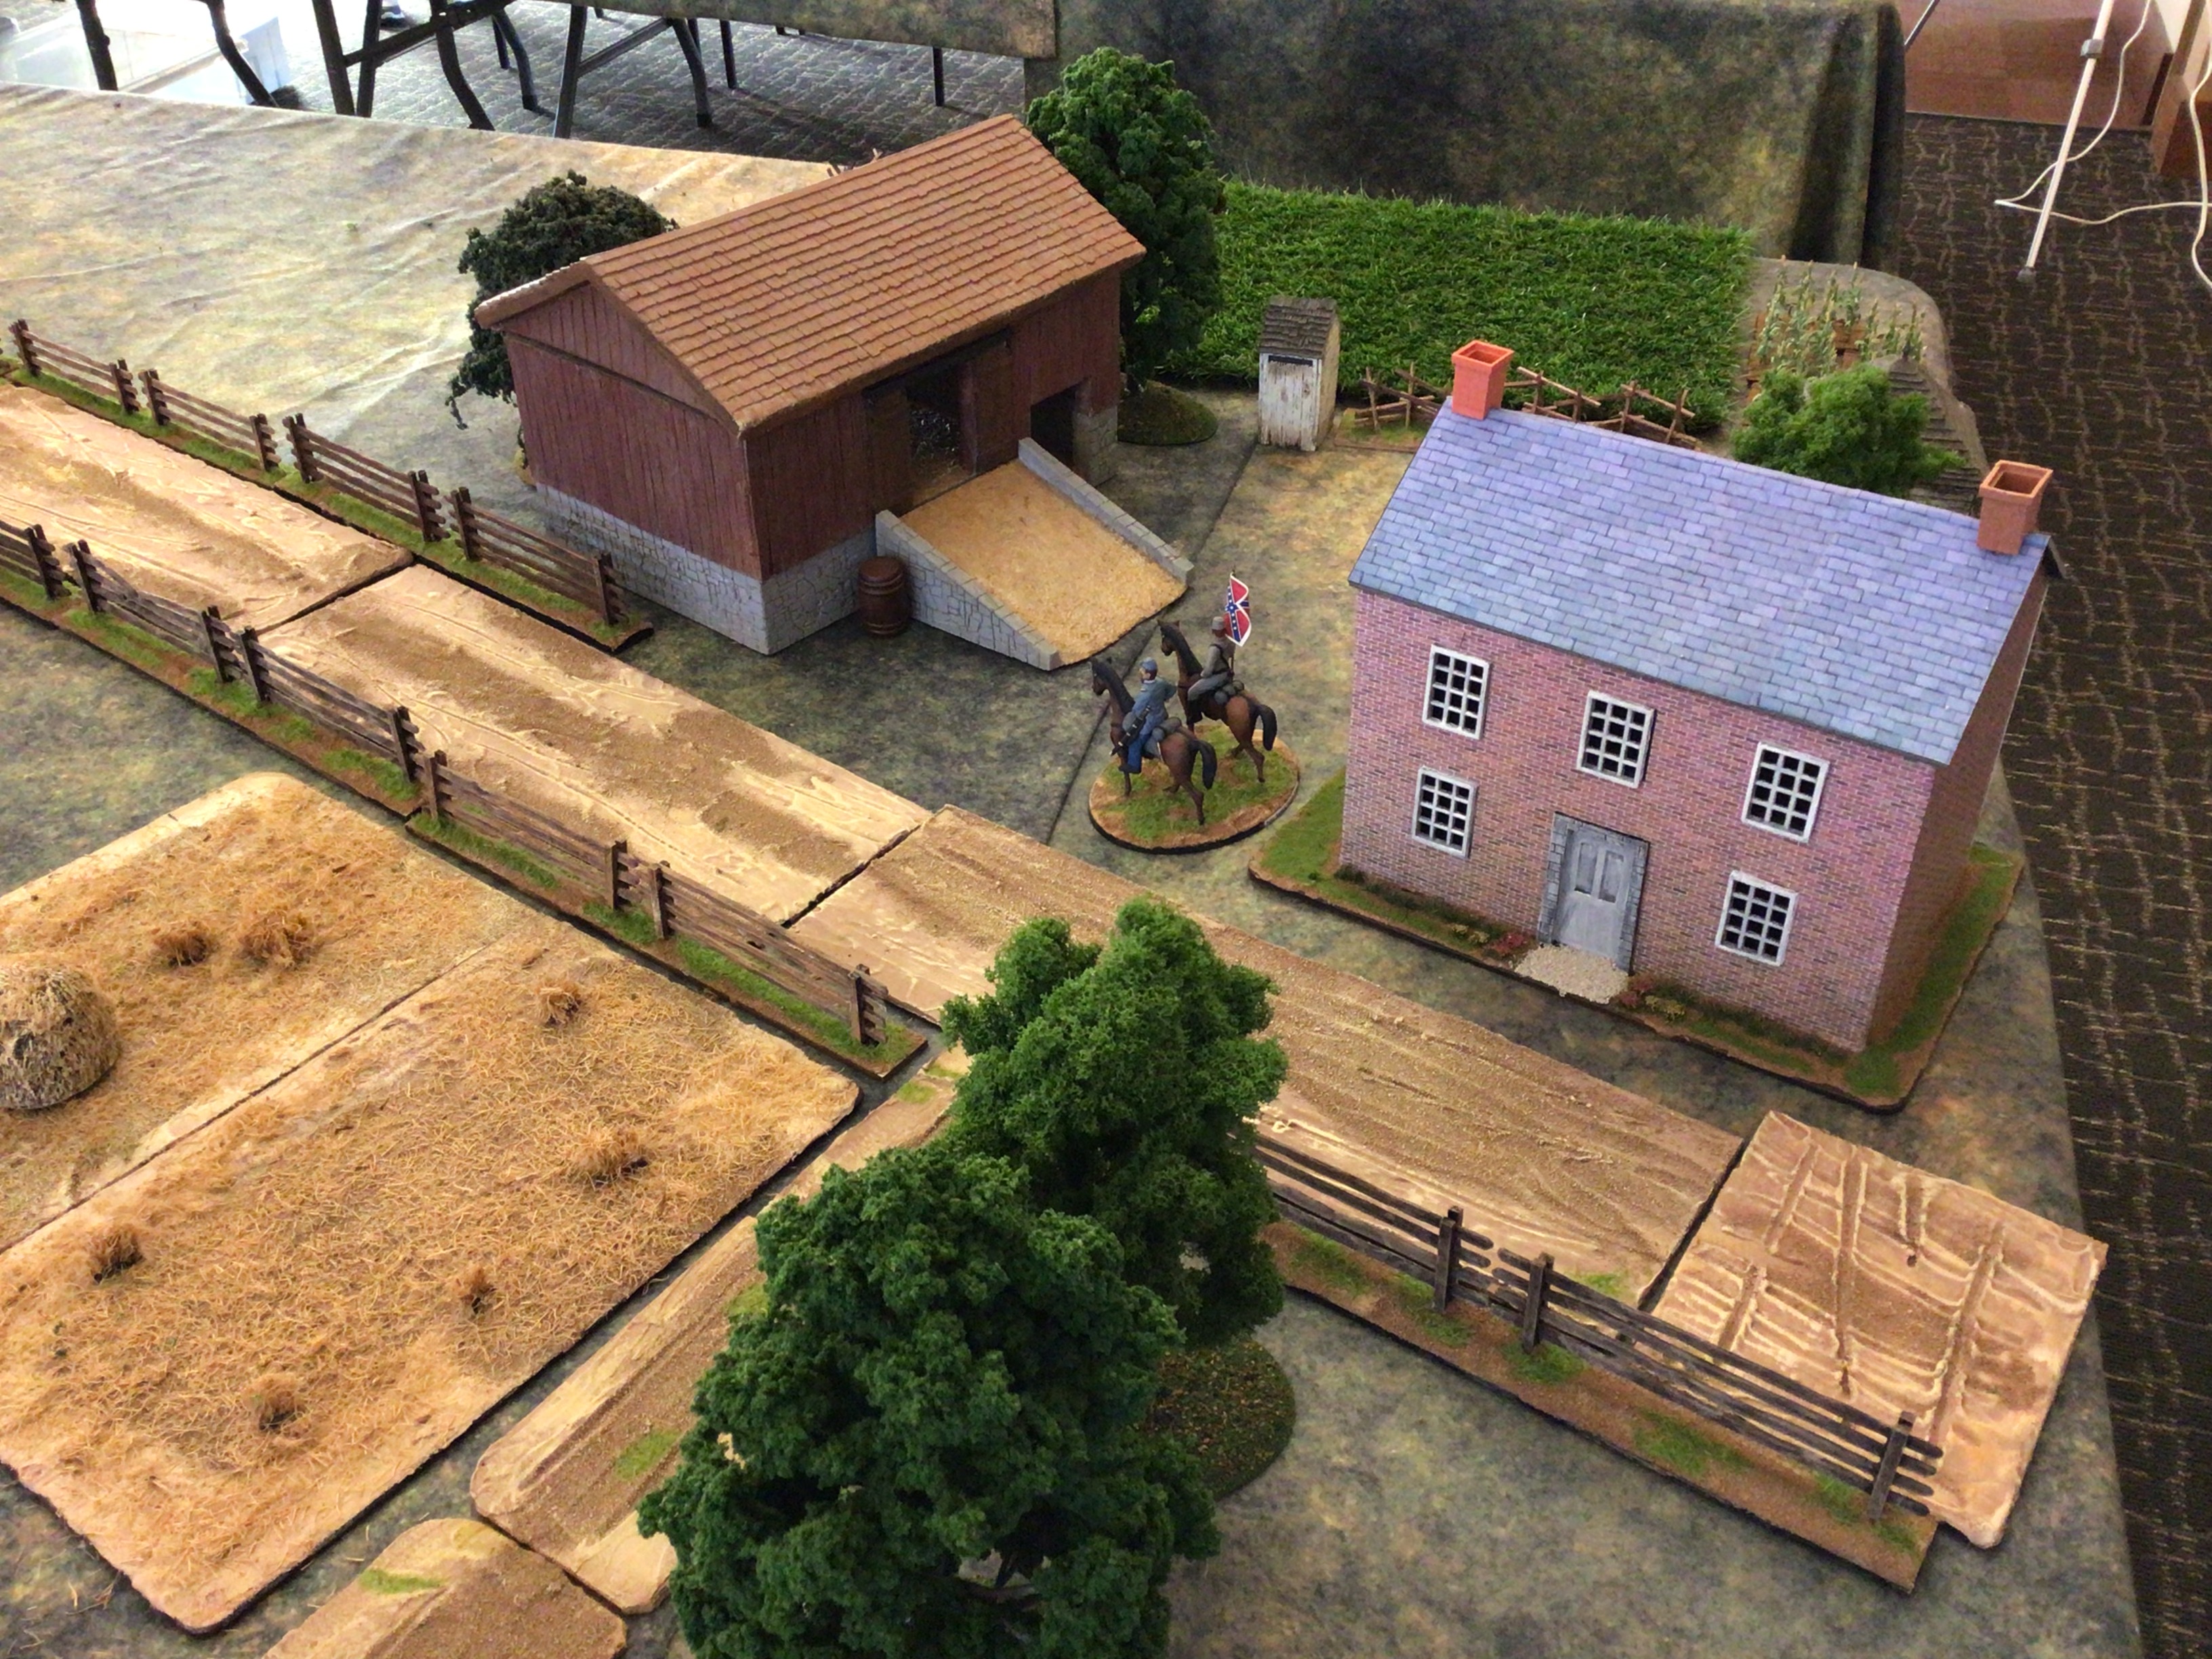
So yesterday I cleared everything off of my two parallel game tables (6ft by 12ft and 5ft by 12ft) and set up some beautiful Colonial America terrain for my 28mm Fife & Drum Miniatures AWI figures. At first, I only set terrain up on the larger table and after viewing my work, I decided that it looked good. As long as I have a second table, I thought, why not use that one as well. So I ended up terra forming two game table.
After setting up the second table, I decided that I should also hang up the light blue felt "sky" material to form a background for the scene. I use light blue felt randomly sprayed with white paint to create the impression of clouds in the sky.
Here are some pictures of the game tables that I snapped last night before hitting the hay:
 |
| I used EVERY tree that I own in my collection to populate the table top. |

 |
| The red house is modeled after one of the buildings on the Saratoga battlefield. Ed Phillips made the model as a gift for me. |
 |
| The Black Smithy in the local village of Stillwater |


I haven't entirely settled on a scenario for the game, but it will be set in upstate New York during the Burgoyne/Saratoga campaign. The setting will allow me to use some Iroquois Indians in the game as British allies. I am getting a sort of Oriskany vibe from this for a scenario.
I am envisioning several companies of British regulars going either on a foraging expedition or they have heard that one of their spies is running loose and needs to be rescued before the Rebels/Colonists/Good Guys find the spy and invite him/her to a neck tie party. Likewise, the Americans are aware that there is a spy in their midst and they want to find that scoundrel before he/she delivers important information to the evil Red Coats.
 |
| A party of Iroquois scout ahead of the British column |
Naturally there have to be some competing agendas within the commands for both sides. Perhaps the commander of the local militia has a beef to pick with the captain of the Continental relief force, undoubtedly over the affections of a woman.
The Iroquois would likely prefer to take some hostages and loot and perhaps burn down a farm house or two (payback for taking over their lands, clearing the land of trees, and general development of the land). Of course, this might conflict with the British desire to get in and get out as quickly as possible.
All of these competing agendas should create a little bit of roll playing for the gamers and make the game experience more fun. Remember, non of these players have ever played in a war game before so I want the rules to be easy and the game to be fun.
Here are some pictures of the various family farmsteads around Stillwater:
 |
| The Brown Family farm |
 |
| The town of Stillwater and a view of The Savage Swann Inn |
 |
| The Purky Family farm |
 |
| The Rose Family farm |
 |
| The LeBlanc Family farm |
 |
| The Enoch Poor Family farm |
 |
| A view of the two AWI game tables. |
As for the rules, I will be using my version of Woodland Wars by Tom Kelly. It is a playing card driven system and hand to hand combat is done using cards (high card wins the melee and the card's suit determines the outcome of the loss - Hearts = dead; Diamonds = wounded; Clubs = captured; Spades = flee and run away).
Each player will have two 12-figure units of soldiers and each of those units have two cards that identify them. All of the cards are placed into a separate card deck, shuffled, and randomly drawn from the deck. Each unit can do two things per turn (move, shoot, etc) and each card drawn represents a "phase", so it is conceivable that a unit might be able to shoot its muskets twice on the same turn. After all units have phased twice then the turn is over.
My recollection is that morale is done using a D12 die (there are 12 figures per unit) and so a player needs to roll a number that is less than or equal to the number of figures that remain in the unit. For example, a 12-figure unit of American militia lose two figures this turn, then they need a die roll of "10" or less in order to pass morale. There are only several modifiers positive and negative so as not to complicate things too much.
I am looking forward to hosting this game and seeing how things work out with people completely new to the sport of war gaming. There are two guests that I suspect will prove to be very adept and ruthless (in a good way) in their gaming style. This should be fun. After the game we will convene for dinner and happy talk.
Cheers,
Old Fritz
vv


