Friday, June 4, 2021

Heads Will Roll - Converting Figures


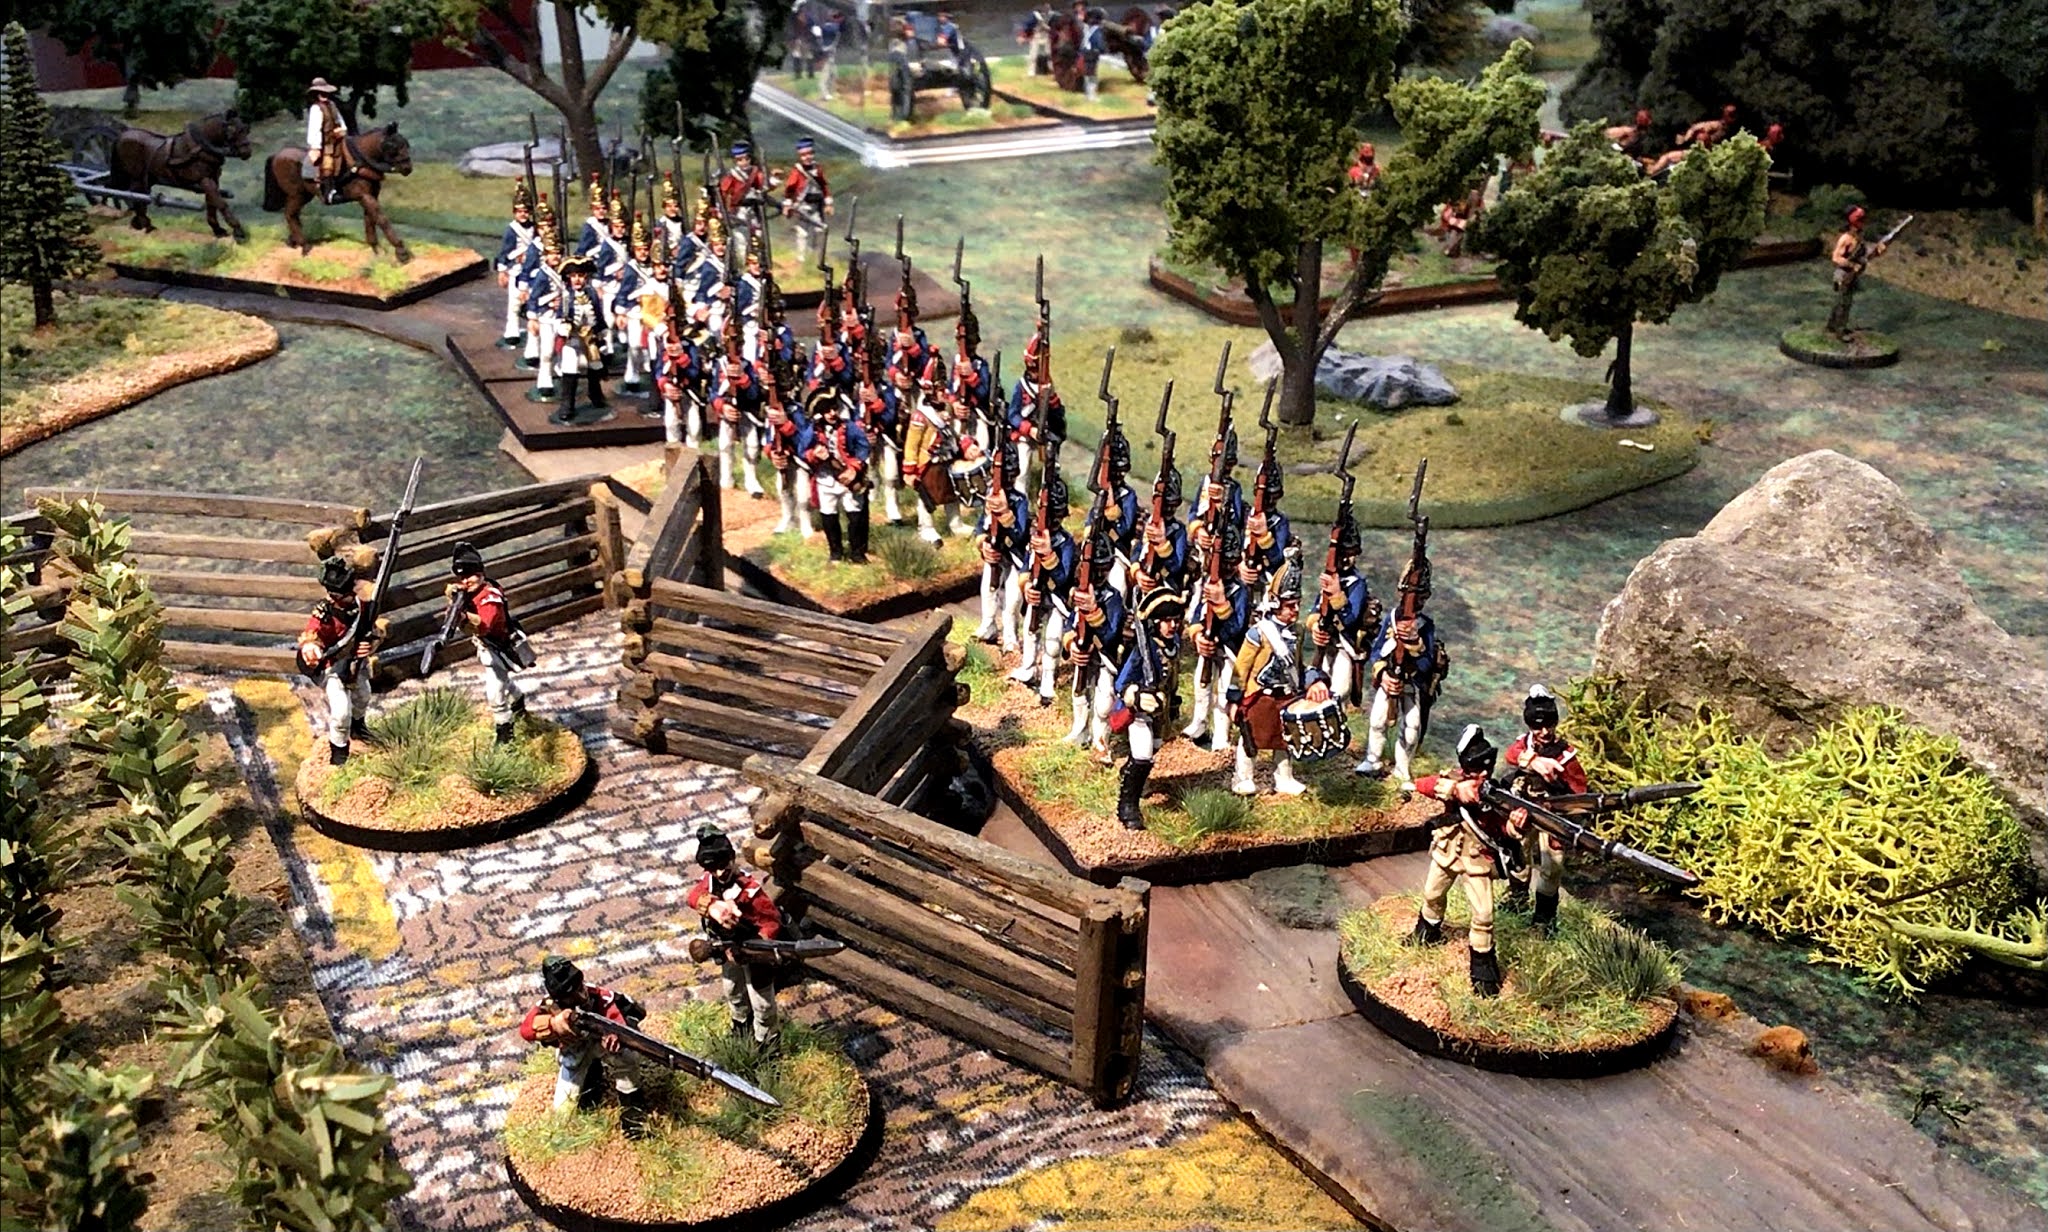
Fife and Drum Miniatures Continentals have shed their tricorn hats and taken up round hats.

CLICK ON ALL PICTURES TO ENLARGE

I spent part of the week converting some of my Fife and Drum AWI Continentals by swapping out cocked hats for round hats. The Fife and Drum figure range currently does not have Continentals wearing round hats, noting that such head gear was commonly used during the American Revolution.

I resolved to address this short fall by converting my own figures. This involved lopping off the tricorn/cocked hats of the Continentals, lopping round hats off of some of the civilian and British figures, and then swapping heads on the figures.
I cut off the heads using a fine-tooth Exacto small mitre saw. This gives a nice clean cut of the head from the torso. By this I mean that once the head is removed, the torso has a nice flat surface on the neck line. This means that one doesn't have to file the torso flat.

The next step is to drill a hole in the torso and another in the head that you want to attach to the torso. I use a "pin vise" which is nothing more than a hand drill with tiny drill bits - perfect for working with miniatures. Before drilling, I take a sharp Exacto blade and create a dimple in the metal to serve as a guide for the drill bit. The drill easily cuts through the metal and creates a nice hole into which I will put a pin that I make by cutting off a tiny piece of metal from a piece of wire.

I put the pin in the torso, making sure that it is not sticking up too high - we don't want a figure to have a long neck. I test the head join by placing it atop the pin that is in the torso and make sure that the join will work. Once satisfied that the head will sit "just right" on the torso, I put a tiny ball of green epoxy putty into the torso hold, add a small drop of glue, and then push the pin into the hole. If I need to build up the neck on the figure, I will roll out a length of putty and wrap it around the pin.

Now it is time to join the head to the torso using the same method of attaching the pin to the torso: a small ball of putty goes into the hole under the head, add a drop of glue, and then place the head on the pin on the torso. You have about a minute to work the head into position before the glue sets. You might want the figure to be looking off to the side rather than the conventional straight ahead position.

The six figure conversions that I made.

Comparison of the original figure (left) and the converted figure (right): drummer, officer with pole arm, and ram rod.

(Left to Right) Cocking musket, at the read, and standing firing.

The first couple of attempts were a bit dodgy, but after doing several head swaps I had figured out how to do them in an acceptable manner. I might do some conversions with the master figures and add them to the Fife and Drum Miniatures range. What do you think?


Monday, May 31, 2021

In Memorium


Private John Purky


My father's older brother, John Purky, fought in WW2 and was killed in action January 16, 1945 while serving with the Sixth Infantry Division on Luzon, in the Philippines.

He received the Purple Heart and the Silver Star, the hard way; his citation is shown below


The citation states that Uncle John volunteered to lay communication wire to an adjoining battalion over 2,000 yards of terrain. I think that he was in the Signal Corps, as some of his personal pictures show a Wire Team Section and a Radio Section. He died from enemy fire while carrying out his volunteer mission.

Here are some images of the two medals. I have had these stored away in the family archives vault and forgot that we had them.


Silver Star (left) and Purple Heart (right).

Obviously I never met my Uncle John since I was born in 1952. He was quite the musician, having learned how to play the trumpet, saxaphone and the clarinet and some of his letters to my grandmother talk about him getting together and jam with some guys from another section. He sounds like he was quite a guy and I am sorry that I never got to meet him.

Rest in Peace John Purky. You are not forgotten.

Sunday, May 30, 2021

von Breymann Brunswick Grenadier Battalion


Brunswick Grenadier Battalion von Breymann on the march.
Fife and Drum Miniatures.

I have been working on the painting of the von Breymann battalion of converged Brunswickk grenadiers that fought with the British during Burgoyne's Saratoga Campaign. The battalion was comprised of the grenadier companies of the Brunswick regiments Specht, Retz, Riedesel and Prinz Friedrich. They numbered over 500 soldiers at the start of the campaign, but with normal attrition and the losses at the Battle of Bennington, their number had been reduced to about 350 men by the time of the battles of Freeman's Farm and Bemis Heights.

My plan was to paint twelve each of the four grenadier companies for a total of 48 figures. I divided the numbers into stands of six figures, so that the Specht company would have two stands of six figures and the same set up for the rest of the grenadier companies. This allowed me to work on 12 figures at a time on the painting table, which seems to make the task go faster because you feel like you are done after finishing twelve figurs.


The von Specht Grenadiers


As of today, I have painted three of the grenadier companies: Specht, Retz and Riedesel for a total of 36 figures. I may leave it at that and have them fight at their reduced strength at Freeman's Farm, etc. I used the Fife and Drum Miniatures Hessian grenadier figures for my Brunswickers. This involved a minor bit of conversion work consisting largely of filing off the top of the gaiters and removing most of the gaiter buttons with a flat file. Since the figure pose used covered the lapels of the coat, I did not have to remove buttons on the lapels - Brunswick coats only had four buttons on the lapels.


Three grenadier companies on the march, protected by British flank company men.
Fife and Drum Miniatures.

It takes a bit of time to file down the gaiters on the Hessians in order to make them Brunswickers, but I think that the effort paid off when one looks at the results in these pictures.

Saturday, May 22, 2021

Brunswick von Barner Light Battalion


The von Barner Light Battalion in Brunswick service at Saratoga.
Cigar Box Battles game mat and Herb Gundt buildings.

Click on all pictures to enlarge.

I have been falling a bit behind in posting all of the new things that I am painting for my Saratoga Project, so I will address that by posting a regiment of Brunswick troops that I painted a couple of weeks ago. I painted the  Leichtes Infanterie Bataillon von Bärner using the Fife and Drum Miniatures Hessian Jäger figures. The jäger figures have the proper aigulette on the right should and a hat pom pon that were also worn by the von Bärner light infantry soldiers. The drawback of using these figures is that they have rifles and are wearing breeches and gaitors (rather than one-piece overalls). My justification for using the jäger castings is that my light soldiers are wearing the regulation breeches and gaitors. I will have to finesse it with the rifles, simply calling them muskets without the bayonets fixed, or deciding that they are all rifle-armed. My dime, my dance floor, my rules.

The von Bärner light battalion using the Fife and Drum Miniatures
Hessian Jäger figures, converted with only paint.

Or I can go along with John Mollo's description of the light battalion uniform and not have to worry about it at all.

Quoting from John Mollo's Uniforms of the American Revolution, the light battalion von Barner:

The four companies of light infantry, formed in 1776 and commanded by Major Ferdinand von Barner, arrived in Quebec in June 1776 and fought at Ticondaroga, Hubbardton, Freeman's Farm, Bemis Heights and Saratoga. The battalion was formed of picked men, and their uniforms were of a better quality than the normal Brunswick clothing. All ranks like the jaguars were armed with German rifles and hunting swords. Their musicians wore yellow coats with red linings and black facings, trimmed with white, black and yellow mixed lace.

I have been wondering whether or not ALL of the men in the light battalion were armed with rifles, instead of some musket-armed men. Don Troiani's book, Campaign to Saratoga - 1777 states the following:

The Leichtes Infanterie Bataillon von Bärner, consisting of four musketeer companies and one company of jäger, was the only new Braunschweig battalion raised from scratch in 1776 for service in North America. While its commissioned and noncommissioned  officers were drawn from preexisting Braunschweig corps, young men and boys were newly recruited for its ranks. This "gemeiner musketier" (musketeer private) is dressed in marching order, with a tornister (knapsack ), feldflasche (canteen), and brotbeutel (haversack), which carried rations. [this last sentence refers to Troiani's drawing that accompanies the text].

Troiani depicts the von Bärner musketeer dressed conventionally like all of the other Brunswick musketeer regiments with Prussian style uniform and equipment, plus one-piece overalls, rather than breeches and gaitors. The musketeer does not wear a belly box, although Mollo illustrates an NCO wearing a belly box for cartridges and knee breeches. Troiani indicates that there were four musketeer companies and one jäger company, the latter armed with rifles.


Don Troiani illustration of the von Bärner light infantry man uniform.

Here is a contemporary illustration from Captain von Germann of the Erbprinz Regiment at Saratoga, so presumably his interpretation of the appearance of the von Bärner battalion uniform and equipment should be fairly accurate. My recollection is that there is an aigullete on the right shoulder that is not shown in this picture. Troiani's image does not show the aigulette on the right shoulder because it is hidden by the positioning of the soldier.

Captain von Germann's drawing.


Here is another image that I found on Pinterest. I am not familiar eith the source. The figure standing firing is an NCO, as can be told by the gold lace on its cuffs and its hat. The sprinting pose appears to be an officer and the kneeling figure is a ranker. Note that all of them are wearing a cartridge box on their belly, probably indicating that they are rifle-armed. Note also that they are wearing gaitors. Based on this image, below, I decided that I can use the Hessian Jäger figures as stand ins for the Brunswick light infantrymen.


My inclination is to believe that John Mollo got it wrong about all five companies being rifle armed. It could be that he meant to show a picture of an NCO in the jäger company and that the publisher made a mistake with the text. Who knows? I think that the von Germann illustration is probably the better depiction of the uniform and equipment of the light battalion. If anyone cares to share additional information, then please post the information or a link in the comments section below.

Whether one is right and one is wrong, I'm sticking with the battalion as I have painted them.

I have placed six figures on each stand, which measures 80mm wide by 60mm deep. This size base provides sufficient room to spread the figures out rather than making them look like formed troops shoulder to shoulder.


Thursday, May 13, 2021

British Pickets at Saratoga


British flank company pickets in the Saratoga Campaign

I have been working on some two-figure stands of British pickets to use in my Saratoga Campaign war games. I paint two stands of two figures for each British regiment that I paint, my plan being to converge all of the stands into one collection of converged light infantry pickets. I can also keep the figures with their parent regiment, thus adding four more figures to the British regiments.

At the battle of Freeman's Farm on September 19, 1777, Hamilton's Brigade of British regiments were located in the center of the British deployment. An advance guard commanded by Simon Fraser was deployed as the right wing of the army. 

Hamilton sent a picket detail of 100 men ahead of his brigade's advance towards Freeman's Farm. The pickets were commanded by Major Forbes (9th Regiment) and they quickly occupied the ground around Freeman's Farm. Daniel Morgan's riflemen emerged from the woods and surprised Forbes' picket and cut down the majority of them with their fire, killing all but one of their officers.

There was another small picket of approximately 100 men that was attached to Fraser's advance guard. These were under the command of a Captain Alexander Fraser.

The figures are Fife and Drum Miniatures (of course) British flank company figures for the Saratoga army.


A close up view of the British pickets.

Next in the painting queue are some more Brunswick grenadiers and maybe some Loyalist troops.

Sunday, May 9, 2021

Dearborn's Light Infantry Battalion at Freeman's Farm 1777


Colonel Danield Morgan (center) directs the fire of his riflemen (left) and 
musket armed light infantry (right).


The Saratoga Project is progressing at a rapid pace with new British, Brunswick and American units being added each week. I usually complete one such unit each week. I will do a Saratoga Project update post in the near future, but suffice it to say that I now have enough painted figures to field both armies for Freeman's Farm.

Today's fox is Colonel Henry Dearborn's battalion of light infantry, which was brigaded with Daniel Morgan's regiment of riflemen during the battles of Freeman's Farm and Bemis Heights in the Saratoga campaign. Since the Virginian riflemen did not have bayonets for their rifles, they needed the support of musket armed soldiers who could put bayonets on their weapons to counteract a British bayonet charge.

Note to war gamers: if you run into a regiment of American riflemen, do not engage in a fire fight with them, but rather, give them a volley and then close in with a bayonet charge. If the riflemen are smart, then they will hightail it out of there so that they do not get shishkabobed at the end of a British bayonet. But I digress...


Colonel Dearborn's battalion of light infantry were chosen men from the various infantry regiments serving at Saratoga, converged into one battalion. So it follows that the unit should have figures painted in a variety of uniform coat colors to represent individual parent regiments. The battalion had approximately 300 men fit and present at Freeman's Farm, so using a 1:10 figure to man ratio, 30 castings represents 300 actual men in the battalion. I usually have five stands in my American regiments so it reasons that I have five stands of six figures, each stand representing the chosen men of a particular regiment.


I am using stands measuring 60mm frontage and 80mm deep so as to accomodate the leveled muskets and bayonets on the stand so that they do not overhang the edge of the base, making them less susceptible to breakage from handling. The deep stands also allow me some artistic freedom to give the stand a diorama look.


Two stands of six figures in the advancing pose: a Massachusetts regiment in blue coats on the left, 
and a New Hampshire regiment in green coats on the right.

Three stands of figures in firing poses: 2nd New Hampshire (left), a Massachusetts regiment
in brown coats (center) and a generic regiment wearing dark khaki colored coats (right).

The whole battalion of stands converged together.


Morgan's rifles and Dearborn's light infantry (at the top) face off against Hamilton's brigade of British regiments in the fields of Freeman's Farm. The table mat is from Cigar Box Battles and the snake rail fences were made by HG Walls.

So there you have it: the American advance guard commanded by Daniel Morgan at Freeman's Farm. All of the figures are from the Fife and Drum Miniatures range of AWI figures in 1/56 scale.

Sunday, April 25, 2021

The Hounds Get The Better of Fritz


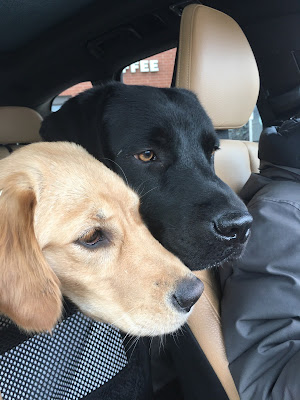
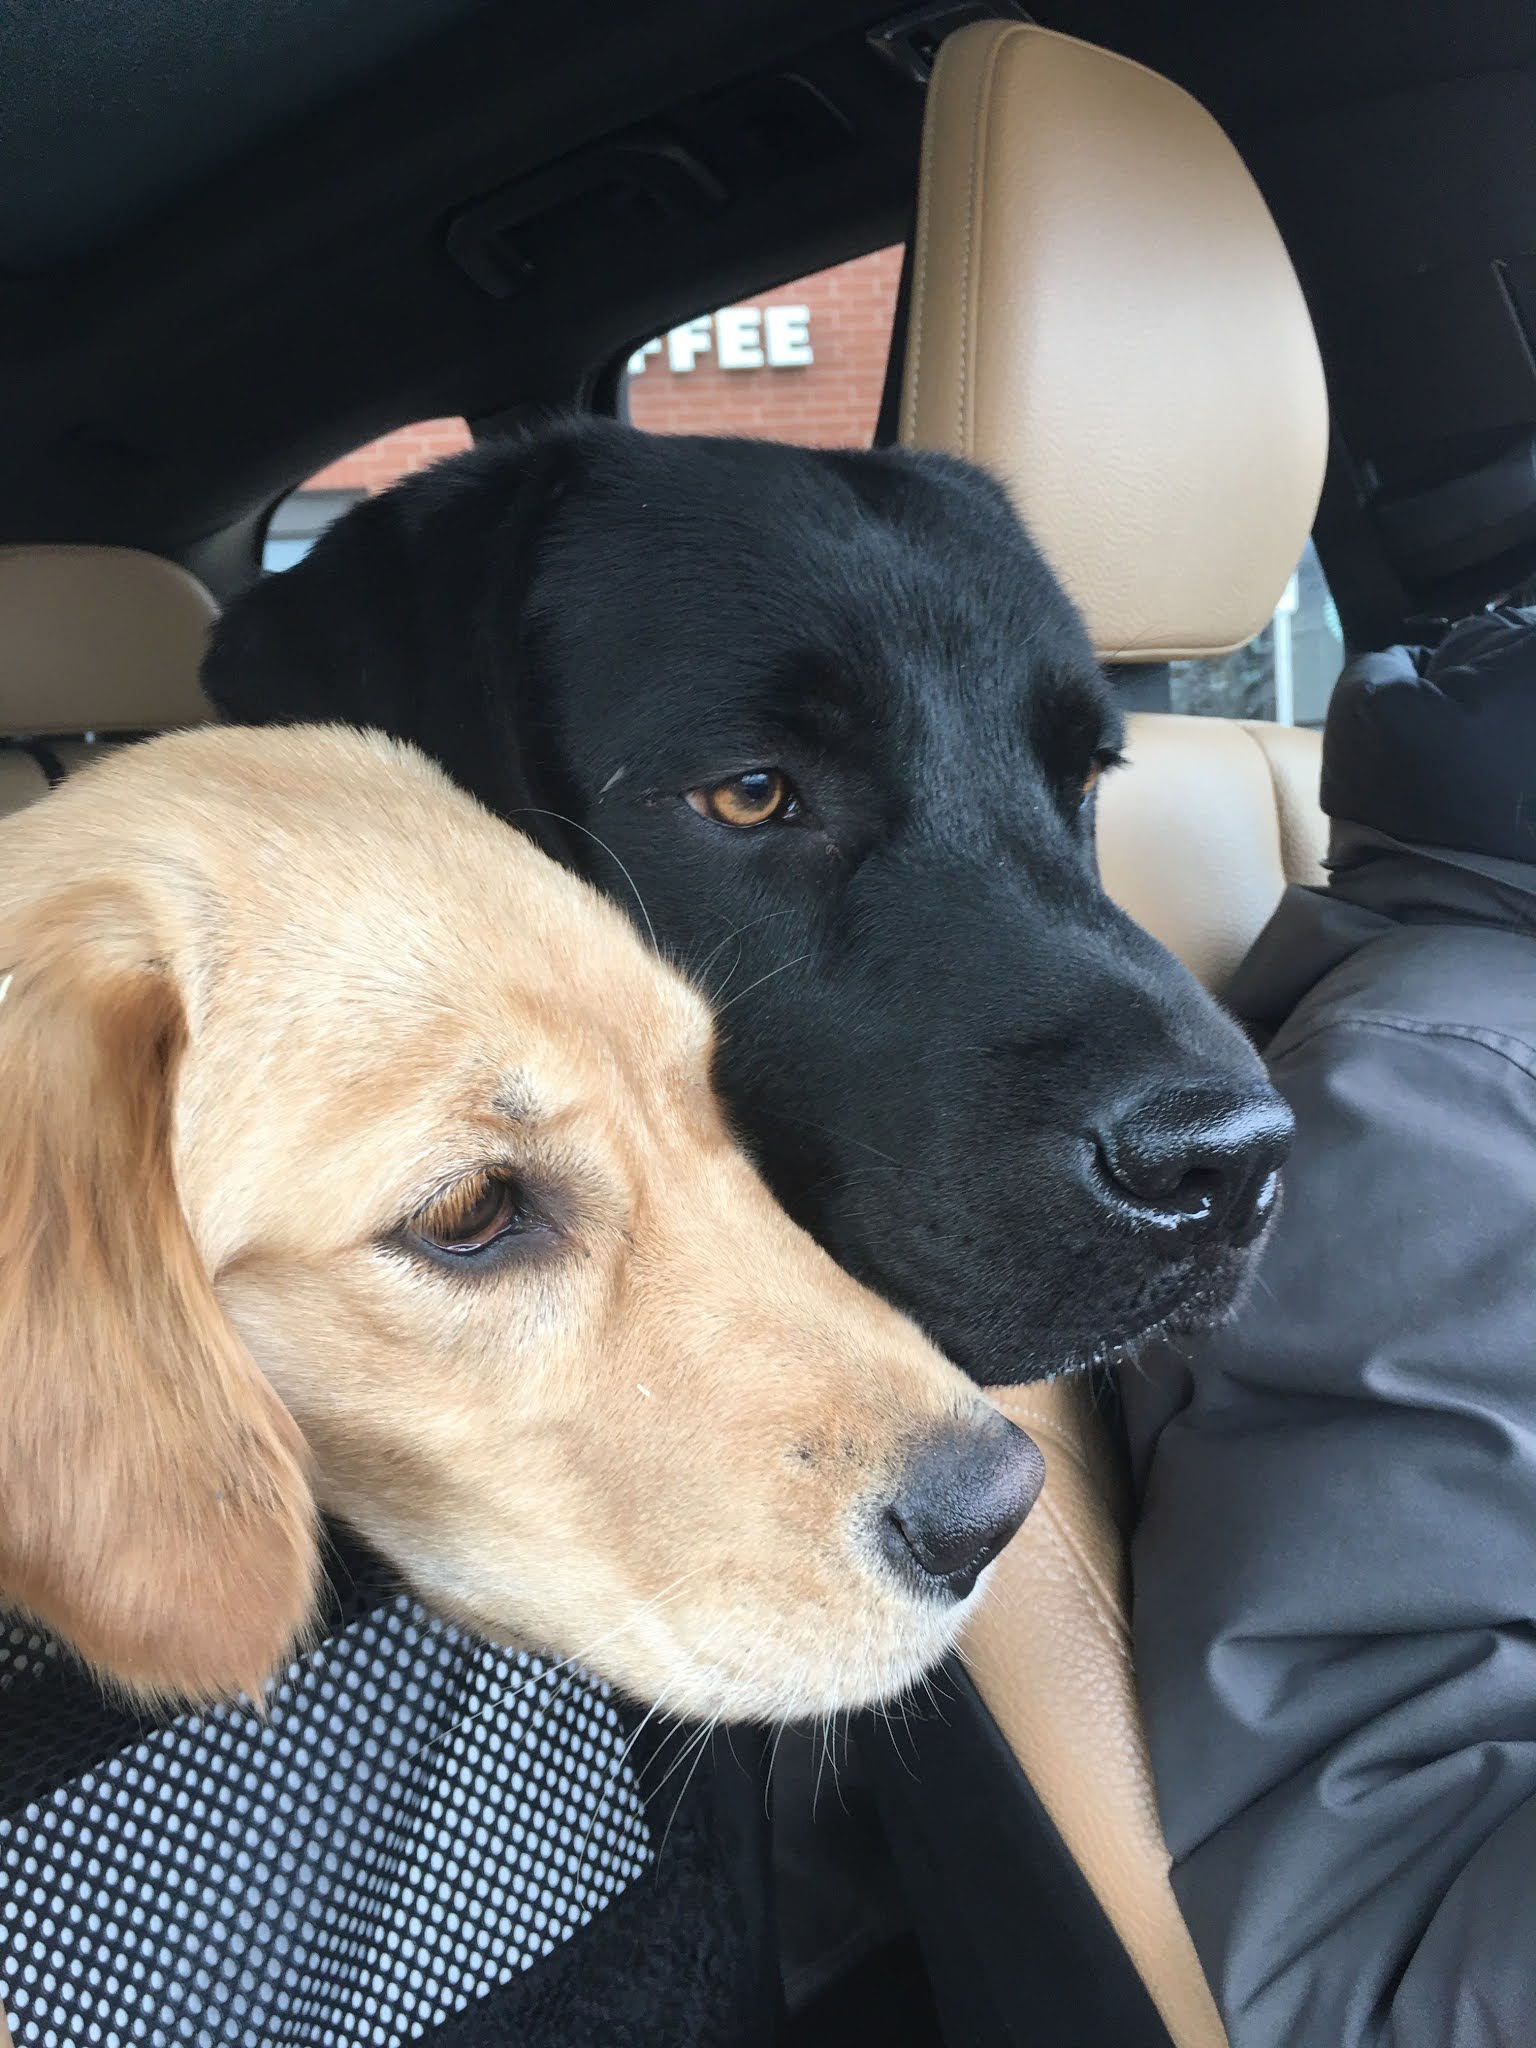
Bella The Brain (left) and Augie The Brawn (right) cook up their plan for The Great Escape.


Dogs often come across as silly and goofy and you never know what they are going to do to amuse you. Today, Bella the Brain and Augie the Brawn devised a cunning plan for their escape in the parking lot of Sunset Foods grocery store. They got the better of Fritz and Mrs. Fritz, who were bailed out of a potential disaster by the timely intervention of some bystanders in the parking lot.

Our story starts innocently enough, with Mrs. Fritz and me taking the royal hounds for a perambulation in the local forest preserve. We returned to our SUV after the walk and bundled the hounds into the back seat of the vehicle. There is a cargo area behind the back seat and this will come into play later in the story. We removed the harnesses and leashes from the hounds’ torsos for safety reasons once they are back in the vehicle. Dogs can get their leashes caught on some part of the seat and choke, so we remove the equipment once they are in the car. 

You can probably see where this is leading.

So we are now in the car and I’m pointing the vehicle in the direction of home when Mrs. Fritz says to me, “ what do you want for dinner tonight?”

“What do we have at home?” I inquire.

“Chicken” she replies.

“What kind of chicken?” Says I.

“Frozen chicken” says Mrs. Fritz.

Well that doesn’t sound like a very good plan so I propose that we stop at the nearby Sunset Foods grocery store. The spouse agrees so off we go to the grocery store. In my concentration on the road while driving, I fail to notice the mischievous little wink that The Brain makes to The Brawn. There’s trouble on the horizon.

We pull into the parking lot and I volunteer to go inside to do the grocery shopping while Mrs. Fritz minds the hounds. It doesn’t occur to me to wonder whether or not she is up to the task of matching wits with The Brain. So I go into the store to buy the groceries while Mrs Fritz remains in the car checking her email on her smart phone.

The Brain makes a knowing nod of her head to The Brawn and the plans for The Great Escape are set in motion. I buy the groceries and return to the SUV with the grocery bags in the shopping cart. Escape plan Wack-A-Mole has just been launched. The Brain motions the Brawn to climb over the back seat and take up an ambush position in the cargo area. Their plan is cunningly simple. When Fritz opens the rear hatch door to put the groceries in the cargo hold, The Brawn will lunge towards Fritz whilst he is holding a grocery bag. The Brain will then jump over the back seat and escape out the hatch while I’m trying to grab The Brawn’s  collar with my free hand (with grocery bag in the other hand). 

The Wack-A-Mole plan seemingly works to perfection as Fritz has to decide whether to hold onto the shopping bag and one hound while the other jumps out the door; or drop the grocery bag and attempt to grab both dogs before they can effect their escape. Alas, it looks like the Great Escape will be foiled before it gets off the ground because Fritz didn’t pick up a shopping bag until he opened the rear hatch door. Thus Fritz has both hands available to apprehend the hounds.

I’m admittedly surprised to see the massive body of The Brawn in my face as I lift the hatch door. The Brain’s timing is a second slow and I’m able to grab both dog collars. Escape plan foiled? No. I call out for help and Mrs. Fritz bounds out of the front seat of the SUV at record speed and she grabs the collar of The Brawn while I’ve got The Brain on ice.

Then I make my big mistake. I try to push The Brawn over the seat back to put him in the back seat, but a momentary second is all that The Brain needs to escape my grasp and jump to freedom. Mrs. Fritz  compounds my mistake by making one of her own: she turns around to head off the cute puppy known as The Brain thereby leaving a gaping hole in our defensive line. The Brawn overpowered me and leaped from the cargo area and on to the pavement. Then it’s a foot race and the humans are no match for the canines. 

Suddenly it’s pandemonium in the parking lot of Sunset Foods as The Brain and The Brawn split off in different directions. The Brawn makes like Usain Bolt and he is off to the races. The Brain however, now makes a mistake as her Golden Retriever instincts take over and she makes a beeline to the nearest human that is not Mr or Mrs Fritz, and cuddles up between the legs of a bystander, seeking a belly rub. Apprended! Or so it seems.

I race over to the Bystander who says, “what an adorable dog” and I say “Thank You” , grab The Brain by the  collar and usher her back to our vehicle. I open the side passenger door and cram The Brain into the back seat. Then I scan the parking lot for signs of Mrs. Fritz or The Brawn. Another Bystander somehow nabbed The Brawn and Mrs. Fritz is screaming, “Augie’s slipped out of his collar. Help!”

Now the beautifully choreographed Wack-A-Mole plan becomes apparent to the humans. Now that I’m distracted by The Brawn’s attempt to slip from the grasp of Mrs. Fritz and the Bystander, The Brain climbs over the back seat. I’ve forgotten to close the back hatch lid. The Brain bounds out the rear door and is back in the parking lot. 

You think that you have one hound under control while the other hound is slipping from your grasp. You nab the first one and now the second one re-escapes. Wack-A-Mole.

I make one final lunge for The Brain and my luck turns for the better as I’m able to grab her by the collar. Mrs. Fritz is still frantic about The Brawn not having his collar on anymore. I’ve got The Brain in my left hand and with my right hand I grasp The Brawn’s leash and fling it towards Mrs. Fritz. This time I remember to close the back hatch door and push The Brain into the back seat of the Paddy Wagon.

Now that one dog is back in the car, two people can get The Brawn under control and herd him back into the car. The hounds admit defeat and settle into the back seat of our SUV. With things seemingly under control again, I gingerly reopen the back hatch door, no hounds in the cargo area this time, and I put the grocery bags in and shut the door again. 

Mission accomplished! However, it was a near run thing as The Brain's plan Wack-A-Mole nearly succeeded. A long time ago I recall one of my friends telling me that all dogs live for one of two things: food or the chance to escape.

The Great Escape caper came to a close and we drove home. I was so undone that I had to make a stop at Starbucks and get a comfort Mocha Frappicino to calm my nerves.