


 |
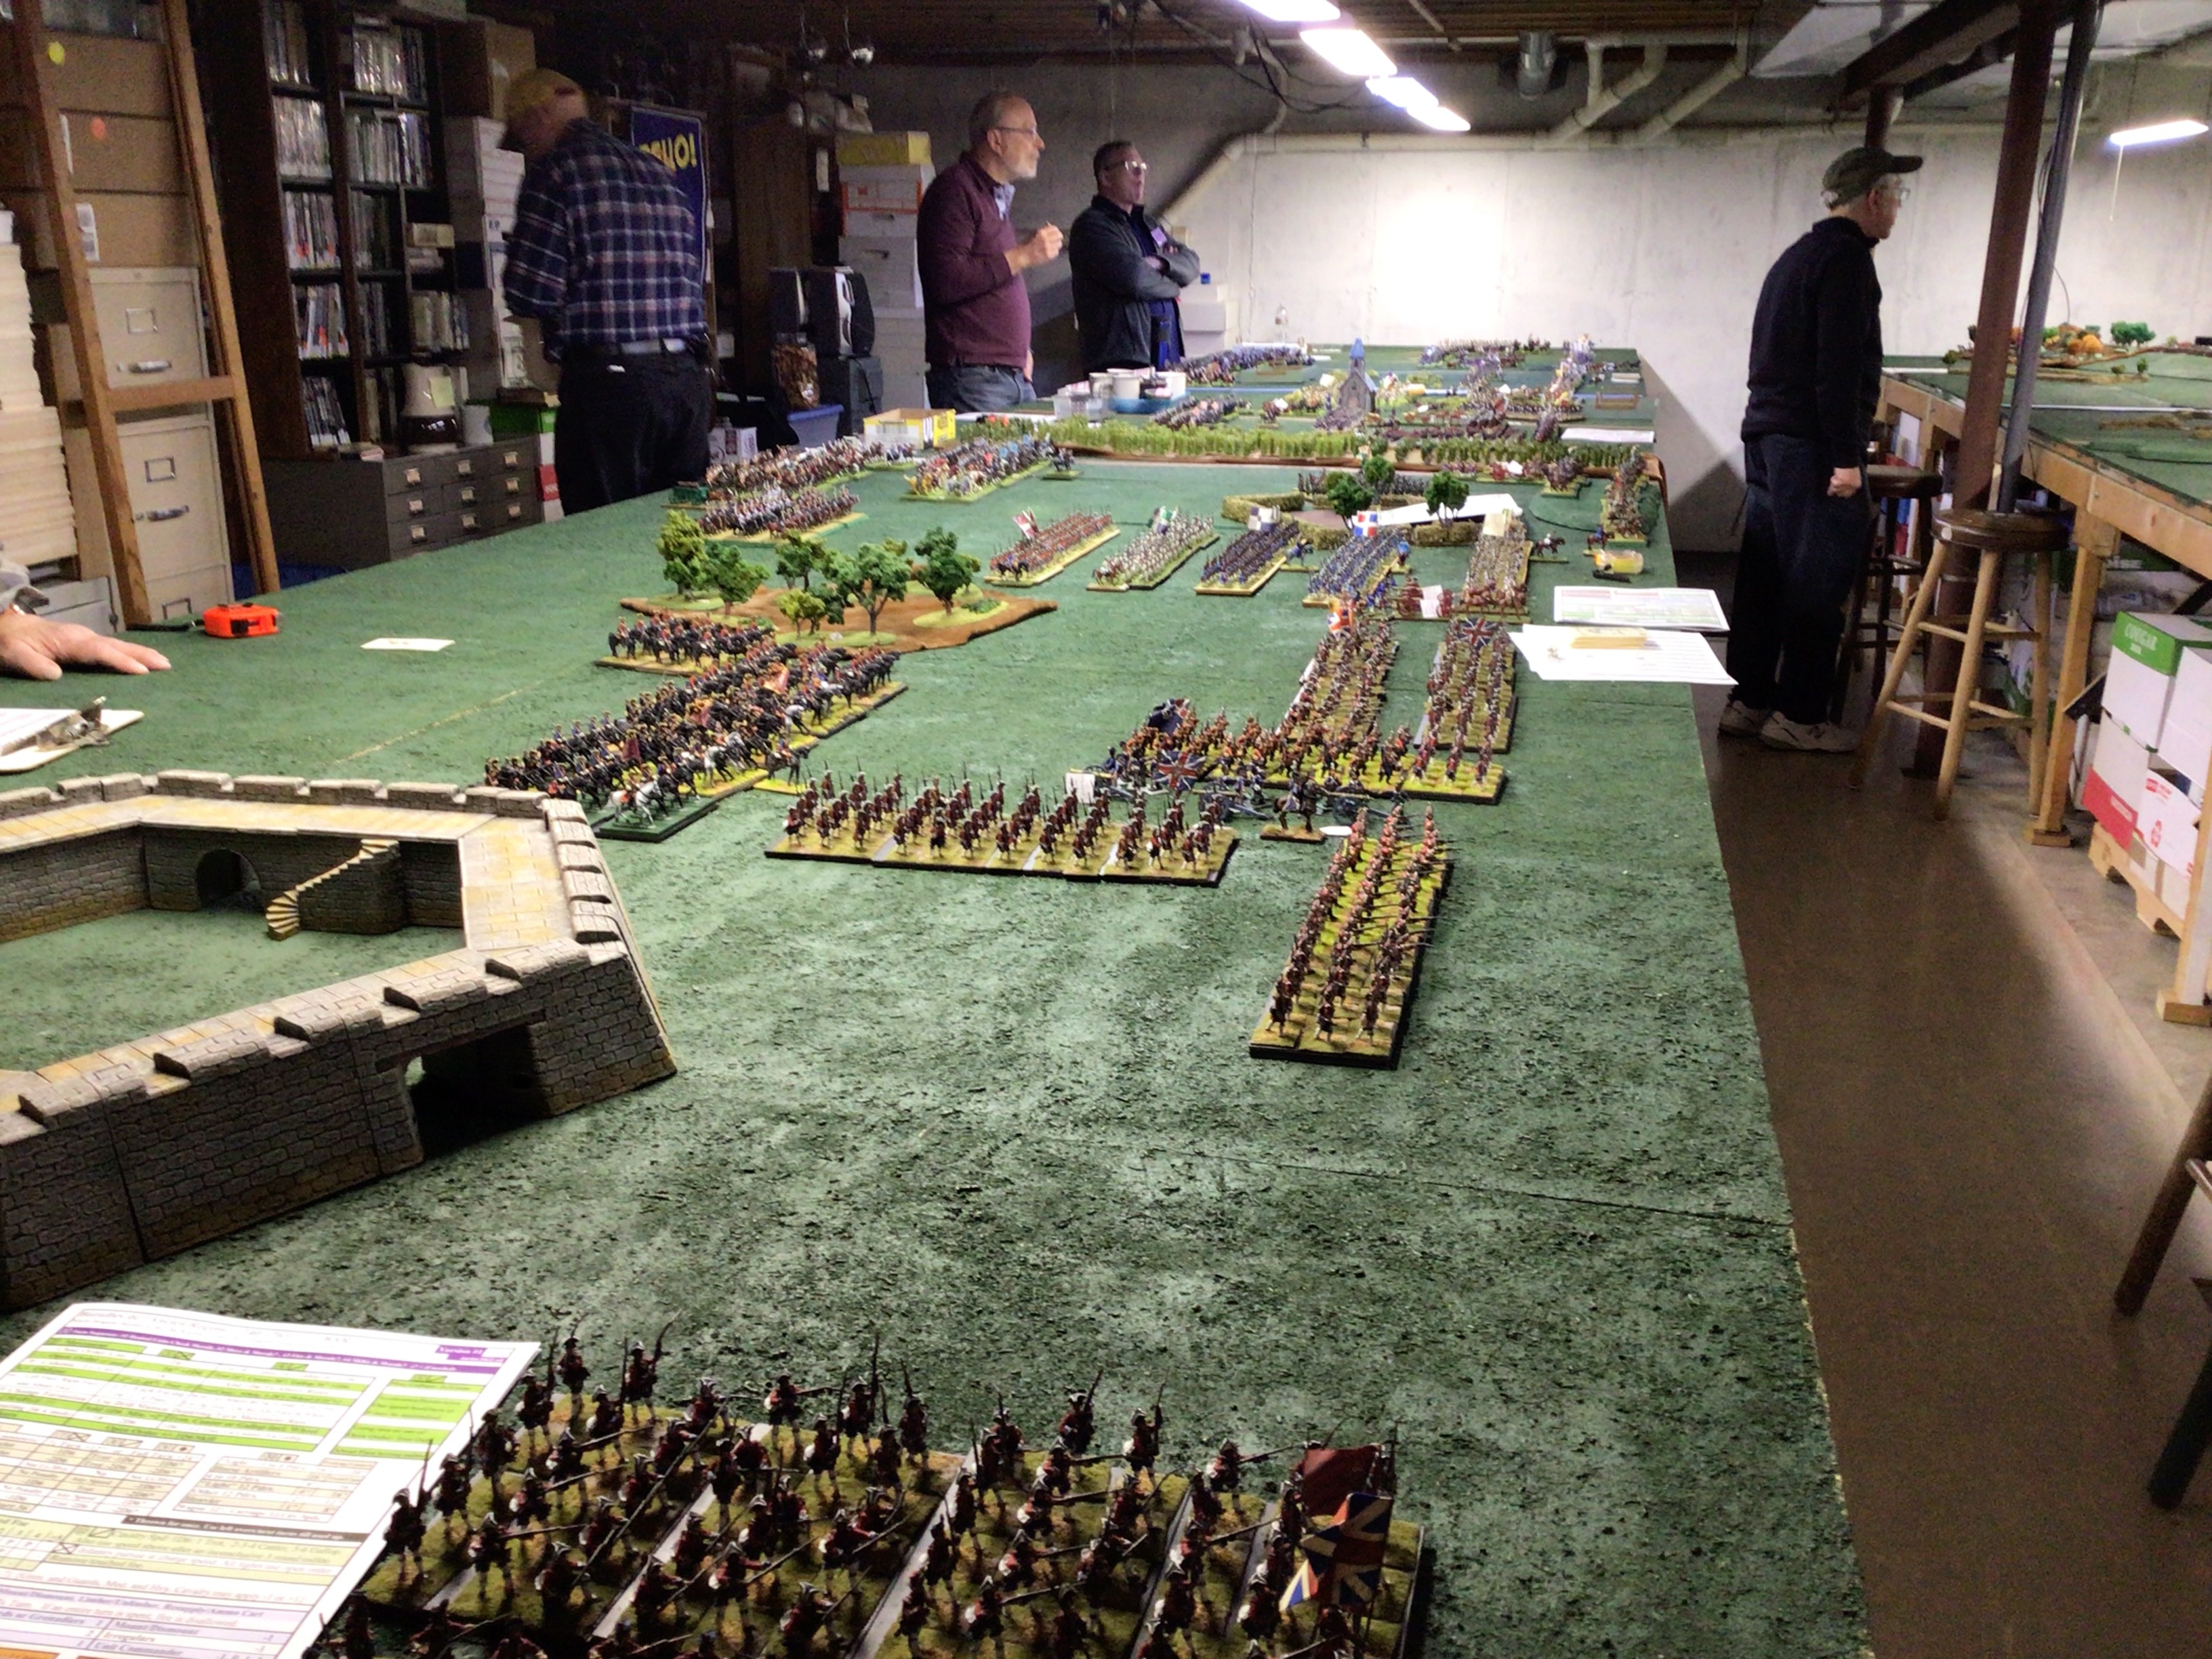
| A view of my Austrian brigade in the foreground, looking across the field at the Anglo-Franco army and players. Note the use of three tables. |
On Saturday December 2, 2023 our group of 11 players convened to play our annual Christmas war game. We usually hold the game on the first weekend of December so that holiday plans don't get in the way of having the game. We had players traveling from Iowa, Minnesota, Wisconsin and Illinois for the game. Our host, Kieth L., provided the venue and plenty of drinks, snacks and a mid-day lunch. Kieth's wonderful wife, Donna, made two different types of chili and backed lots of tasty treats such as corn bread, brownies, cookies and lemon bars. Thank you Kieth and Donna for your hospitality.
 |
| The Band of Brothers gather for a post-game picture. That's me in the red hoodie. |
The Game Parameters
The rules; We used Bill Protz's Batailles dans l'Ancien Regime (or BAR for short) which are designed for easy and quick games with lots and lots of figures. We have been playing games with these rules since about 2010 so most of the players were well-familiar with the rules.
The figures: We played with big battalions and cavalry regiments of 60 figures, or a ratio of 1:10 man to figures. The figures were largely 30mm Stadden, Suren, Elite, Potsdam and some large 28mm figures such as Front Rank. There were probably even a few Minifigs sneaking into the ranks.
Table size: We played on a game table sized at three tables measuring 6ft wide by 32ft long with aisles in between the table. The aisles don't exist in terms of table top space, but rather, when a unit approaches the edge of one table, it hops over the aisle and continues its normal movement on the next table. This provides us with a game table that is actually 18ft wide by 32ft long. And trust me, we needed every inch/foot of these tables for the game.
Game Management: We divided the table into three zones (right, center and left) and each sector had its own deck of cards for initiative card draws. This way, one section of the table didn't have to wait for other sections of the table to finish their turn before moving on to the next turn. This speeded up the game.
The game opponents: The game was an unhistorical alliance of the French and British versus the central European powers of Austria and Prussia. The main victory condition was the control of a large town placed in the middle of the battlefield. Sadly, for my team, the French captured the town on Turn 3 and never yielded ground for the rest of the game. As a result, the game ended in a French victory.
 |
| The right flank of the Austro-Prussian battle line. The Prussians placed a ridiculous number of cannon on top of a ridge, forcing the French to avoid the area and attack the woods. Unbeknownst to the French, most of the Prussian guns only had one or two rounds of ammunition. |
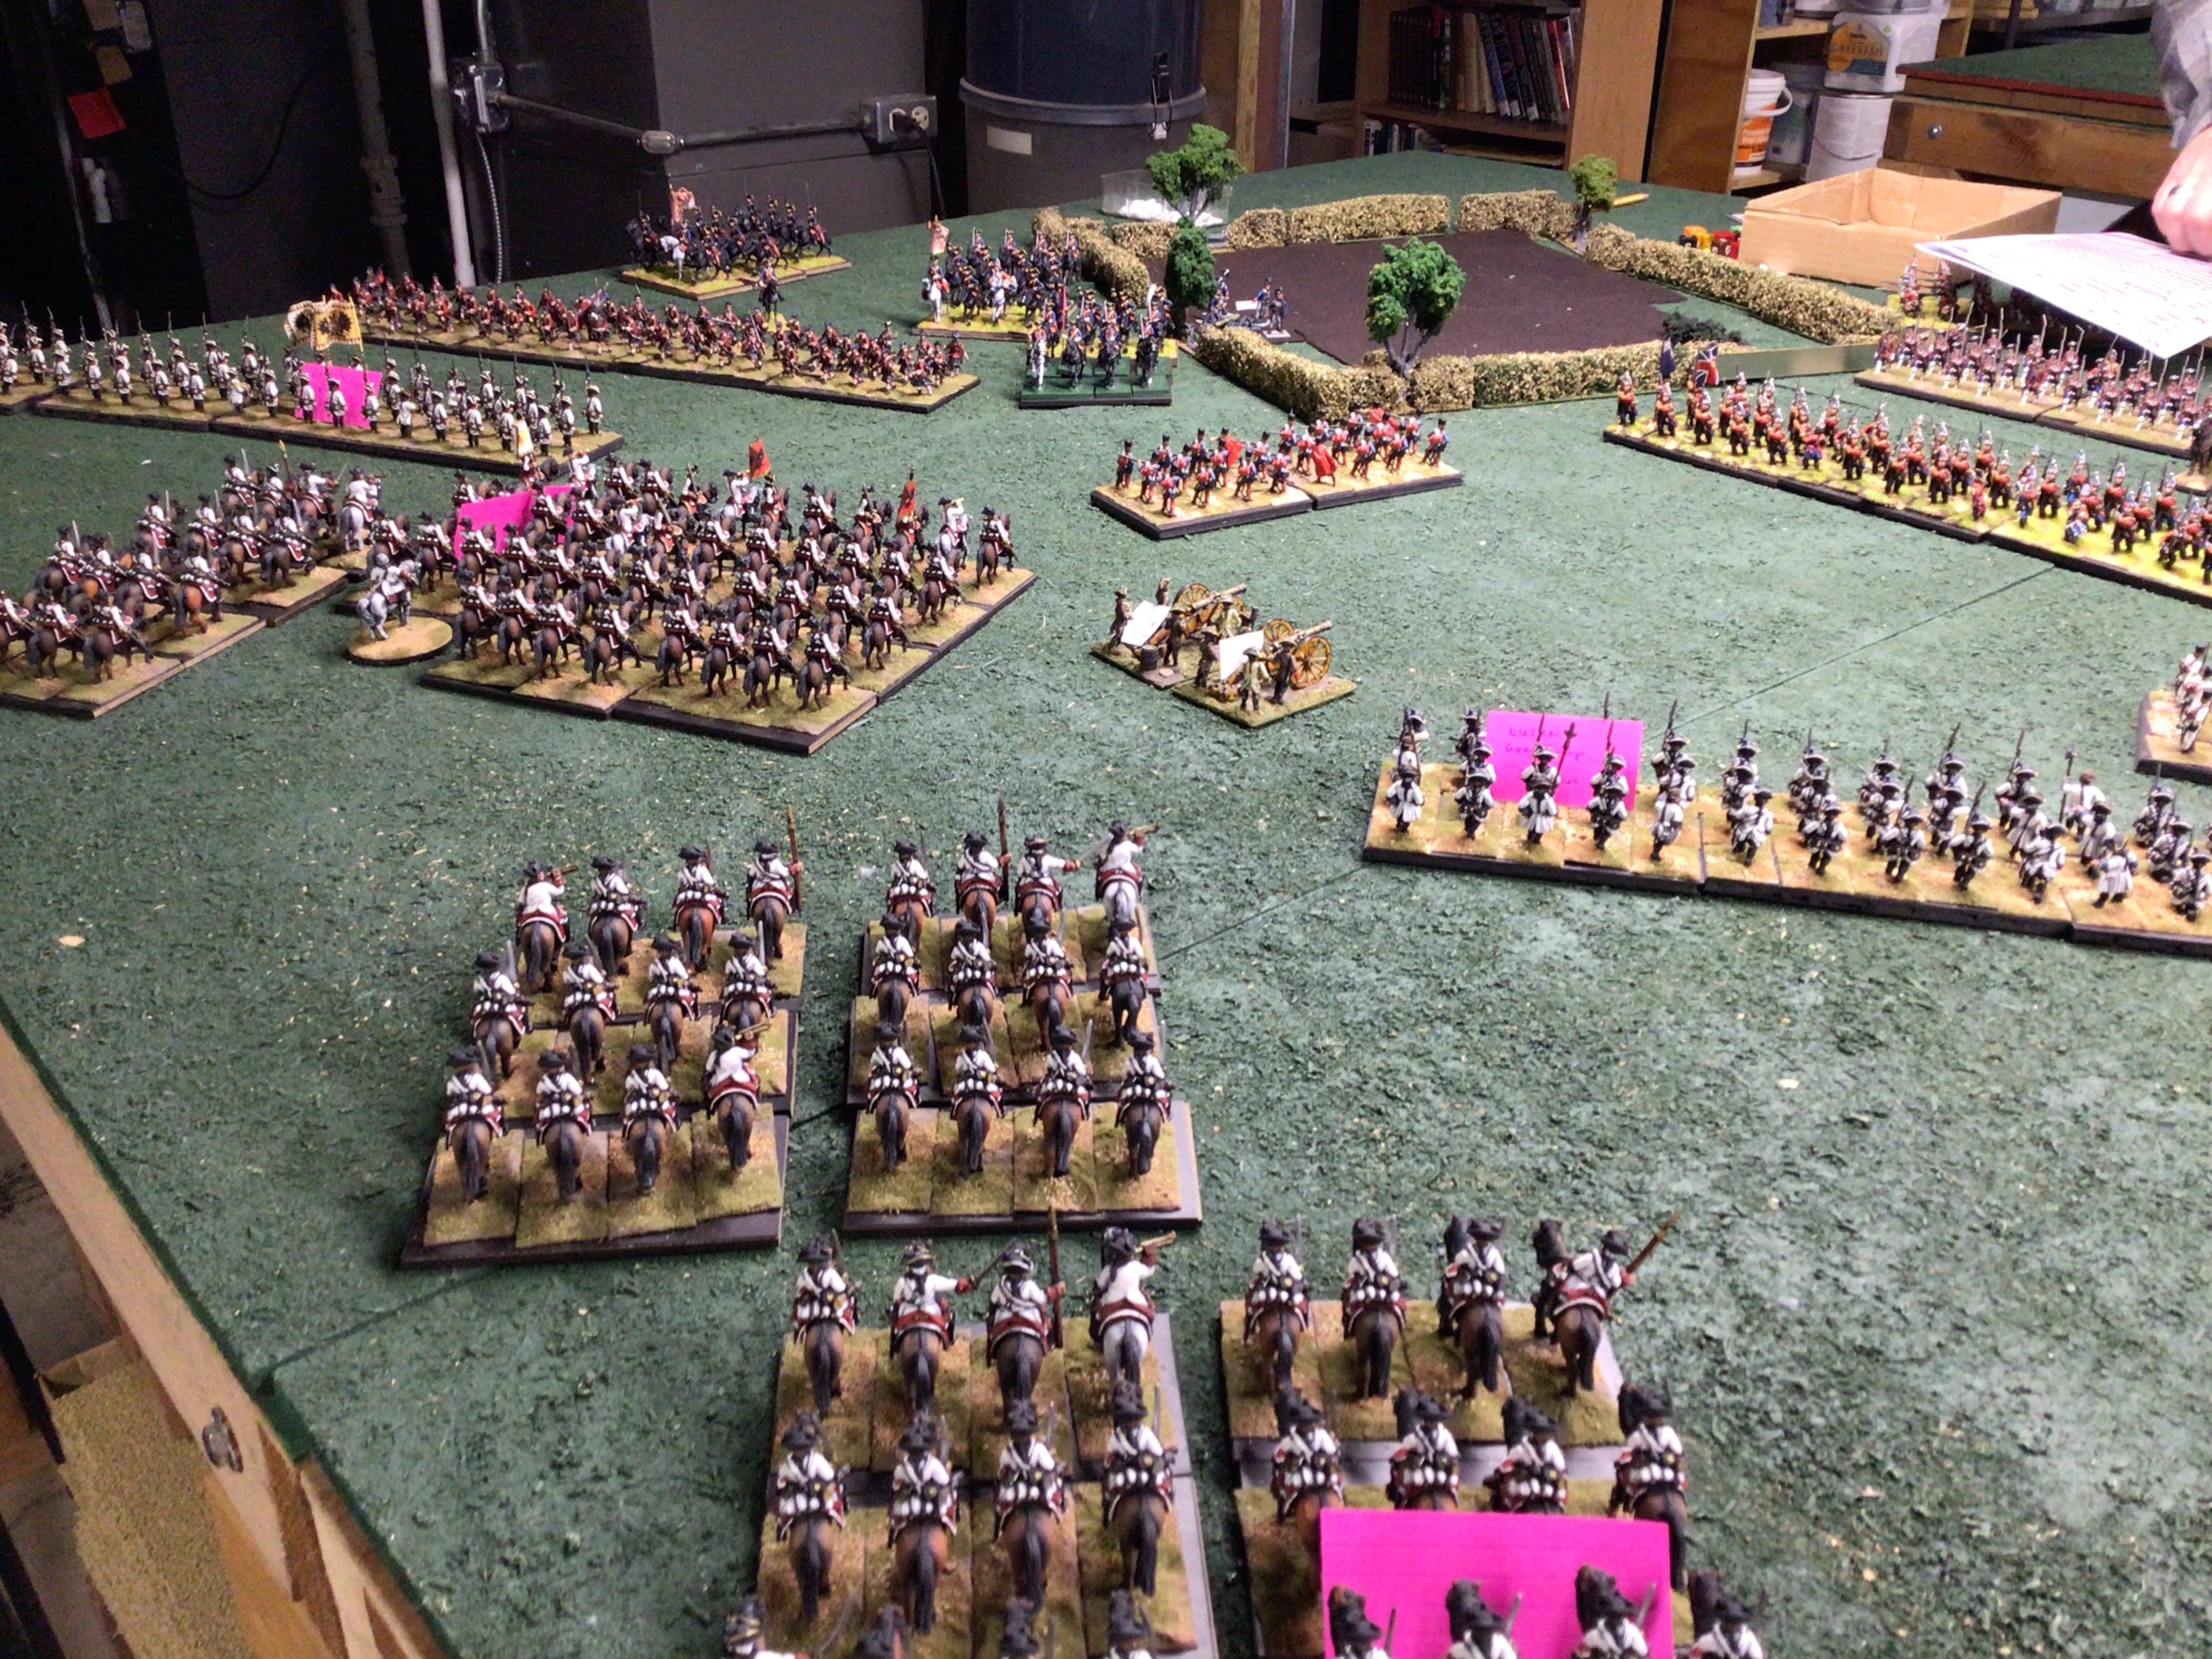
 |
| A huge Prussian cavalry brigade in reserve behind the daunting ridge line of Prussian artillery. |
 |
| The town in the center of the table was the main objective of both armies. |
 |
| The central table zone, looking at the Austrian forces. |
 |
| The British army facing the Austro-Prussian left flank. |
The Fritz Bits
Yours truly was assigned a brigade of 4 Austrian musketeer regiments, 1 Croat light infantry regiment, 2 Austrian cuirassier regiments, and a couple of 12-pound cannon. I was posted on the far left flank of the Austro-Prussian army (in my own playing zone), with two Austrian brigades to my right in the center zone of the table. The Prussian army held down the right flank and deployed behind a sizable ridge with their infantry and powerful cavalry contingent.
My opponent, directly across from me, was the powerful British army with 7 regiments of infantry (including one guard and one grenadier regiment) and two smaller 36-figure cavalry regiments of Horse. Counting noses, it was readily apparent that the British outnumbered my infantry 7 to 5 while I had the slight edge in cavalry (96 Austrian cavalry versus 72 British cavalry). Knowing that infantry are more significant and powerful than cavalry in our BAR rules (Batailles dans l'Ancien Regime), I knew that I had my work cut out for me.
There were two enclosures placed on the middle of the table, between my brigade and that of my British opponent. The lefthand enclosure was close enough to the table edge to restrict movement; then there was some open ground in the center, and finally, there was another enclosure and farmhouse on the my front right. I reasoned that if I could advance to the edge of the two enclosures I stood a good chance of forcing the British army to attack through the bottleneck of the open middle ground. Thus, the British would not be able to take advantage of their superior numbers of infantry. I placed three of my musketeer battalions and the Croat light infantry on my front line, and deployed my fourth musketeer line behind the front to provide a support reserve force. My cuirassiers were placed behind the main battle line where they might be able to take advantage of any worn down British infantry regiments to their front.
Let the Game Begin
Given that we were playing on a 32ft long table, it was nearly impossible to have any idea of what was going on at the far end of the table. As a matter of fact, I wasn't able to pay much attention to the goings on in the middle zone of the table. I had my hands full in my zone. Who needs a fog of war rule in this situation?
 |
| My Austrian battle line deploys and advances towards the enclosure on my right. Note my Austrian cuirassiers held in reserve. |
 |
| My Croats lead the advance of my brigade (in columns) to the enclosure. |
 |
| A view of the left flank of my brigade. The British have gained control of the lefthand enclosure and advance in line in the center. |
 |
| My Austrian musketeers face off against the Highland Black Watch regiment. Note the small gap along the table edge which restricted the movement of the British cavalry. |
 |
| My cavalry brigade outnumbers the British cavalry by a large amount, so it is time for my Austrians to charge. |
 |
| Cavalry melee in my sector. Austrian cuirassiers on the right and British Horse regiment (The Blues) on the left. The game was declared over at this time, but my opponent and I played out the cavalry melee. The Austrian cuirassiers prevailed. |
The End Result in my Sector
I was able to hold off the advance of the British infantry in my sector. I had one of my musketeer battalions rout due to their accumulated losses. One of my other regiments was pretty well shot up, but hadn't reached the magic 50% casualties number and thus didn't have to check morale (yet). I recall that at least two British regiments routed and a couple more were severely shot up. Somehow the stalwart Highlanders were able to pass their morale despite losing nearly 2/3rds of their numbers.
Some pictures of the action elsewhere
As I said earlier, I wasn't able to follow the action in the center and right game zones, but from time to time I took a stroll over there and snapped a couple of pictures. Of note, Randy F. sent his French light cavalry into the important town on the first or second turn and held the town for the rest of the game, thus meeting the victory condition for the French army. Well done Randy; that was a great tactic; very clever use of light cavalry.
 |
| Bill Protz lords over the French army of his left flank. The cavalry reserve of both sides was not engaged in the battle due to the preponderance of infantry on the field. |
 |
| Randy F. is very happy about capturing the town early in the game. |
 |
| Game action on the center game table. |
The overall result: a French victory
Austrian-Prussian right flank: the French bypassed the 13-gun battery of Prussian artillery and pushed their way through the woods at the end of the table. The French were starting to effect a break through when the game was called and it looked like the French would successfully press their advantage had the game continued.
Austrians in the center zone: The French captured the important town, and thus won the game through the victory condition of holding the town at the end of the game. Other than that, the infantry on both sides appeared to be fighting at a stalemate.
Austrians on the left flank: my Austrians appeared to have stopped the British attack.
All in all, this was a very fun game to play. We hadn't attempted to play a game of this size since 2019, the year before the Covid shutdown so it was great to be able to toss lots of dice and move big battalions across the battle table top. And finally, it was great to see many old friends whom I had not seen in about three years.
Wow! That is most impressive! Looked a great game. Cannot beat massive units. Look brilliant on the table. And if you've got tables that big then wow!
ReplyDeleteMassively marvellous. Such grand escapades are what it is all about in my book. Plenty of figures, a huge table(s) with much camaraderie to boot! It must have been such a great game to attend.
ReplyDeleteA pity that it did not go for a weekend to see it to conclusion and take full advantage of such a fantastic game, venue and gathering!
Regards, James
Fantastic display of SYW eye candy Jim, Merry Christmas.
ReplyDeleteWillz.
I love these masses of French troops. The size of the tables is not only impressive but to get all the players together...
ReplyDelete