The Codori barn is an iconic piece of terrain at the battle of Gettysburg and because I am running my Pickett's Charge game at Historicon this year, it seems like a must to have the barn as part of my terrain. I have the barn already, but where there is a barn there must also be a farm house. Hence my decision to make a 1/32 scale model of the Codori farm house for my game.
 |
| Here is an HO scale model of the Codori farm house that you can buy at the National Park Visitors' Center for a cool $200 |
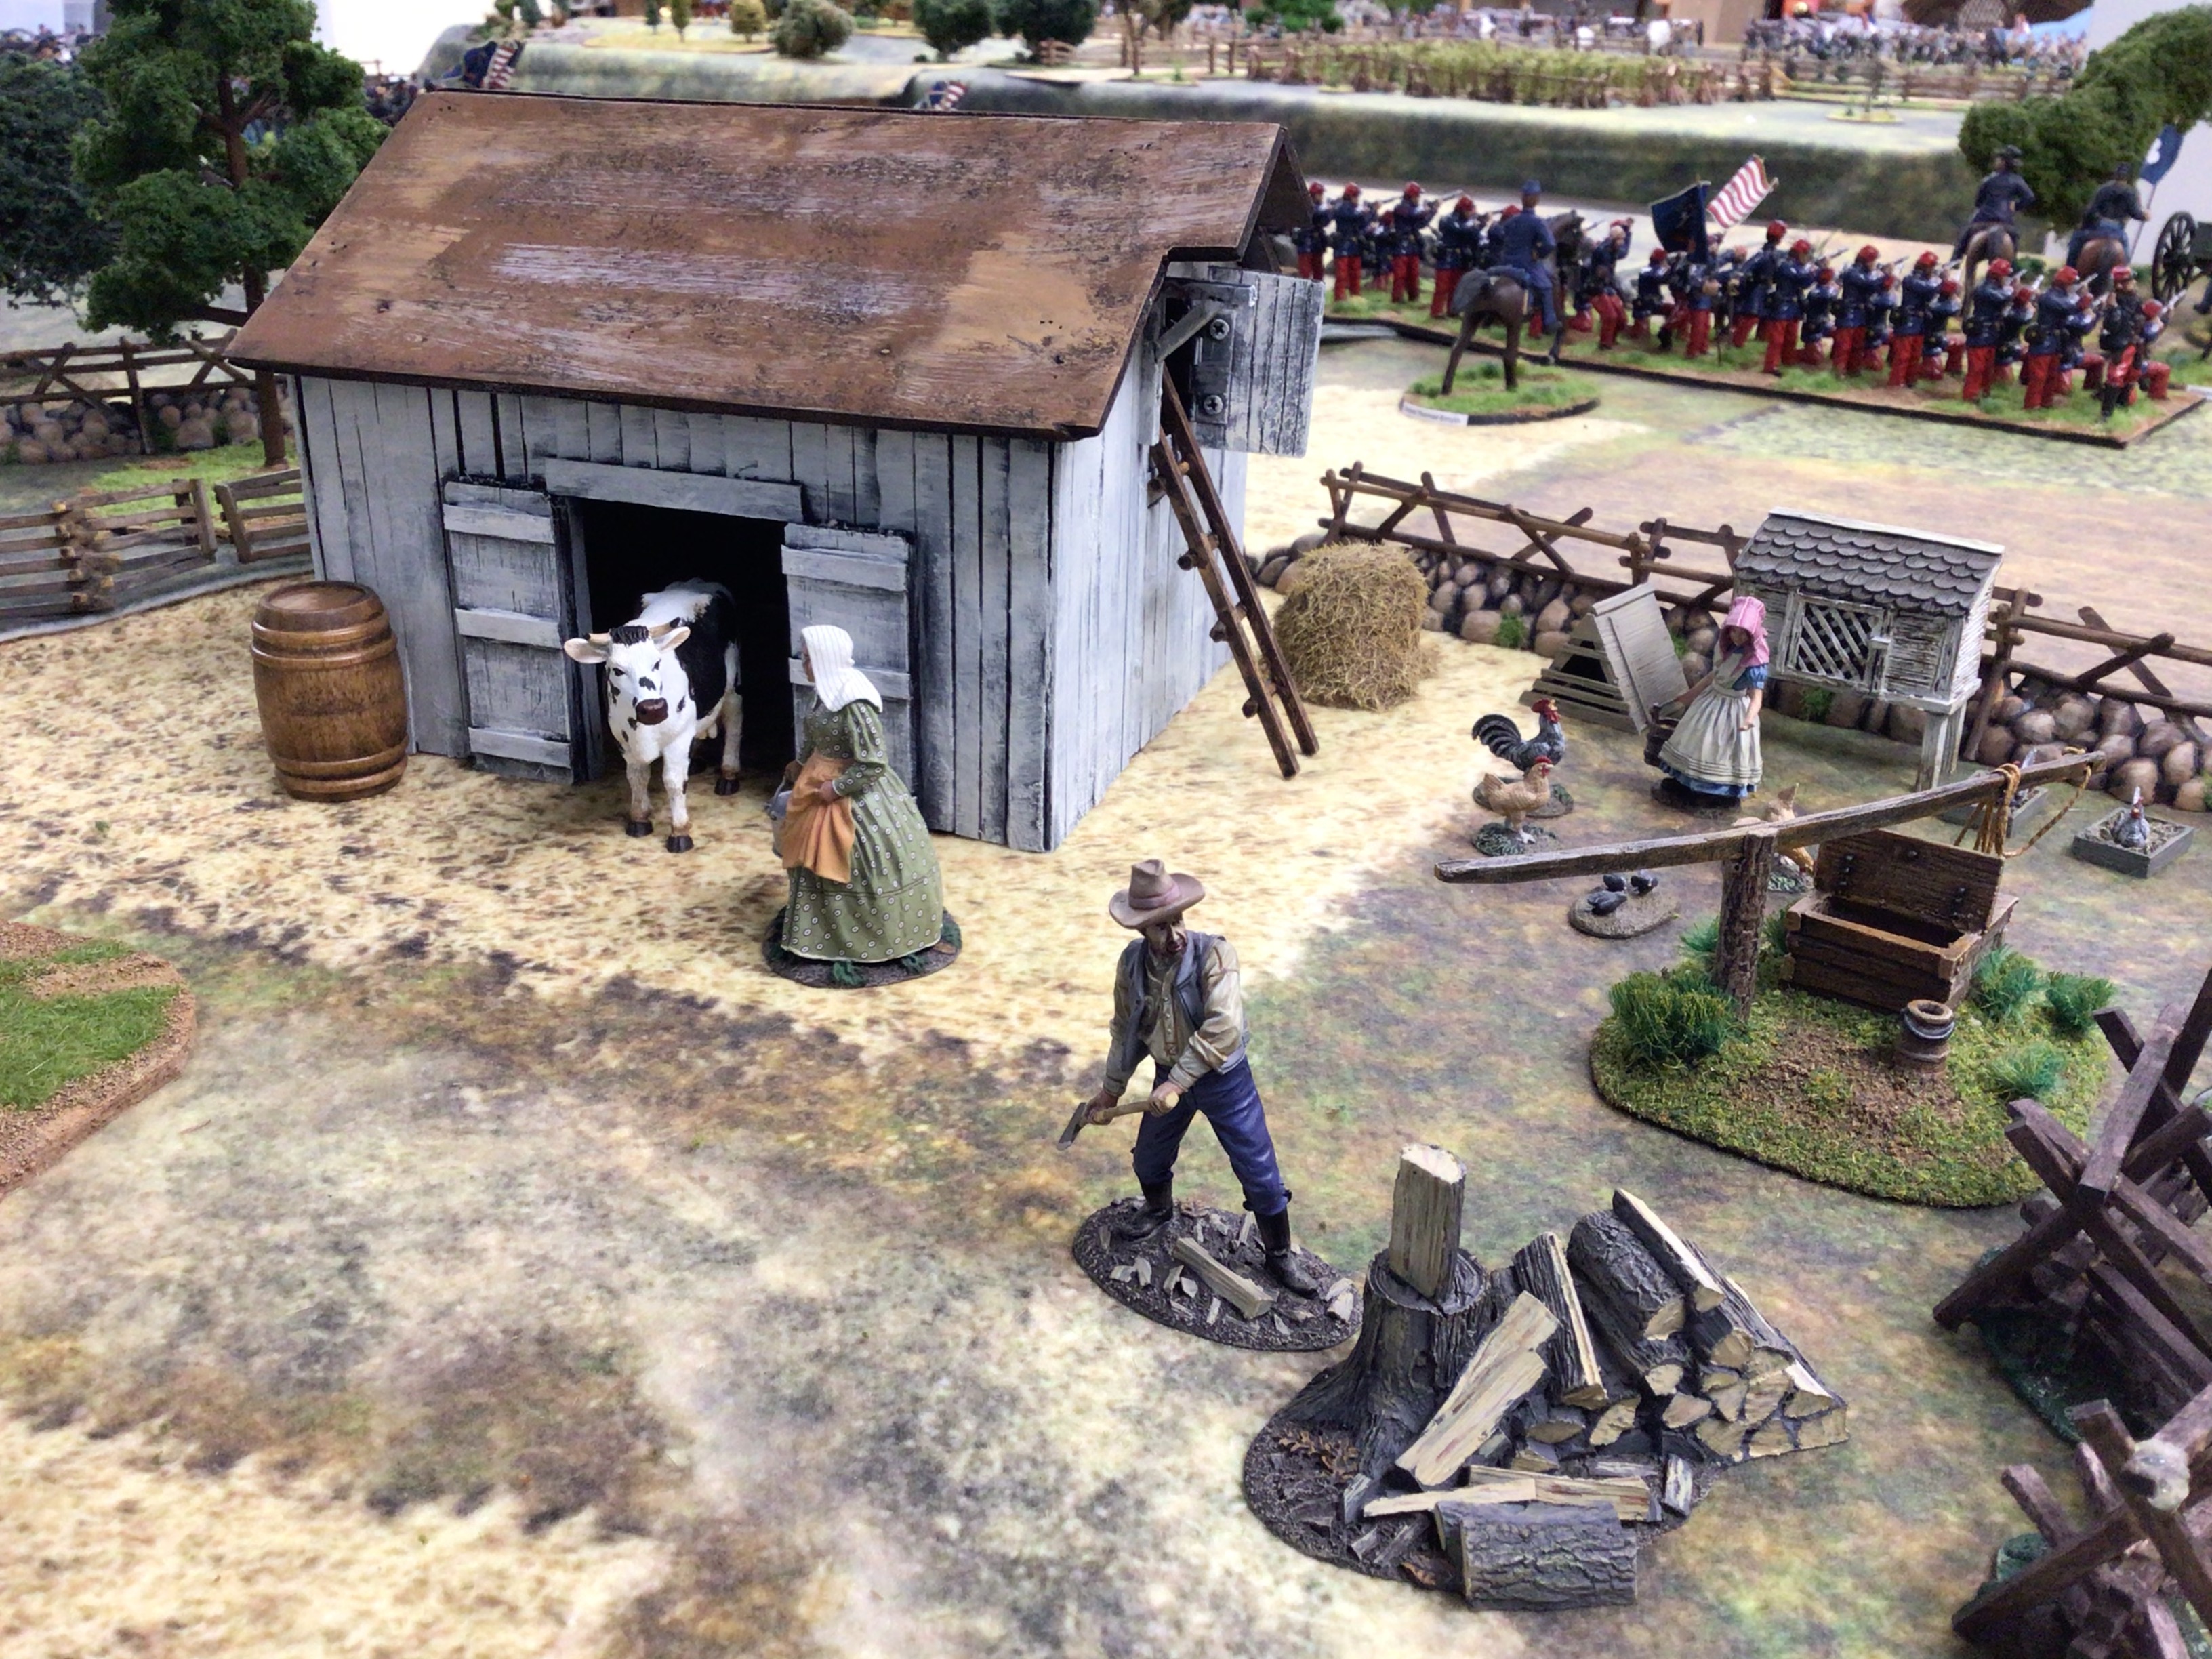
I already have a model of the Codori barn, and no, it wasn't red and didn't have a cupola in 1863. It was painted white. Here is the model made by Britains:
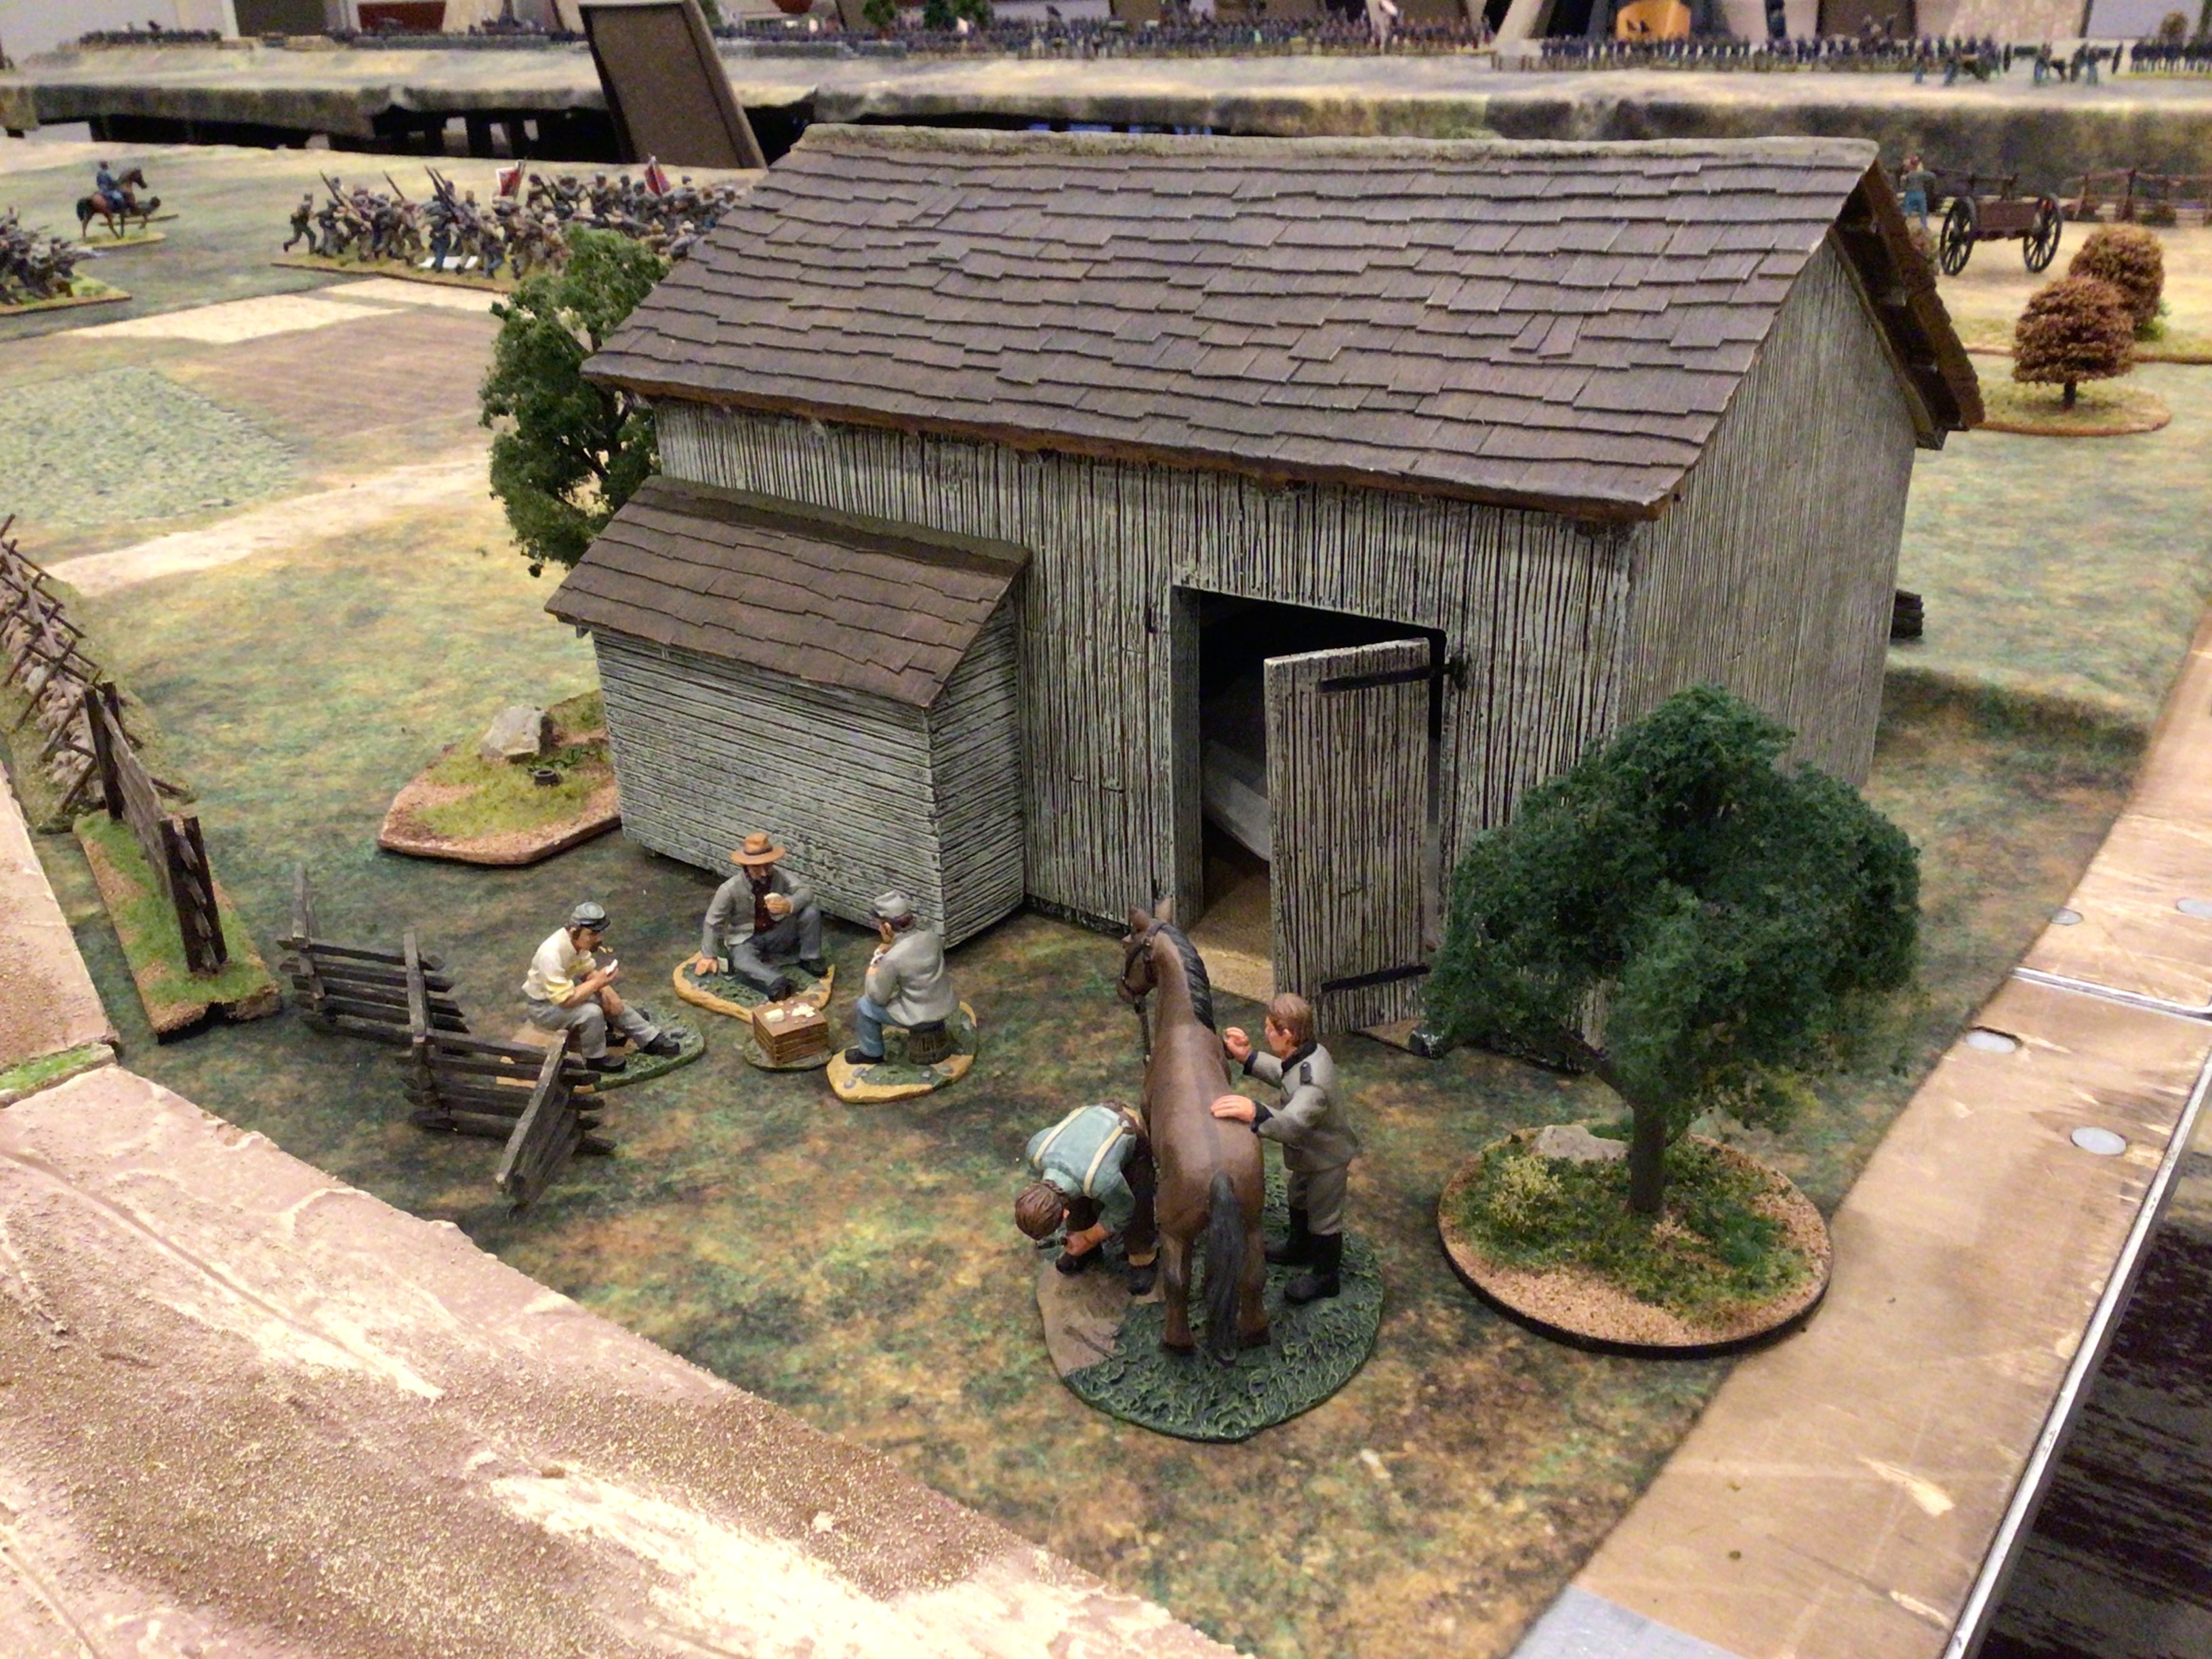 |
| The Codori barn during a lull in the battle. Confederates playing a few hands of poker. |
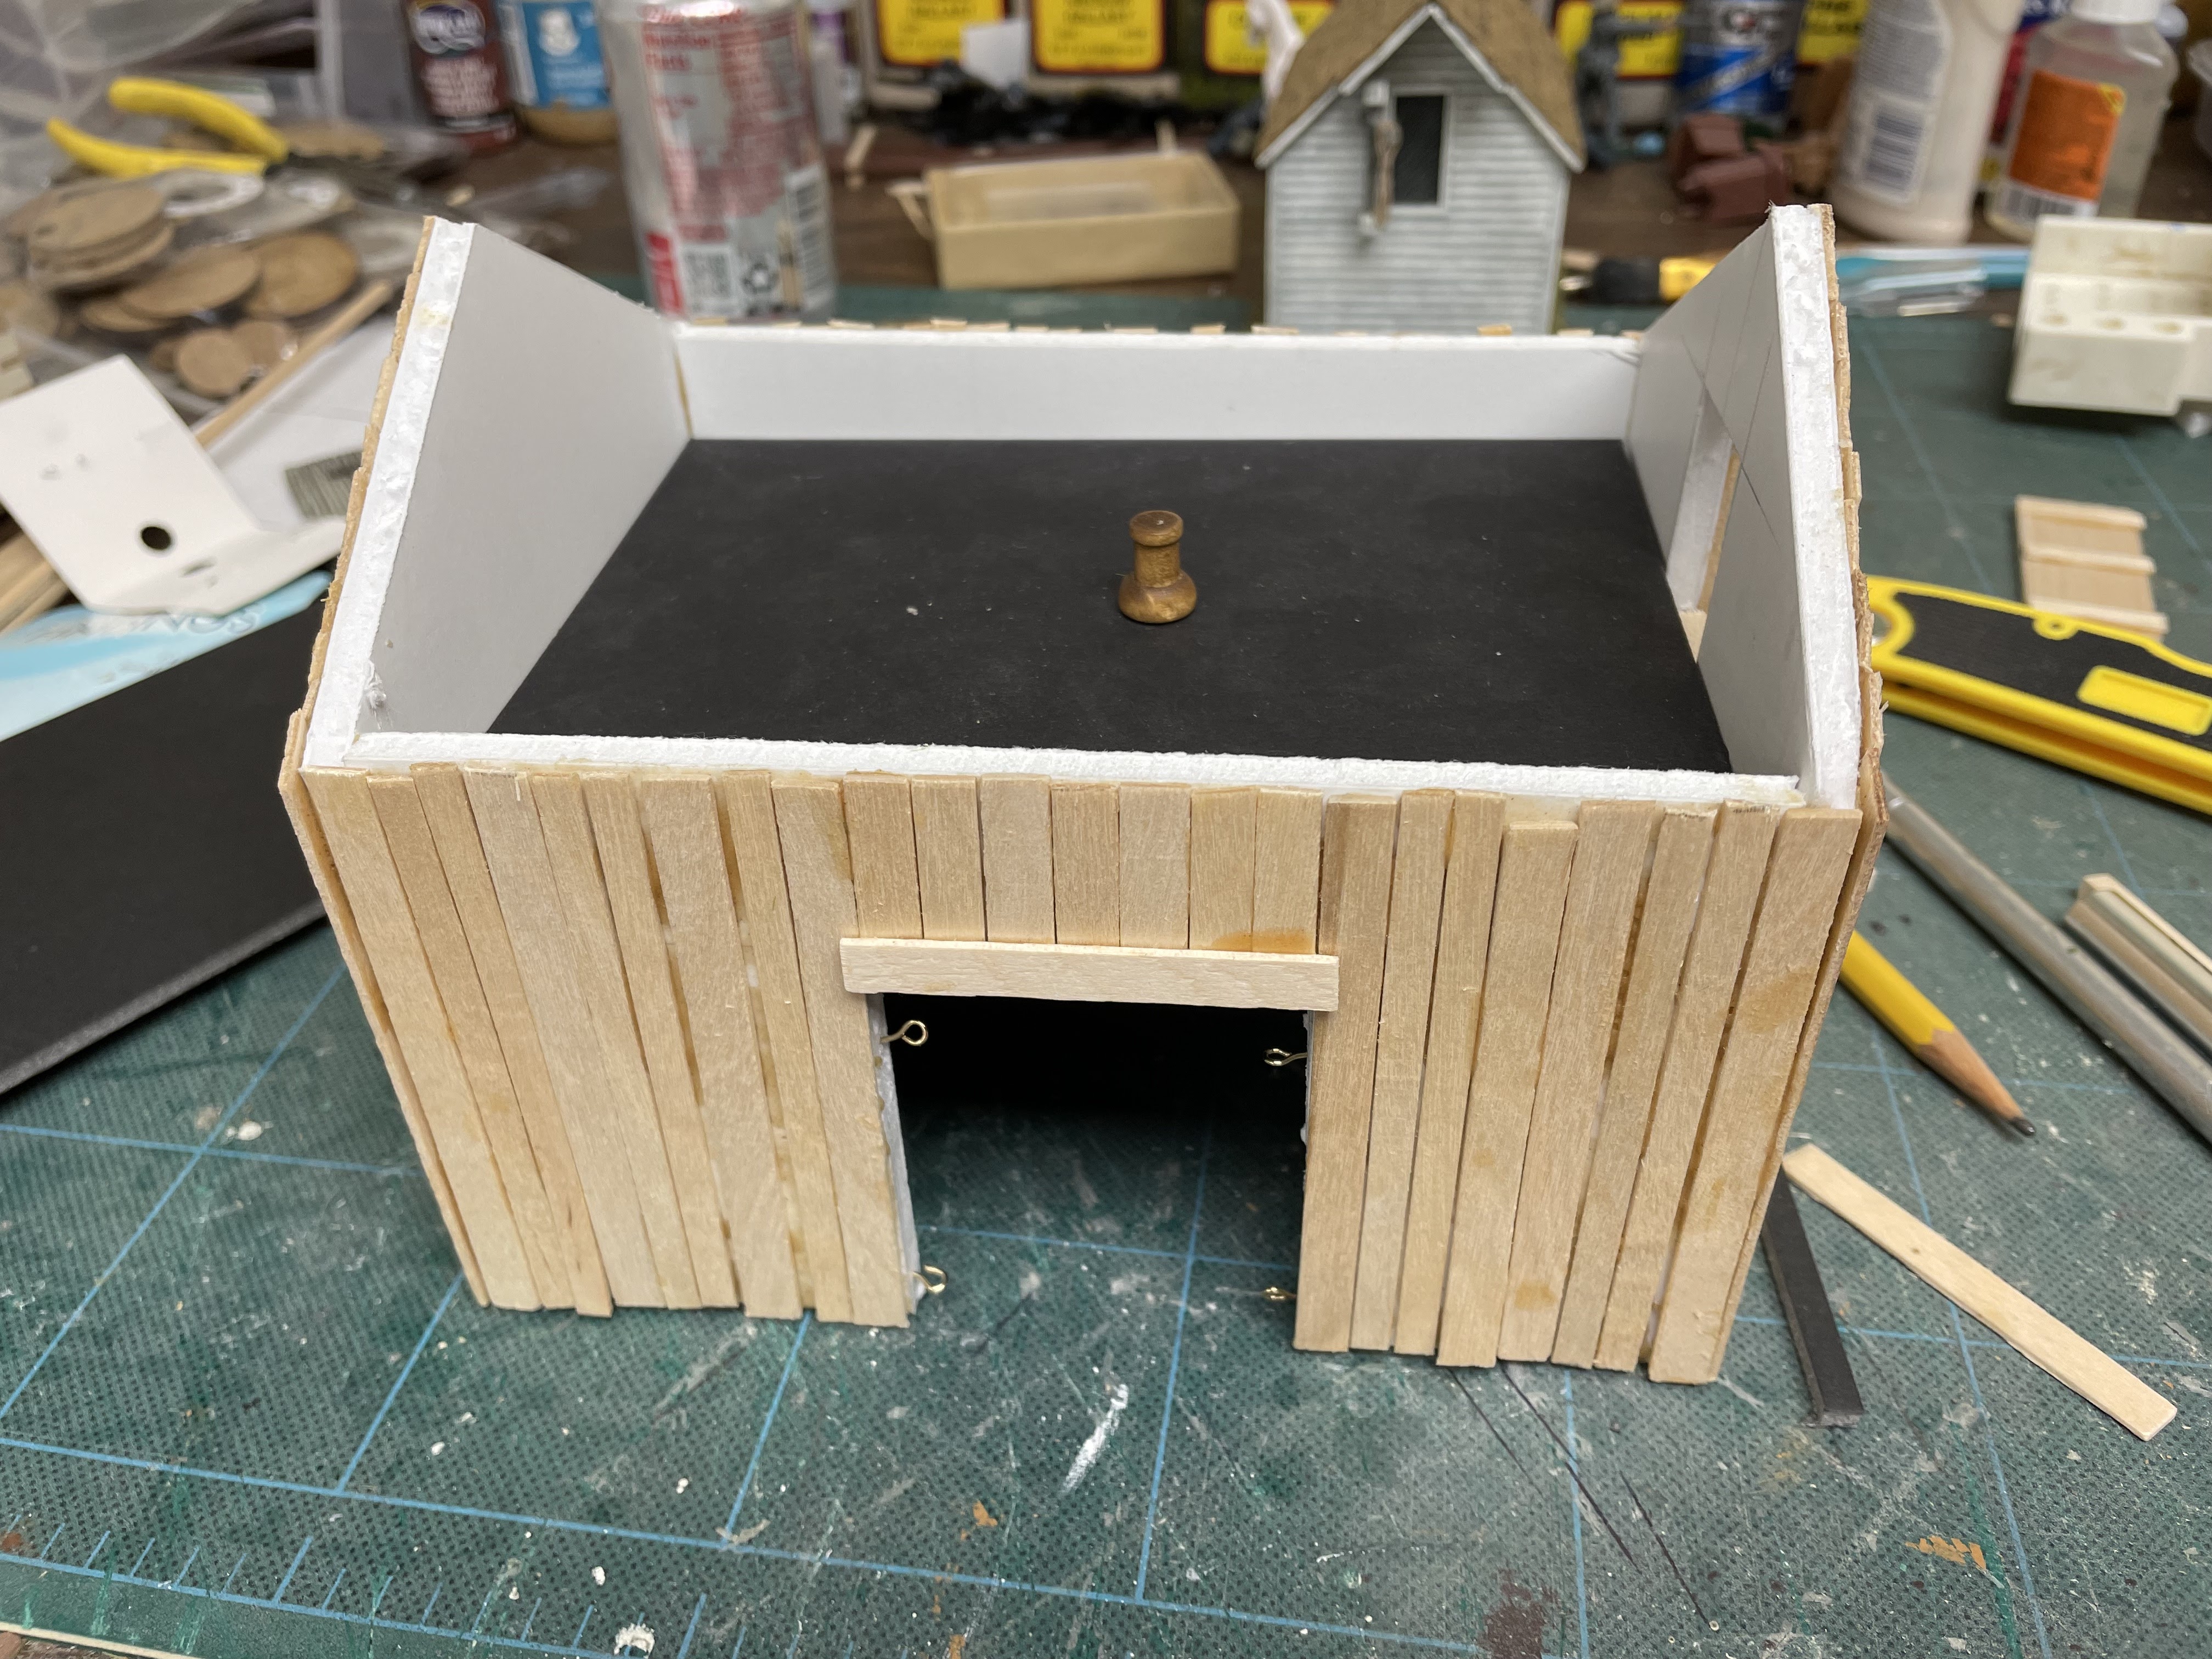
I have made good progress on my house model. The walls are made out of foam core material and have a basswood internal bracing structure to give the model strength. I am going to use the two chimneys from the BMC Meade's HQ plastic kit and also cut out the windows from the same plastic kit. I will use the those windows on my model of the Codori house.
The exterior is clad with paper bricks and paper roof shingles. I am glad that I don't have to make my own roof shingles.


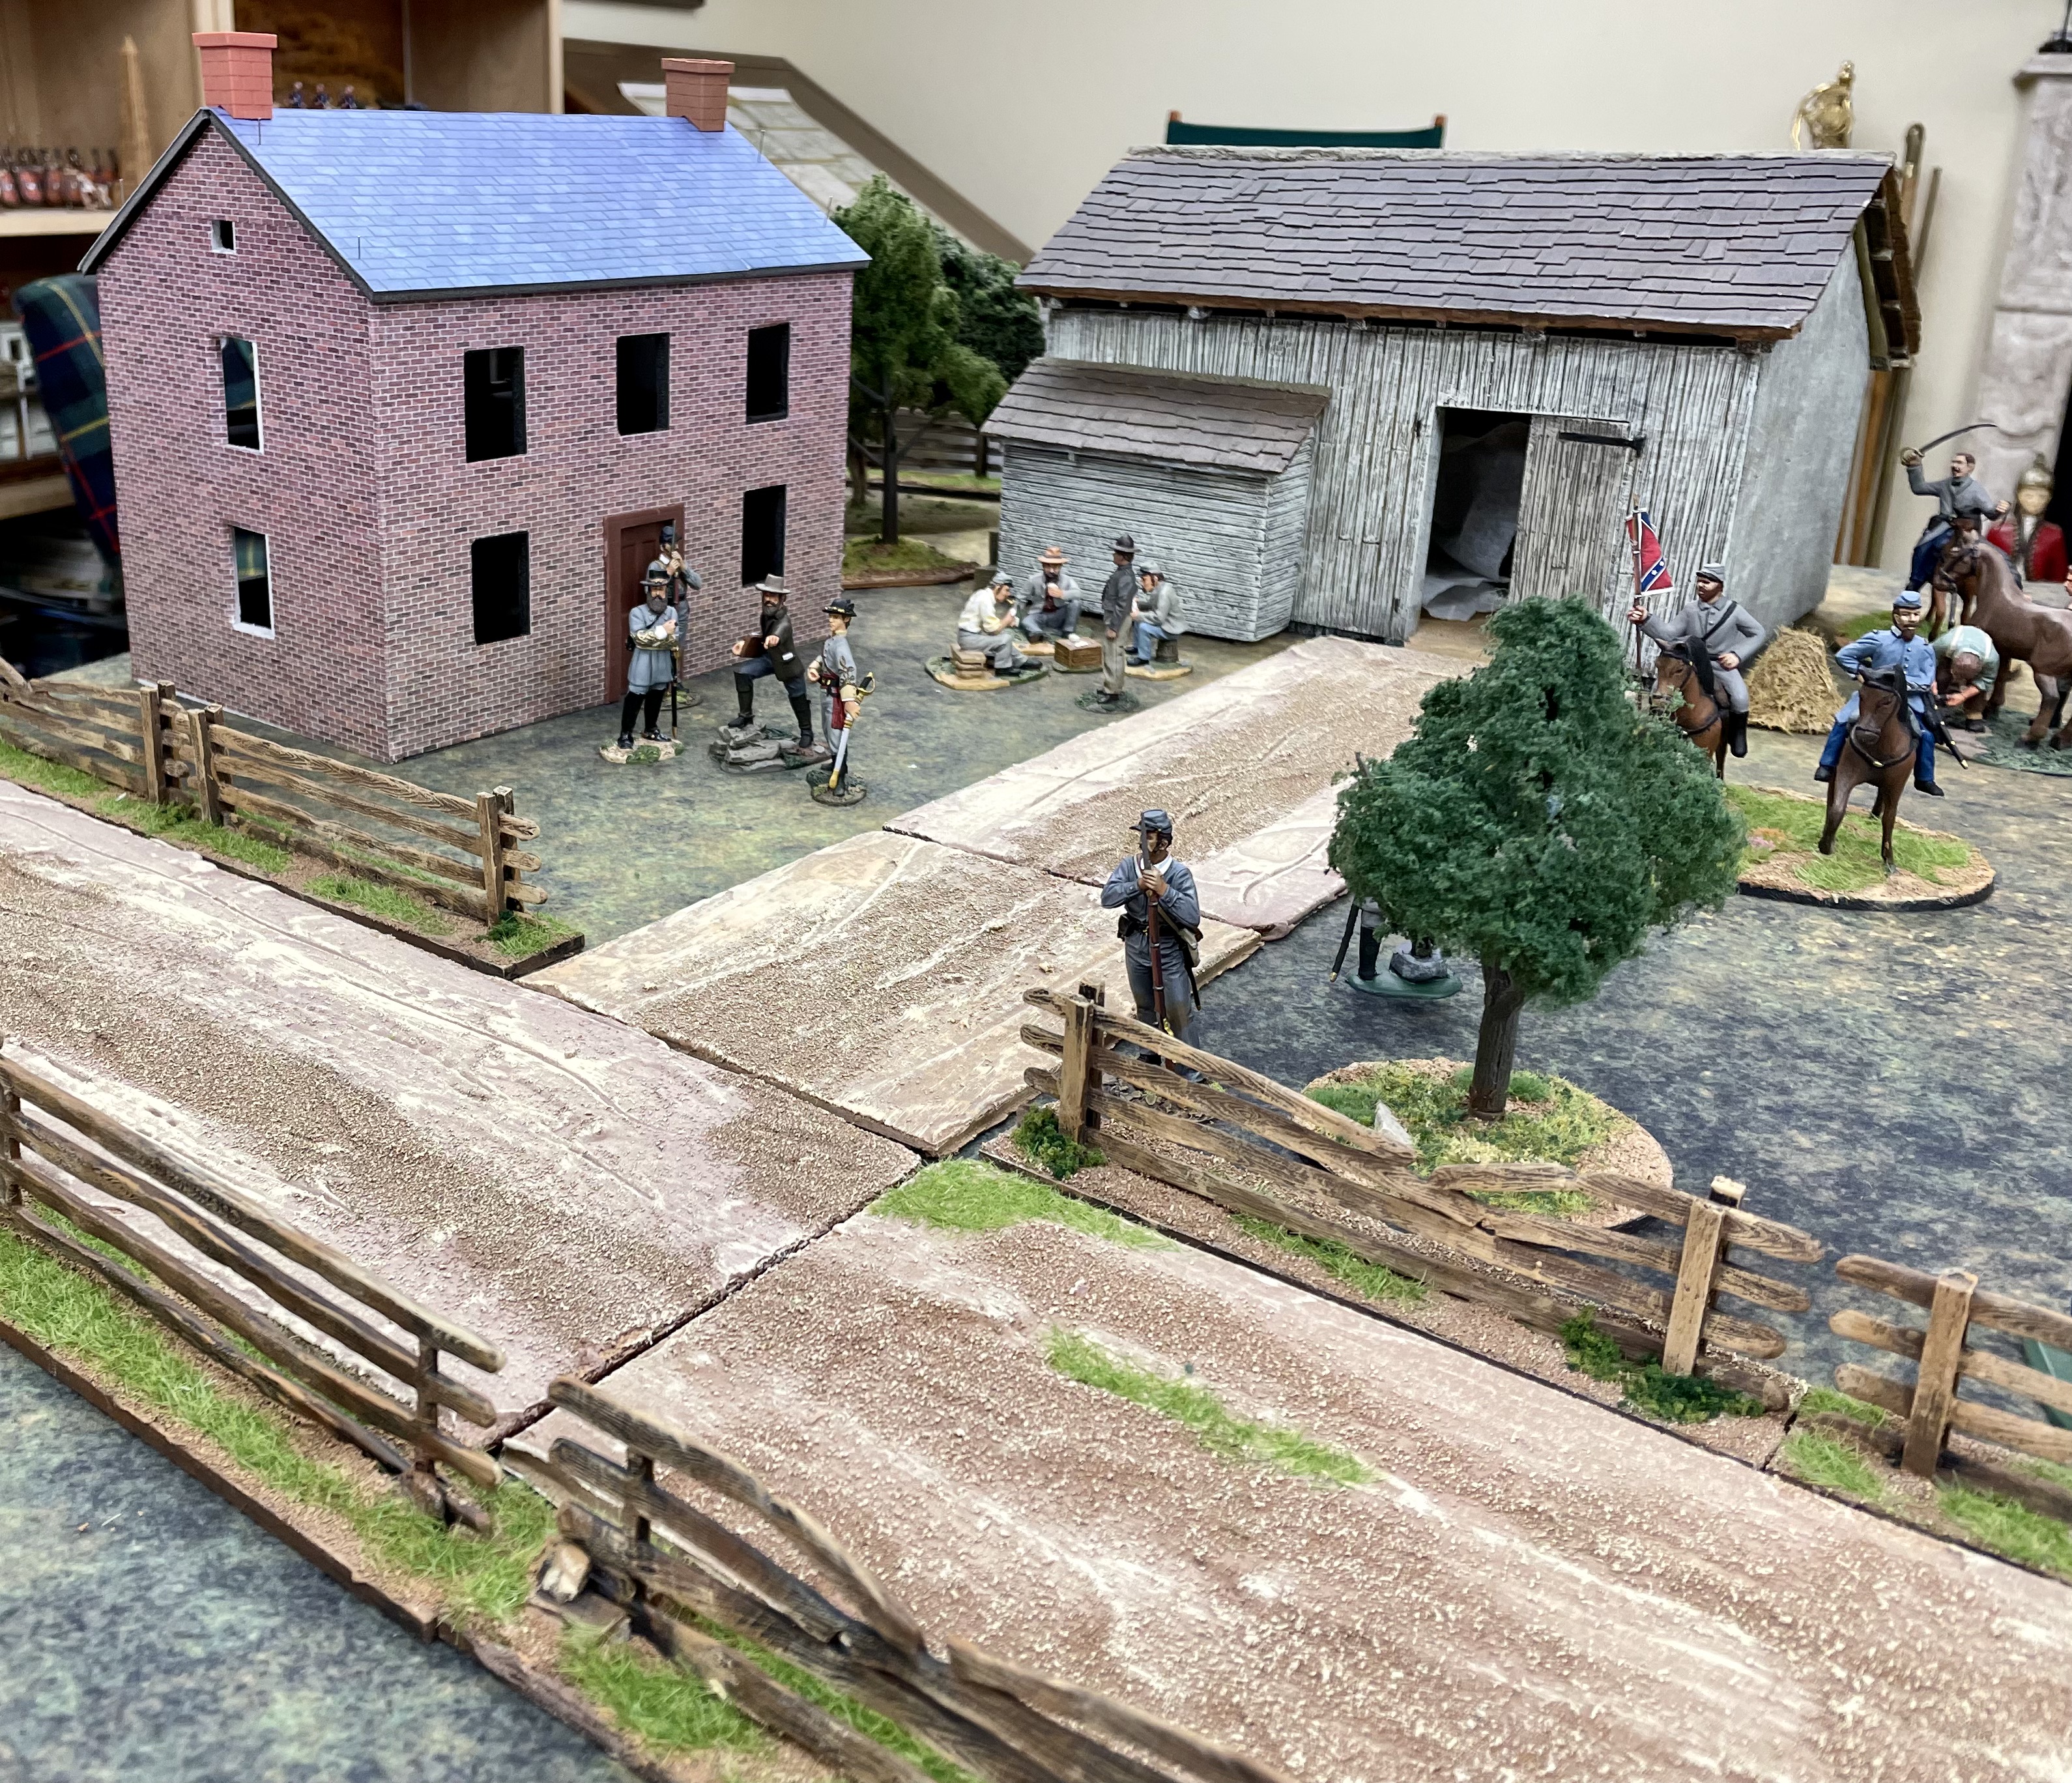 |
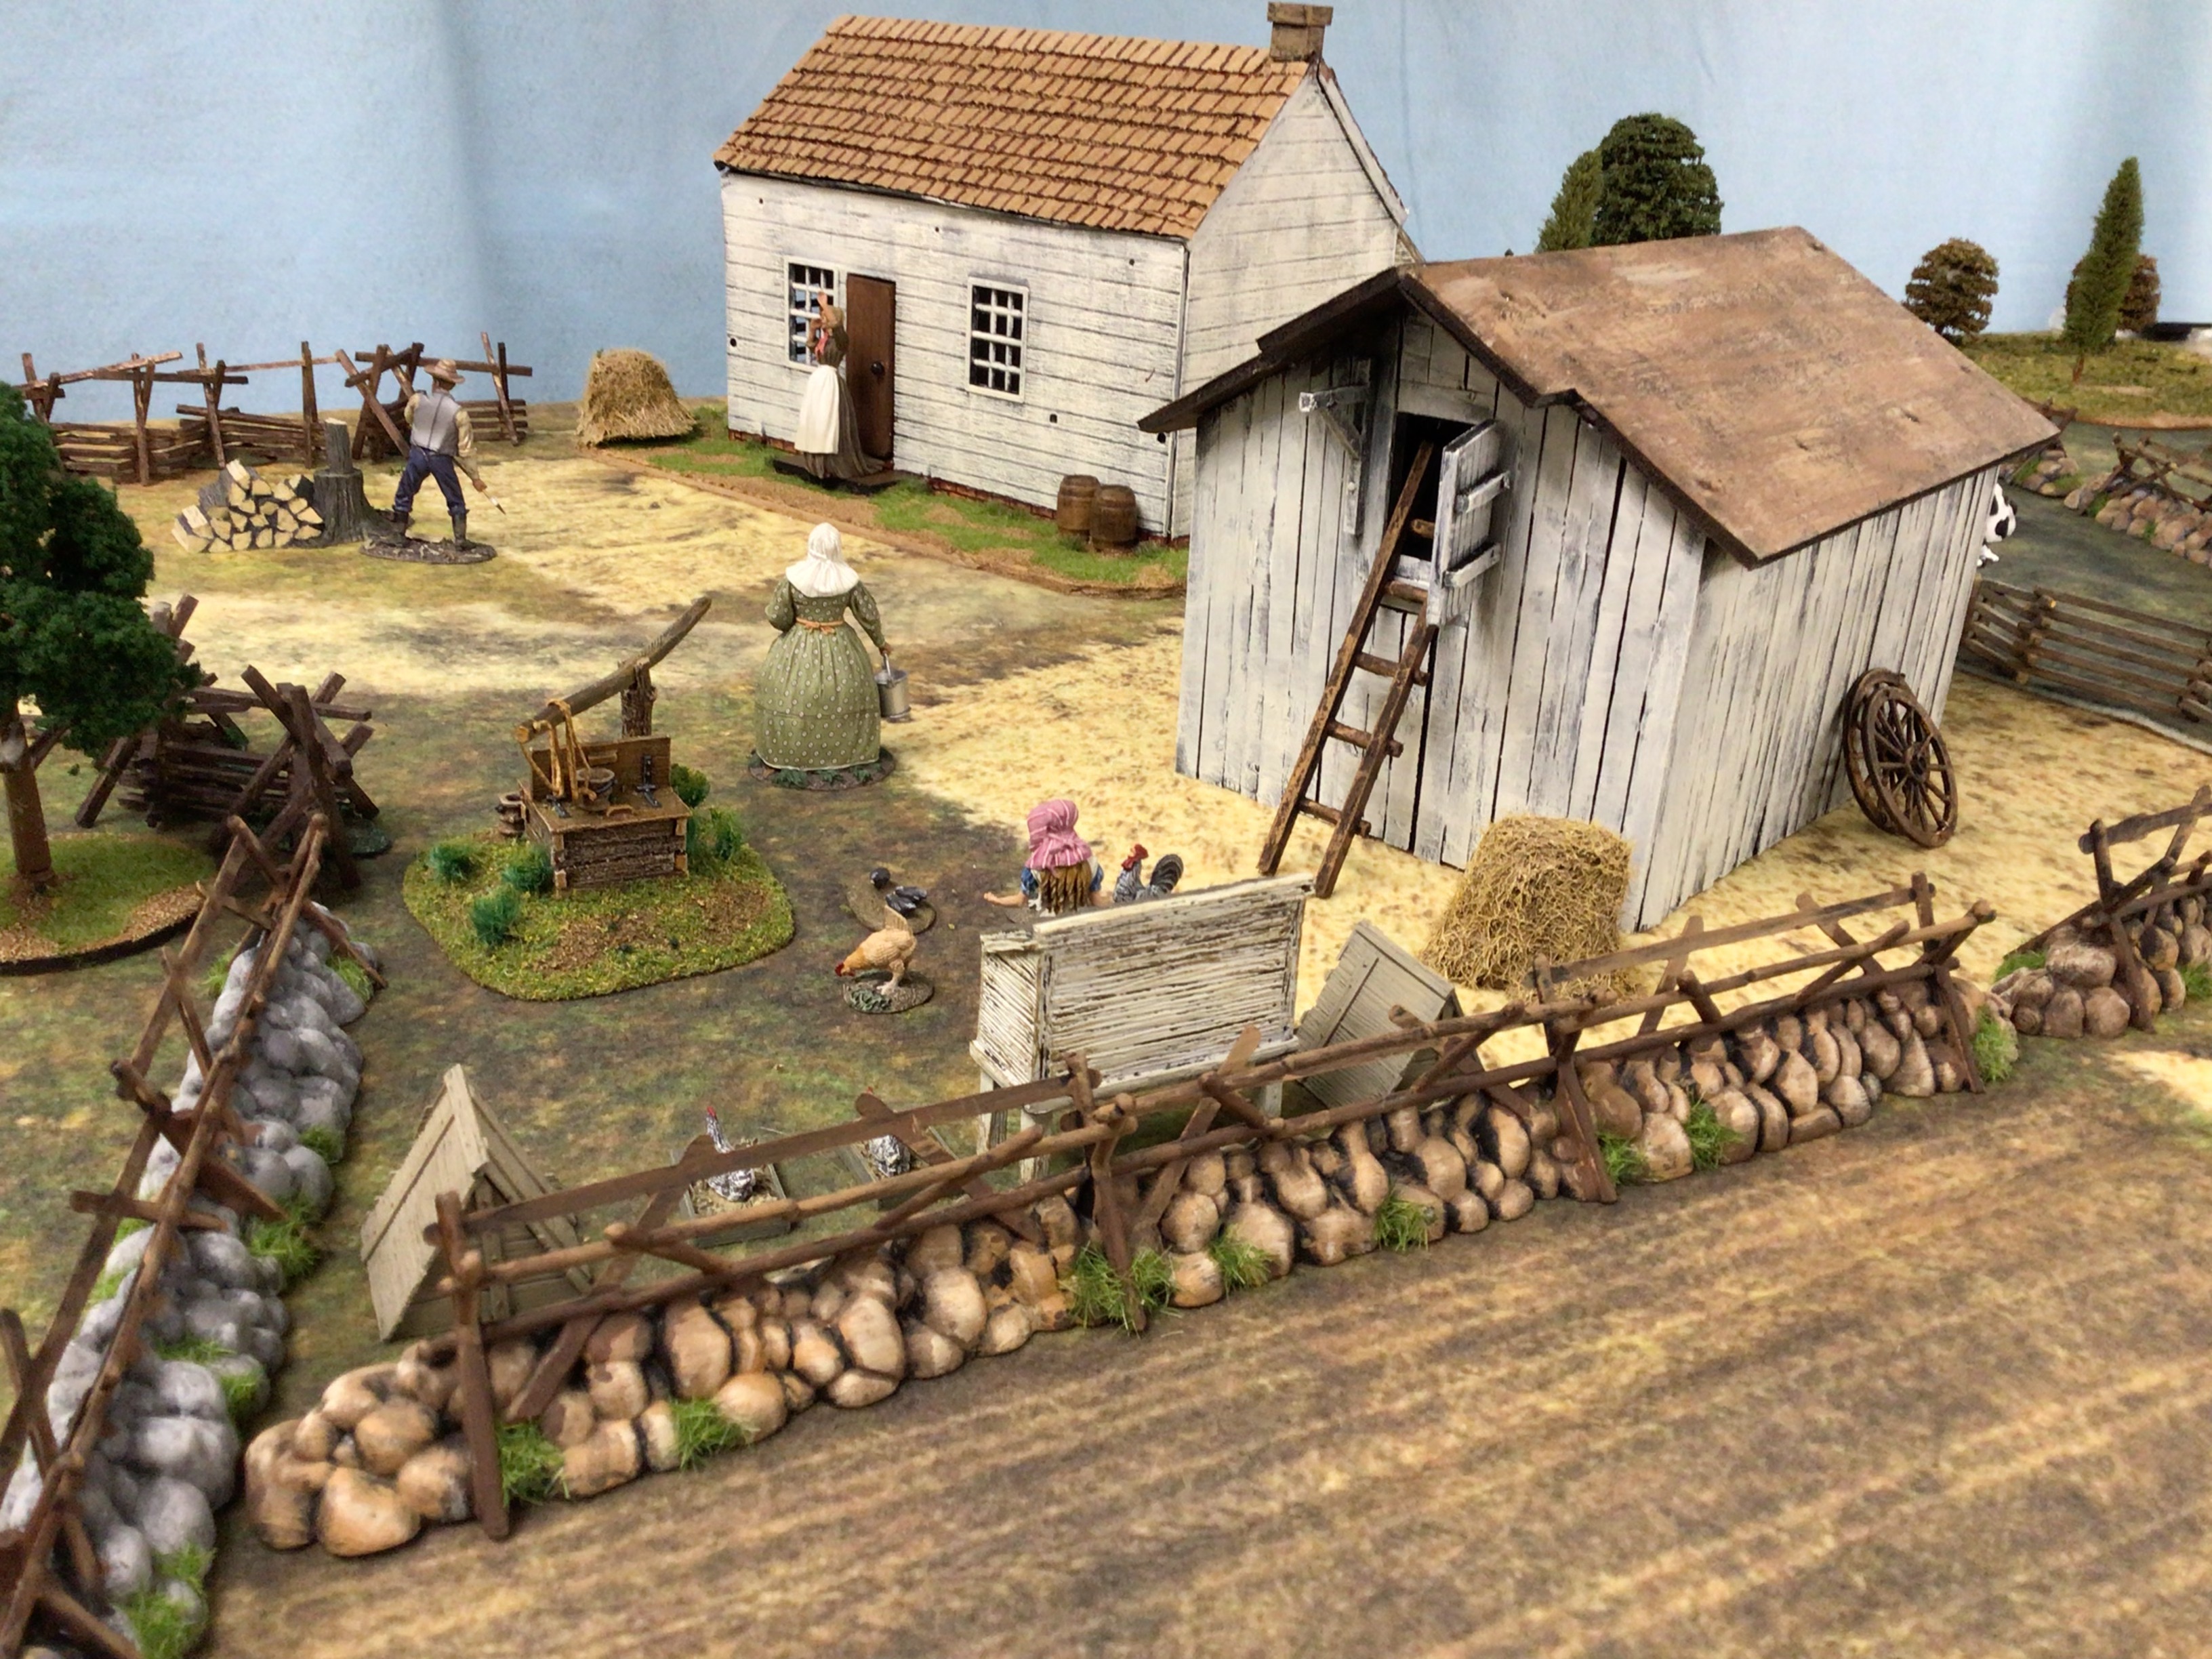
| Longstreet, Pickett and staff gather around the Codori farm for a quick meeting. |
The pictures above show the unfinished model sitting next to the Codori Barn. I only have to insert the plastic windows and a few frew-frews (try saying that fast ten times in a row) to finish the model. Then it but a matter of attaching the house to a base, using my favorite base material: cork place mats from Target.
***********************
Tomorrow, Saturday, I will be traveling north to the Milwaukee area to play a 28mm Napoleonic game at Bill Protz's establishment. Infantry regiments are 72 figures strong and we will be using a variant of Bill's "BAR" rules for Napoleonic warfare. I believe that we are refighting Rolica in Spain with the British attacking the French for a change. I am looking forward to rolling some dice and enjoying some good company. I will post some pictures of the game early next week.
zzz