|
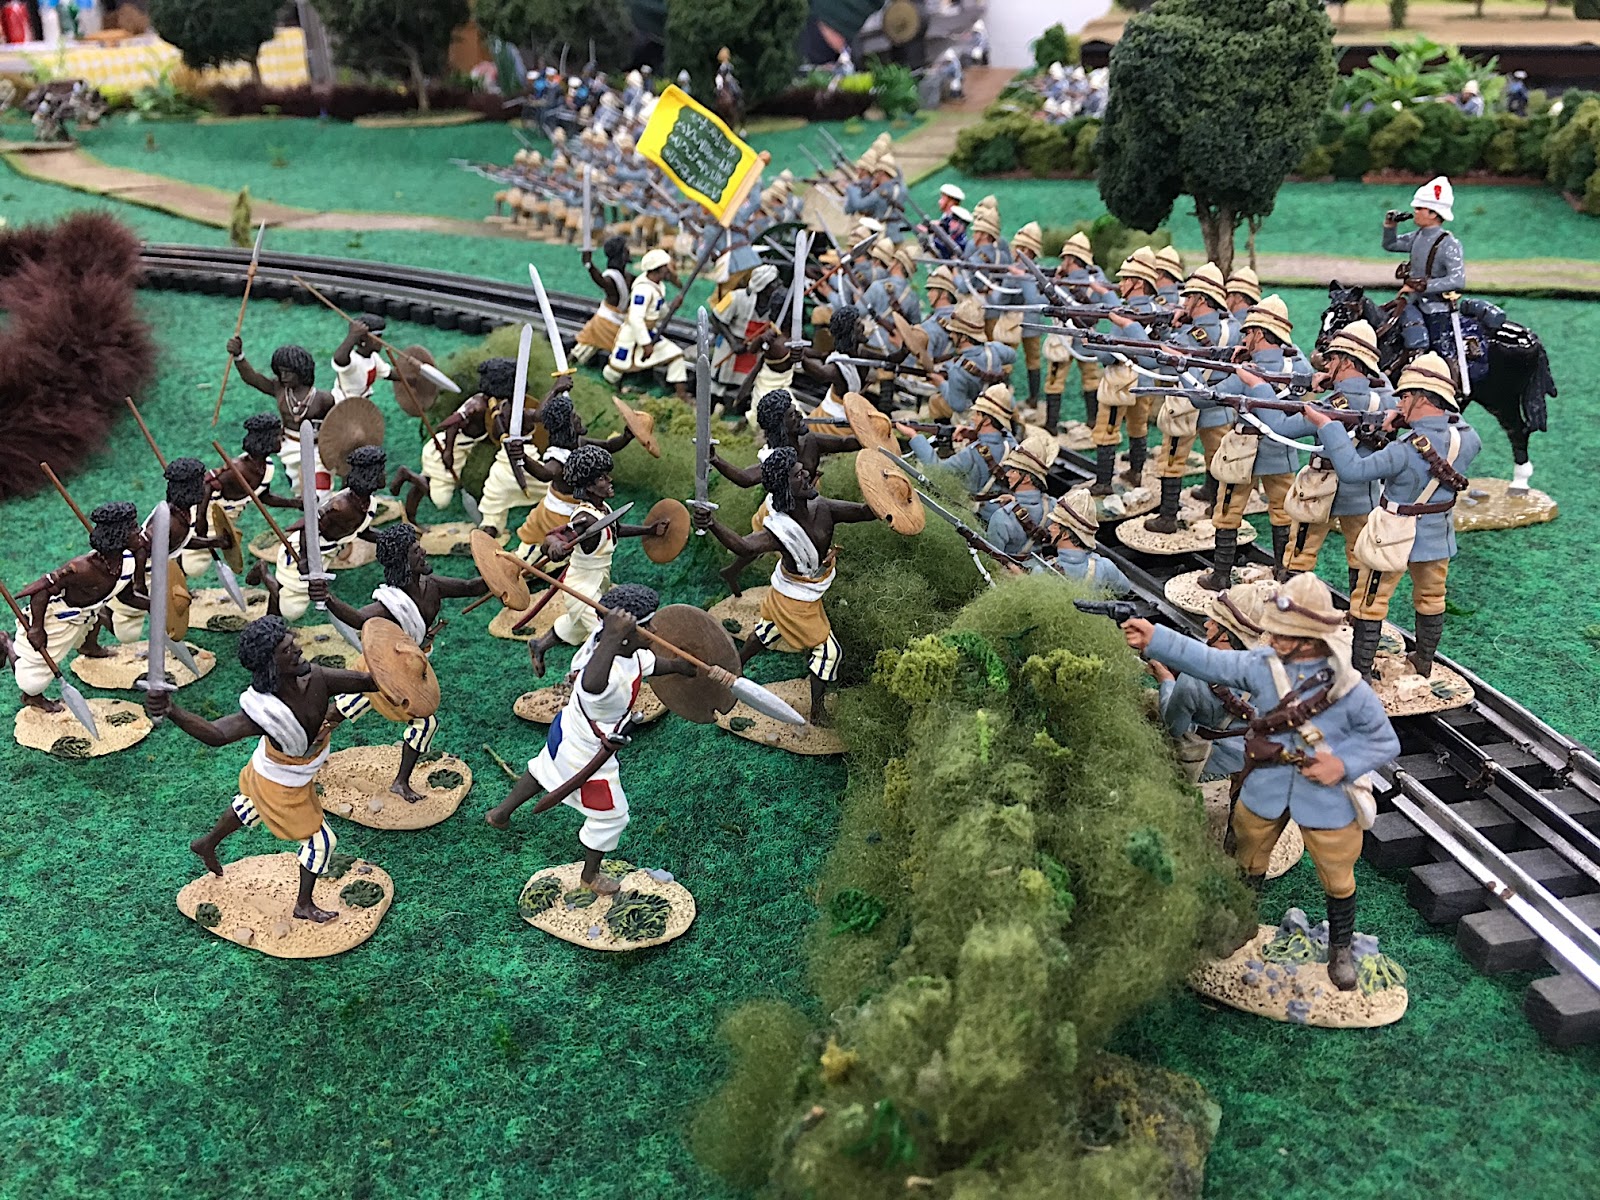
The Camel Corps in close quarters melee with the Dervish army.
CLICK ON ALL PICTURES TO ENLARGE |
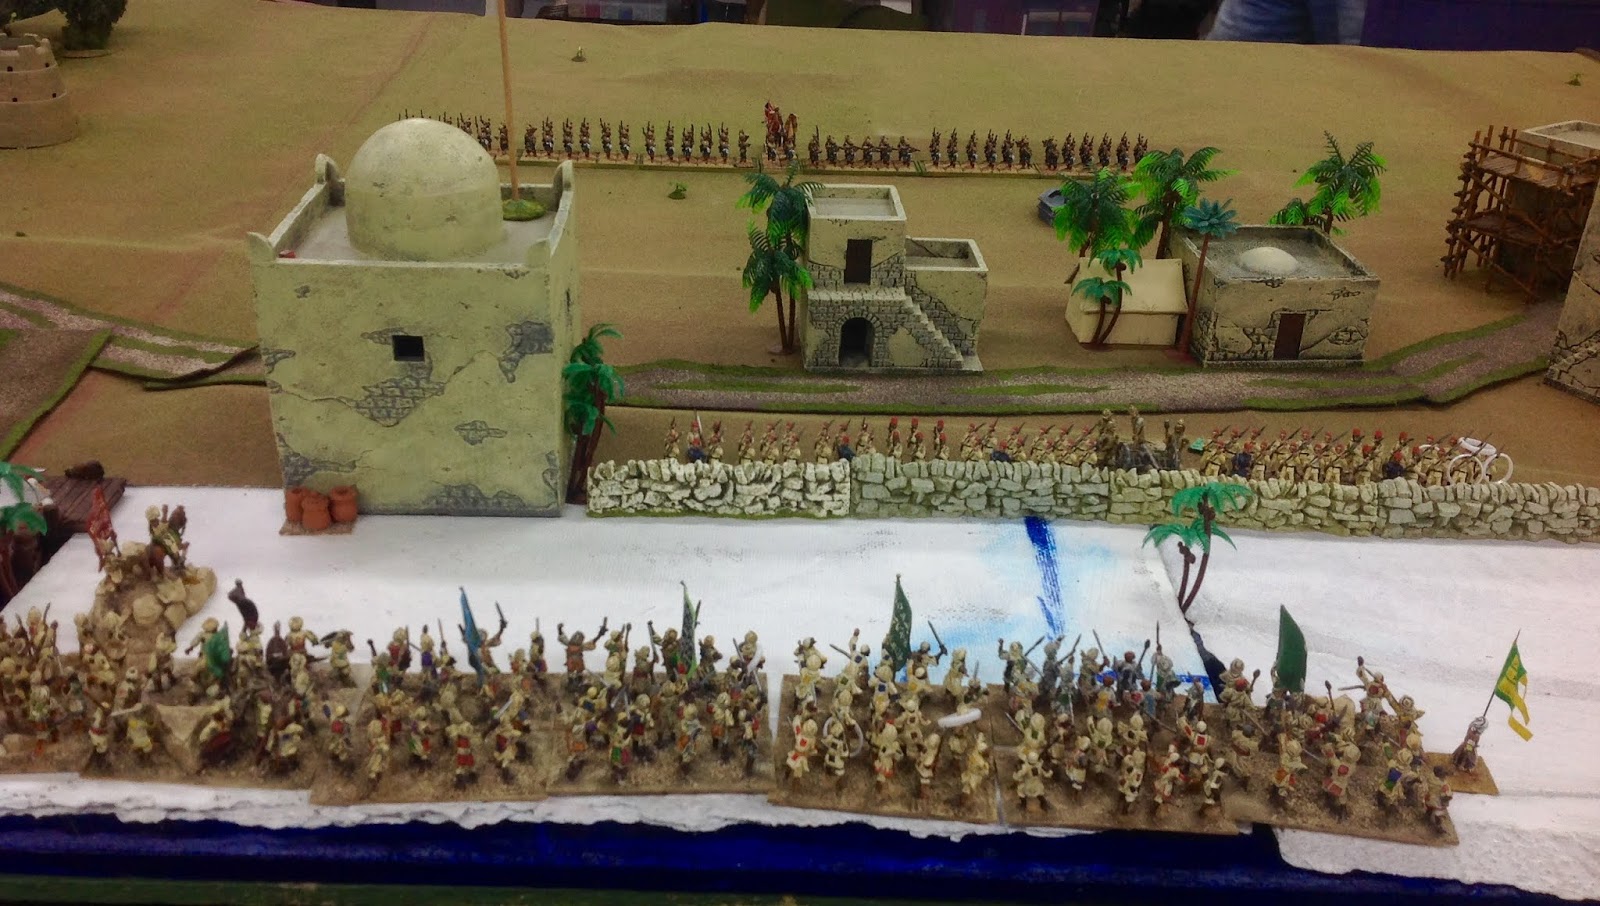
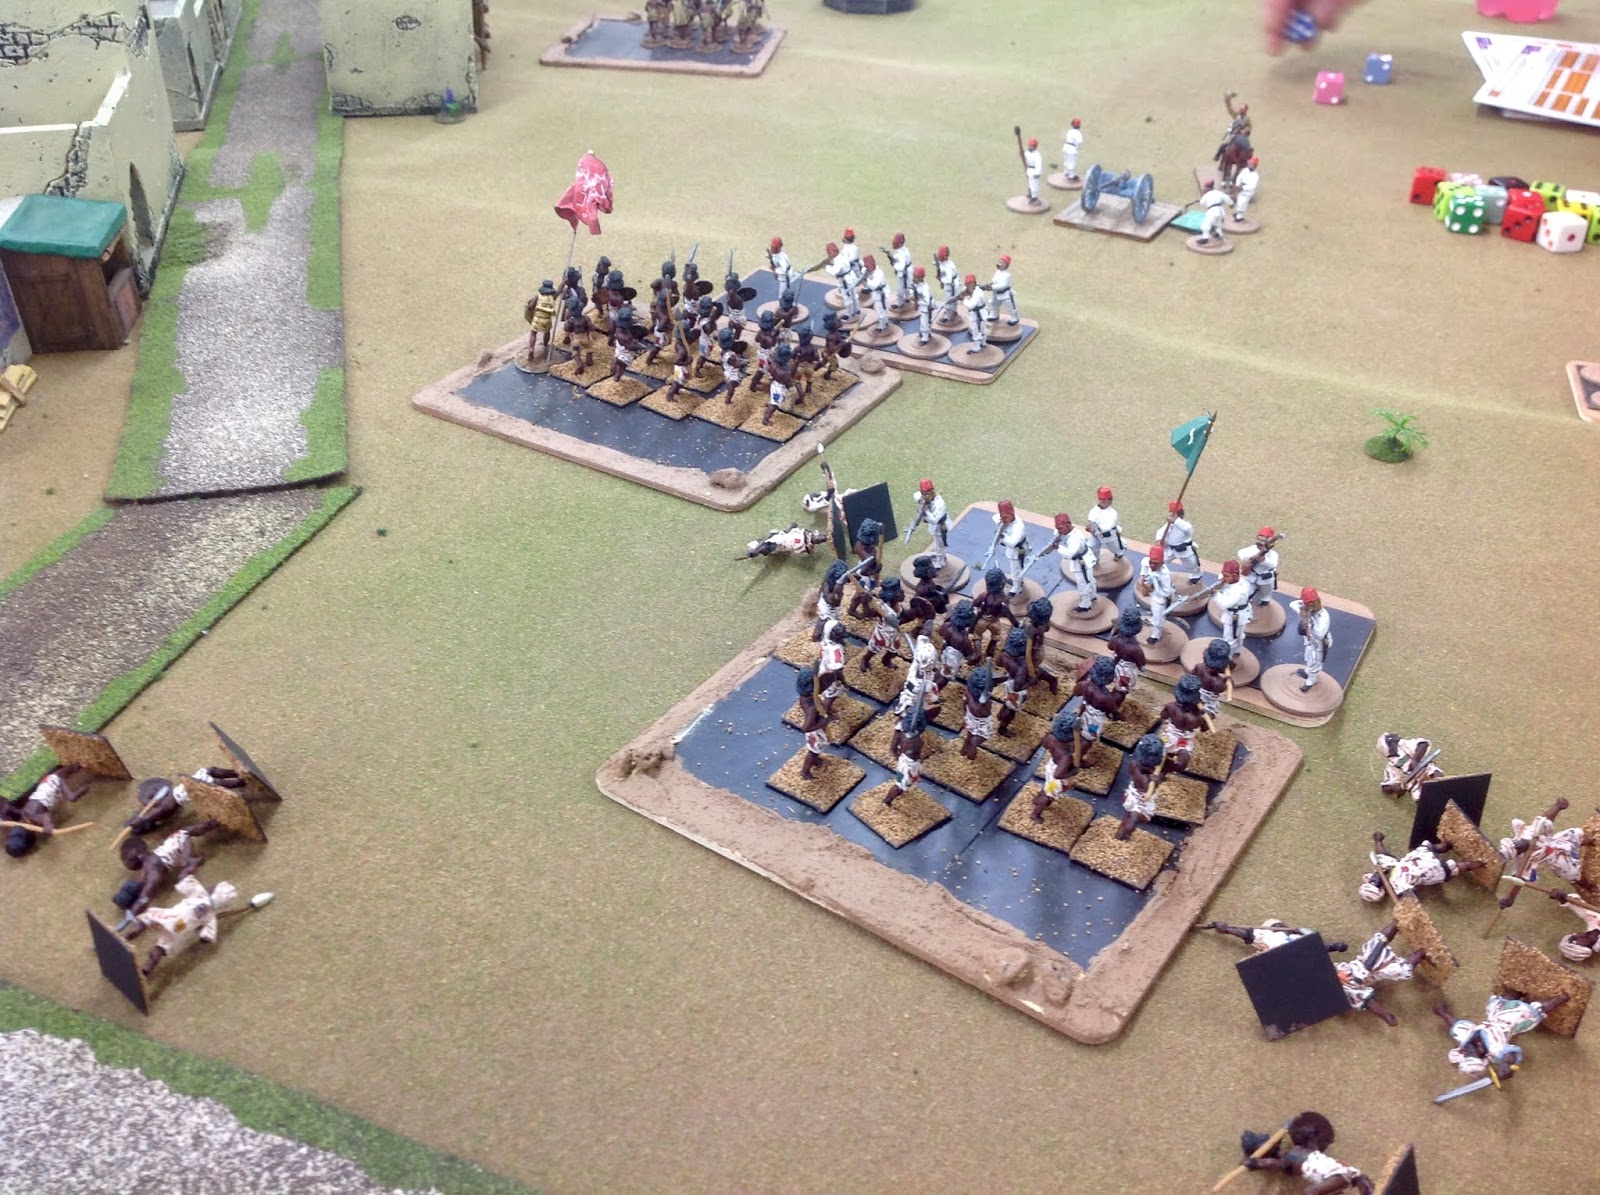
Wednesday evening we played the first of three games in our Mafrica Campaign. Each game leads to a follow on game until we reach our objective, which is Omdurman in the Mafrica version of the Sudan. Our games are designed to be short 2 hour games that we can play on weekday evenings.
We are using 54mm toy soldiers as our figures. The majority of the figures are from the Britains "War Along the Nile" range of figures, as well as some John Jenkins Designs figures and some Armies In Plastic figures. I also use a few of my Trophy Miniatures Navy Gatling Gun crews.
 |
| Royal Navy sailors disembark from the transport ship. |
 |
| The Camel Corps deploys on the left... |
 |
...while the Royal Marines deploy on the right...
|
 |
| ...and two companies of e Gordon Highlanders have moved inland and established a fortified camp. |
The commander of the isolated outpost sends a message back to the landing area:
"Dervish warbands are massing to our front. Expect attack momentarily. Require help. Urgent!"
 |
| The Camel Corps move forward under the watchful eye of Major Edwards. |
 |
| Royal Navy sailors prolong their Gatling Gun forward to help the Gordons. |
 |
| The Dervish and their Hadandowah allies mass in front of the outpost. |
 |
| Here they come! |
The Gordons are in a bit of a pickle as the Dervish manage to breach the walls of the kraal. Off in the distance the Marines are marching to the sound of the guns, but have to stop and deal with some rifle-armed Hadendawah
 |
| The Gordons defend the stone kraal against the Dervish charge. |
 |
| The first wave of the Hadendowah close quickly and reach the stone wall. |
 |
| It becomes a desperate hand to hand fight as the Dervish get inside the kraal. |
 |
| More of the foes reach the other side of the kraal and get ready to leap over the wall! |
As so often happens in a game, one player is so absorbed in his own problems that he can't pay much attention to what is going on at the other end of the table. I commanded the Camel Corps regiment - four companies in all. Another warband of natives were headed my way.
 |
| Some skirmishers are sent ahead of the brigade to see what is happening in the brush. Dangerous work! |
 |
| The presence of the Royal Navy Gatling Gun helps to calm the nerves of the men. |
 |
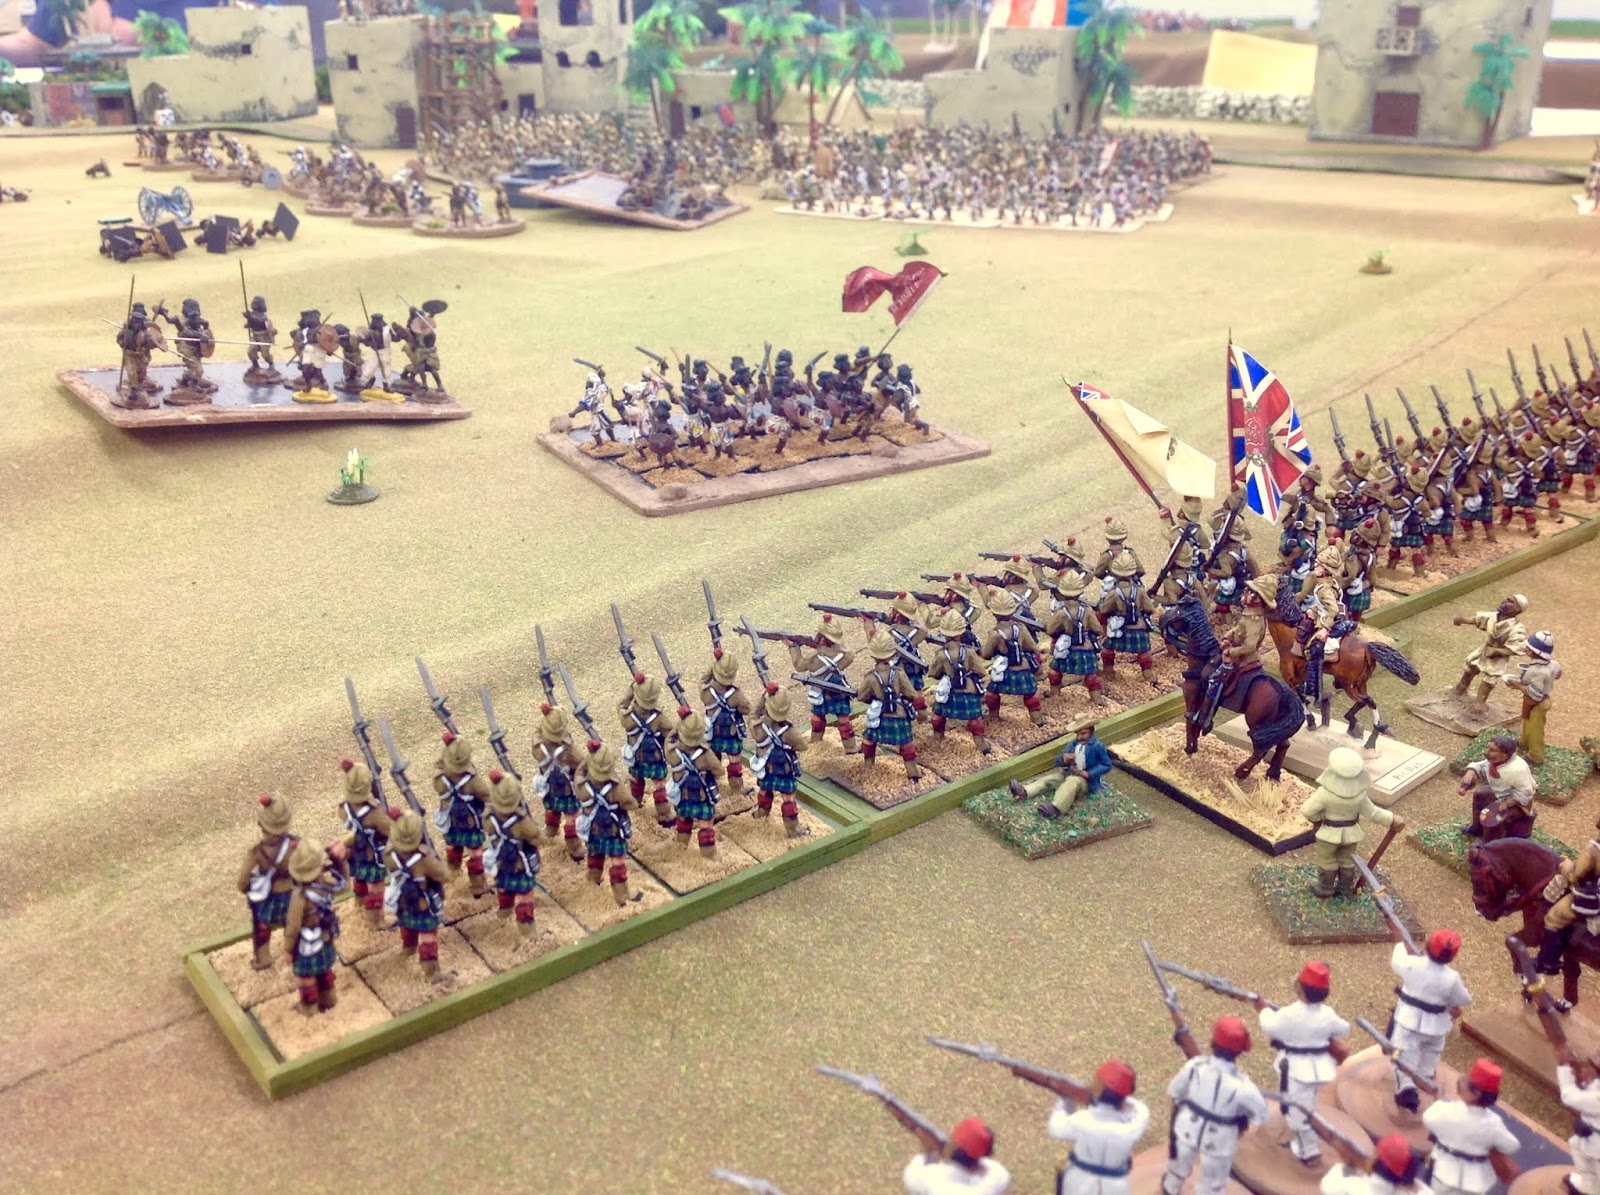
| Camel Corps firing line calmly awaits the charge. |
 |
| "Present!" |
 |
| Major Edwards shouts the order: "fire!" |
 |
| The natives rush towards the Camel Corps' zariba. |
 |
| They close in front of the zariba where the thin blue line awaits. |
 |
| The Hadendowah win the first round of melee and push the Camel Corps back aways, but then two more companies charge in and hit the natives in the flank |
 |
| The Hadandowah lose the melee as they are vastly outnumbered by the Camel Corps now. However, they refuse to rout and melt back into the brush. |
How did the battle turn out?
Well, we won't know for awhile as time ran out on our two hour wargame. The Gordons somehow managed to hold their ground at the kraal, albeit with fewer men than they had at the start of the game. It looked like the Royal Marines were within a turn's move of relieving the Gordons. On the other side of the field, the Camel Corps fended off the natives with only 6 casualties (and some very good saving throws by Major Edwards).
More Dervish warriors were reassembling near the kraal and looking for any excuse to charge again, but we all deemed that they would likely retire in some semblence of good order and live to fight another day.
So I guess that it was a slight British victory in that they would have been able to rescue the beleagured Gordon Highlanders. Accordingly, this will generate Game #2 of the Mafrica Campaign at some date in the near future.
We used the 19th Century variation of the Batailles dans 'Ancien Regime (or BAR) which worked very well for the British Colonial era. Some of the variations include a rapid fire factor of +6 for the Imperials (but they could only have a maximum of 4 volley fires like this - determined by the roll of a D4), and a "Fanatical Native" bonus of +2 in melee and +1 for Saving throws. As a consequence, the Hadandowah saved on a die roll of anything but a 1 or a 2. This made them extremely had to put down. This was kind of offset by "The 10% Rule" which requires the natives to roll a D6 to see if they will fall back or stay in the fight. This saved the British' bacon a number of times over the course of the game.
Finally, it was a lot of fun to use the large 54mm toy soldiers for our game. The figures are exquisitely detailed and they photograph quite nicely, as you can see from the pictures in this blog posting.