


 |
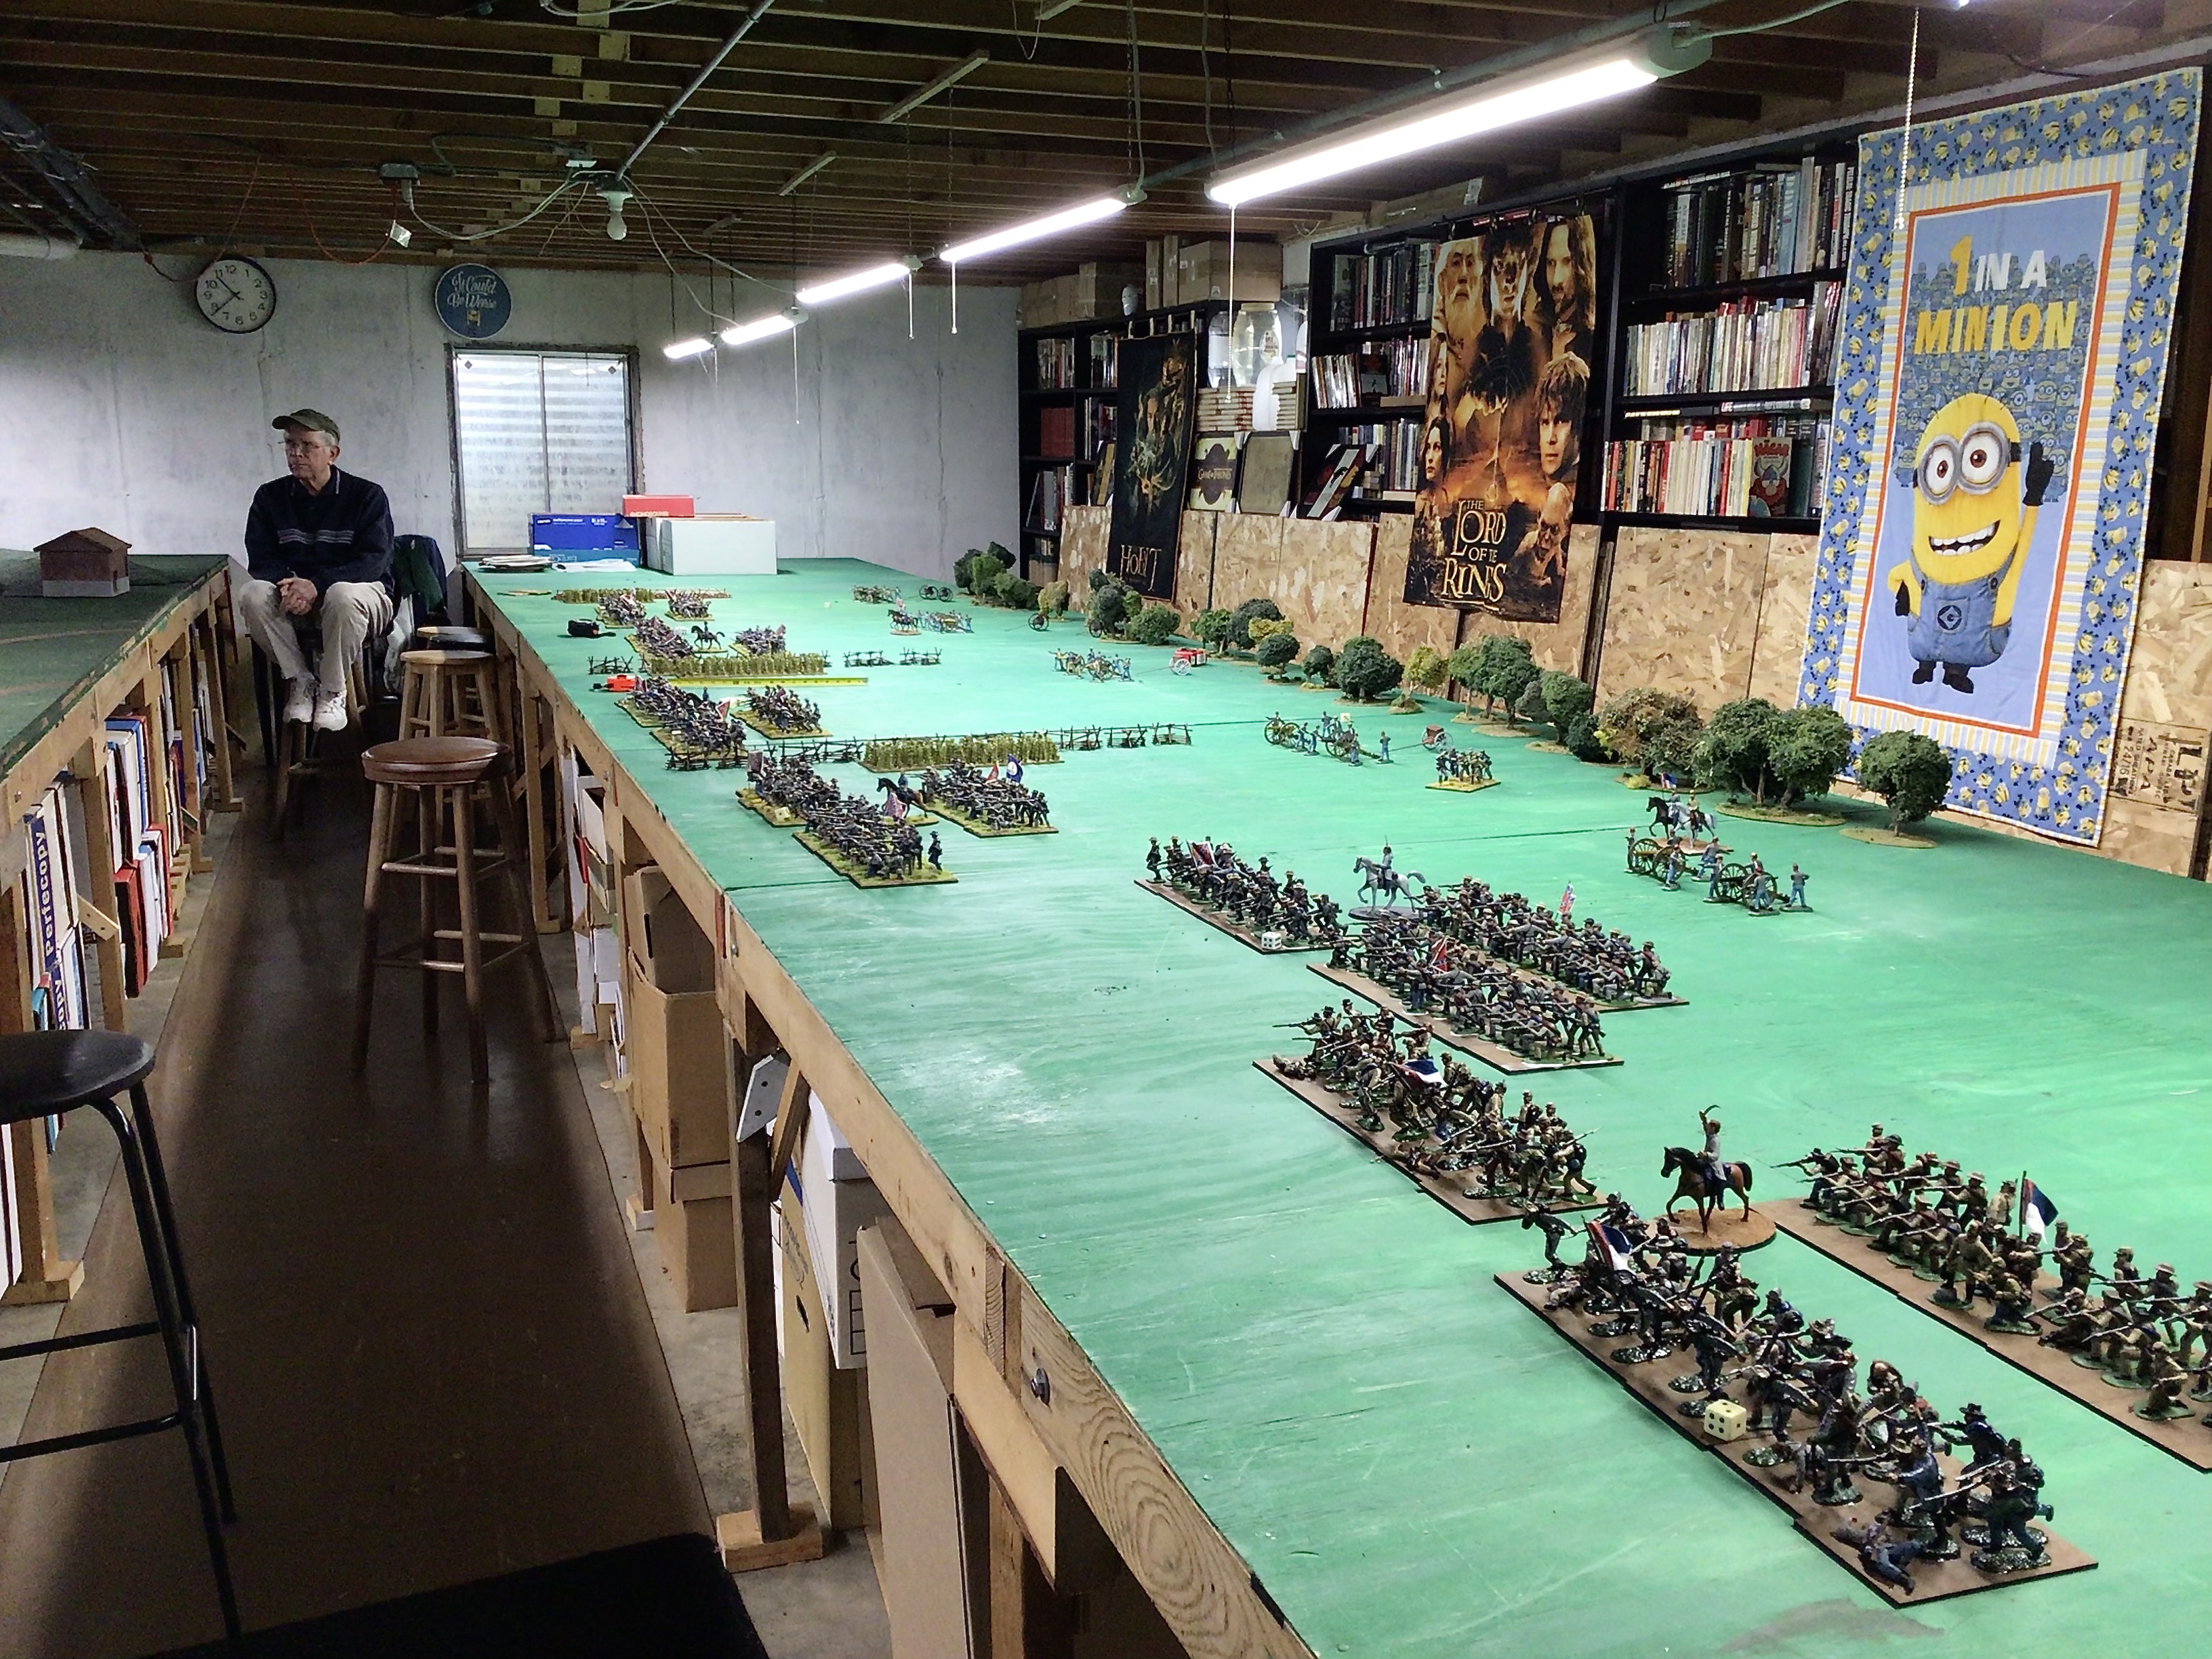
| Cemetery Ridge with Union defenders on the left and Confederate attackers on the right. |
CLICK ON PHOTOS TO ENLARGE
Several days ago four of us convened at the home of Keith L. -- yes, that Keith L, the one with the huge basement that holds three 6ft by 32ft game tables. Our previous play test games established the need for 24 feet long tables in order to hold six brigades of 54mm for Pickett's Charge.
This game largely focused on the rules that we will use in our game. They are based on, mechanically, the Sudan rules that I used last year, but obviously needing some modifications for the American Civil War. The rules are printed on two sides of one sheet of standard 8-1/2" by 11" sheet of paper, they are easy to figure out and learn, and they worked well in a convention game setting.
Musket fire: Our previous play test revealed that the musketry fire was too devastating resulting in none of the Confederate regiments getting remotely close to the stone wall defended by the Union soldiers. For this game test, I reduced the number of D6 dice thrown per stand of infantry from 4 dice per stand down to 2 dice per stand. This still thinned down the Confederate ranks after they crossed the Emmitsburg Road, but the Rebs were able to hurl a fair number of regiments at the stone walls. This time we had a number of Confederate regiments advance far enough to get into a melee with the Union regiments.
Artillery Fire: The artillery rules did not need any adjustment so we let well enough alone. We began the game with the Confederate artillery getting a free turn of firing at the Union positions prior to the start of the game. Thereafter, the Confederate artillery could continue to fire at Cemetery Ridge until their infantry reached the Emmitsburg Road.
Melees: There were no particular problems with the melee rules in the previous play test game (other than the key fact that there were no melees in that game). This game established that artillery crew do not melee, They can either evade the charge and fall back, or they could make one last fire at the oncoming attackers, and if the attackers passed their morale test, then it is assumed that the Confederates got in among the artillery crew and cut them down.
 |
| Armistead's brigade engages a Union regiment in the Angle atop of Cemetery Ridge |
 |
| Cushing's battery is about to get over run by one of Armistead's Virginia regiments. |
Morale Tests: My play test gamers had a little trouble getting their heads around the mechanics of the morale test. A regiment has a morale number that it must attain, with a limited number of modifiers, and then it rolls two D6 dice. If they roll their morale number or LESS with their two D6 then the unit passes its morale test. My play testers seemed to want to reverse the test so that a higher number was passing and a low number was a fail. For example, if a Confederate regiment of infantry has a basic morale number of "7" then it must roll a 7 or less on the roll of two D6 dice..
I over ruled my players arguing that it makes more intuitive sense for a gamer to understand that the target number or less made more sense. I like the way that the modifiers can move the morale number up (+1 for defending the wall. +1 for having a leader attached, etc) or down (-1 for each stand lost due to casualties or for losing a melee. For example, if the Confederates need a score of 7 or less, they lose -1 for each stand that is lost; so as they lose more stands, the morale number that they need to roll gets lower and lower. In our example, if the Confederates have lost one stand then they would need a 6 to pass; if they lose two stands then they need a five to pass, lose three stands and need a 4 to pass. The attrition of lost stands makes it more difficult to pass a morale test.
Leader killed when attached to a regiment: we added this rule in order to put some value or use for the leader figures in the game. They already added a +1 to morale, but we decided that there was a chance that the leader might be shot when his regiment was fired upon. So we had a player roll one D6 and a roll of snake eyes ("1") resulted in the leader being killed. So this puts a little bit of risk into your decision to attach your brigade or division commander to a unit for morale purposes.
 |
| General Lew Armistead could become a casualty since he is attached to a regiment that has taken fire and lost figures. |
Crossing the Emmitsburg Road: Historically, this post and rail fences along each side of the Emmitsburg Road proved to be a major obstacle to the Confederate advance. We simulate this by requiring a unit to cross a fence (and nothing more even if the unit has more movement left over after fence crossing) on one turn. Then it could cross the second fence on the next turn, but not move any further so that the regiment could dress ranks and prepare to move out on the following turn. The result is that it takes a regiment two turns to cross the road (double fences) and subjects them to musket fire from the Union defenders.
 |
| Kemper's brigade crosses the fences of the Emmitsburg Road. The two regiments on the road arrived there this turn. They will be able to cross the fence to the other side of the road, stop to dress lines, and then be allowed to fire at half effect. A third regiment has to wait its turn to cross the fences. |
Removal of stands from the game: we don't want our regiments fighting to the last man so I had a rule that the regiment has to be removed once it is down to two stands, An infantry regiment has five stands with each stand representing 20% of the regiment's strength. So when a unit has lost three stands it has actually taken 60% casualties. This number is higher than what a typical infantry unit could sustain before being rendered ineffective. In our next play test, I might experiment with removing the unit when it is down to its last stand of figures. We had a situation where there was an infantry melee and the Confederate unit won the melee; however, the casualties that it sustained in the melee pushed its strength down to two stands. Should the winning unit get to hold its hard won ground or should it be removed from the game?
 |
| A Union artillery battery is about to get over run by a Confederate regiment. |
Here are a few more pictures of the play test game:
 |
| The middle table (of three tables) is the site of the Emmitsburg Road. Confederate forces can be seen moving towards the road. |
 |
| The Confederates of Pettygrew's division (foreground) and Pickett's Division (far end of the table) descend from Seminary Ridge and advance across that open deadly ground. |


 |
| Division commander Johnson Pettygrew command stand. |
We are planning another play test game in two weeks so that we can implement the new rules changes and see how they perform under actual game conditions. I will also have all of the tables covered with game mats from Cigar Box Battle Mats. This will give us a better idea of how the game will look at the upcoming Little Wars convention in April.
Jim, I am absolutely excited to see this project at Historicon. This looks like an EPIC game.
ReplyDeleteEric
Jim, it's interesting to follow your thought process as the game is fine tuned.
ReplyDeleteIt seems to me that you don't need to add a rule so that regiments reduced to a couple of stands are removed because their chances of passing morale with all the deductions will usually do the job for you. There will be the odd exception because snake eyes or the like are rolled but is that worth adding a rule for?
I agree about rolling under a target number - it's a frequently used rule and so should be familiar to most gamers. Also for those of us who can't roll high numbers when we need them, it's surprising how many times we can get that double six when what we need is a low number!
A always I wish your Confederate troops well.
Stephen
Glad you had a useful session preparing, Jim.
ReplyDeleteAlan Tradgardland
Looks like it will be epic … might see if I can get over again
ReplyDelete