Monday, March 10, 2014

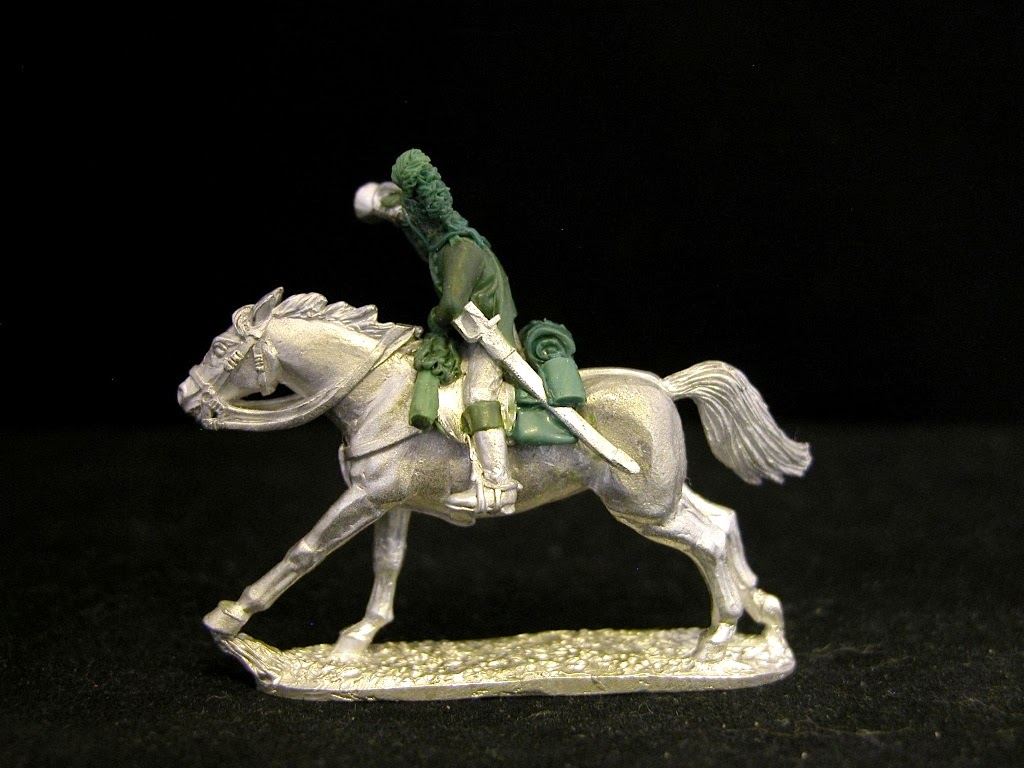
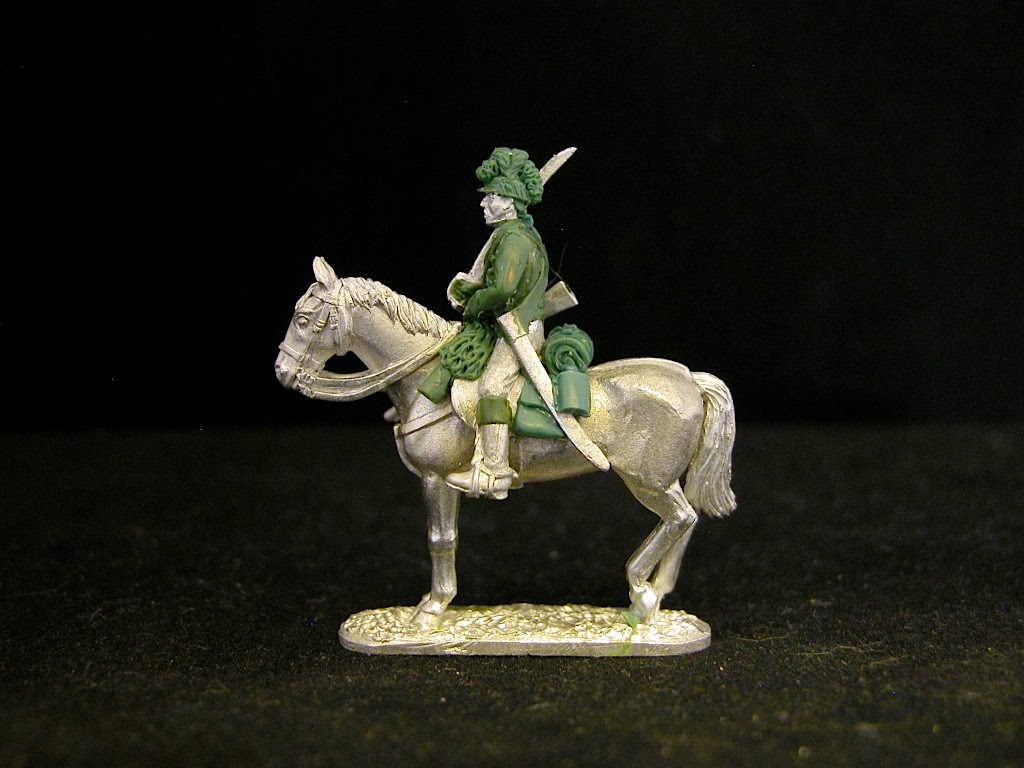
New 17th Light Dragoons Greens

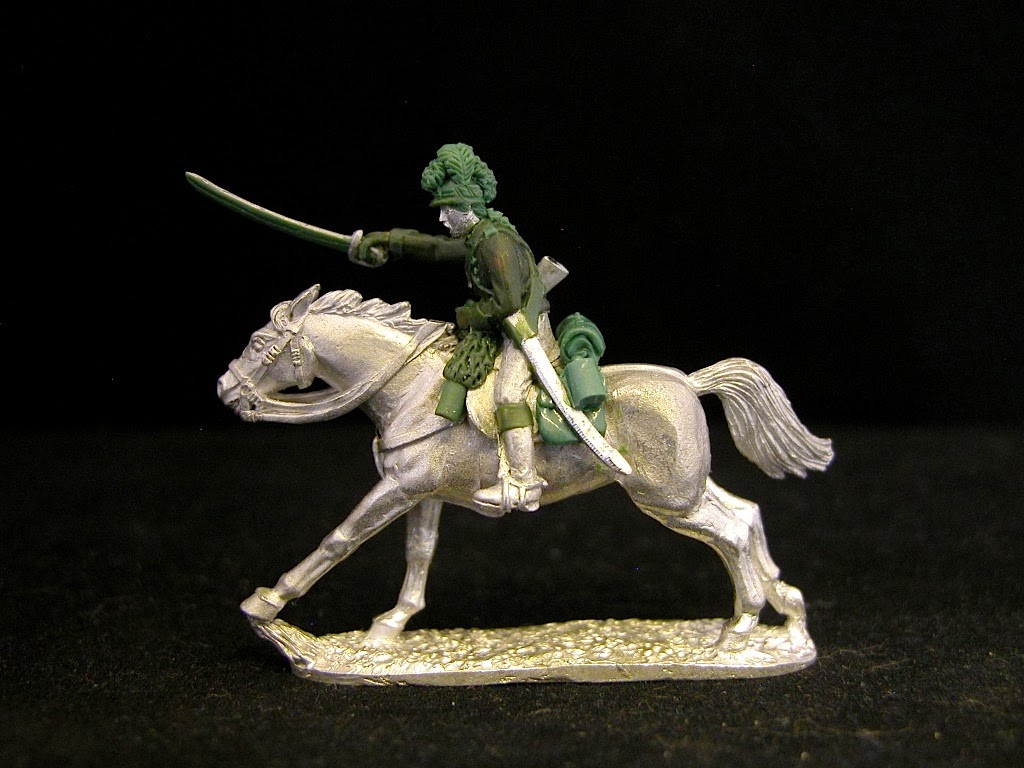
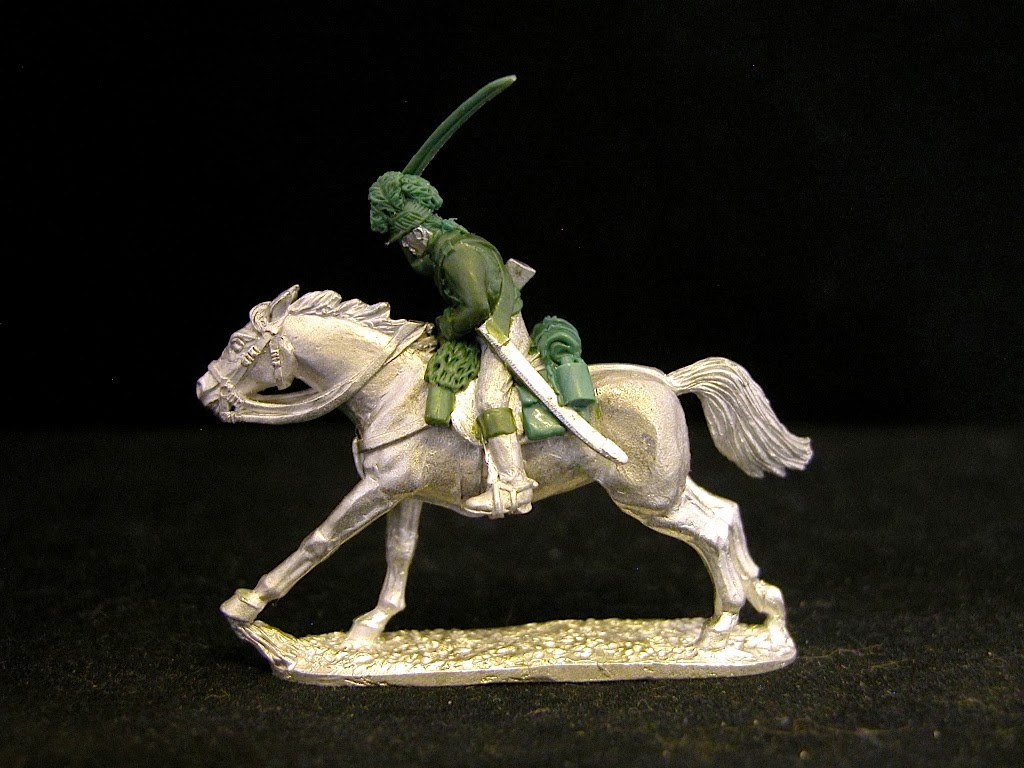
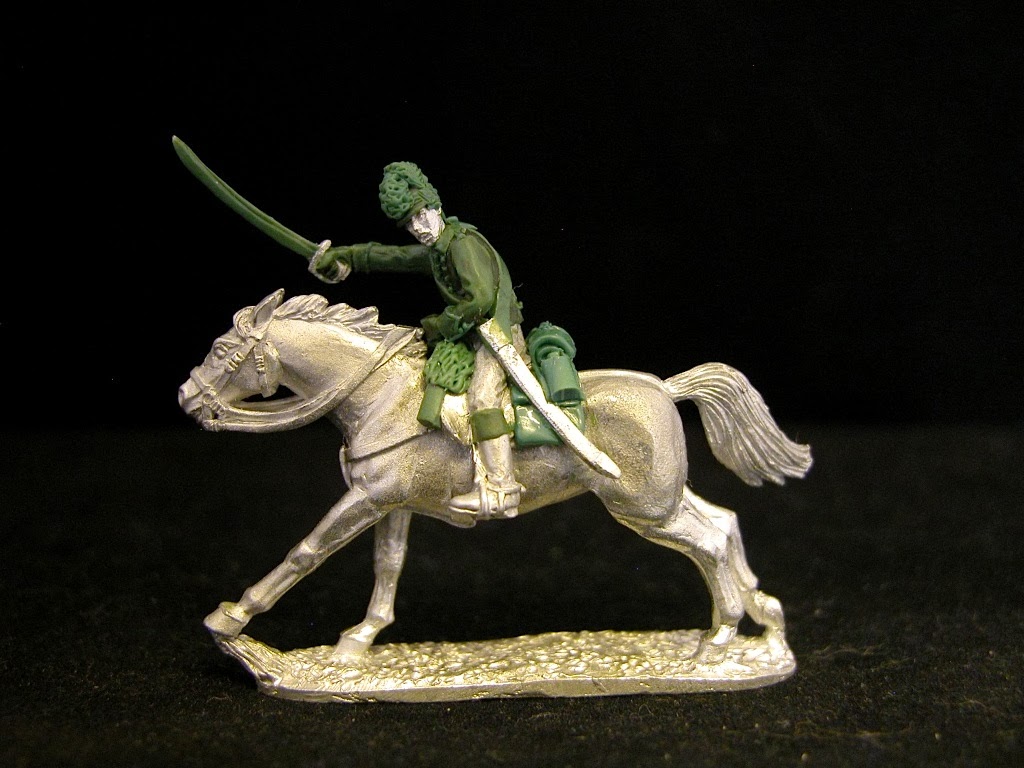
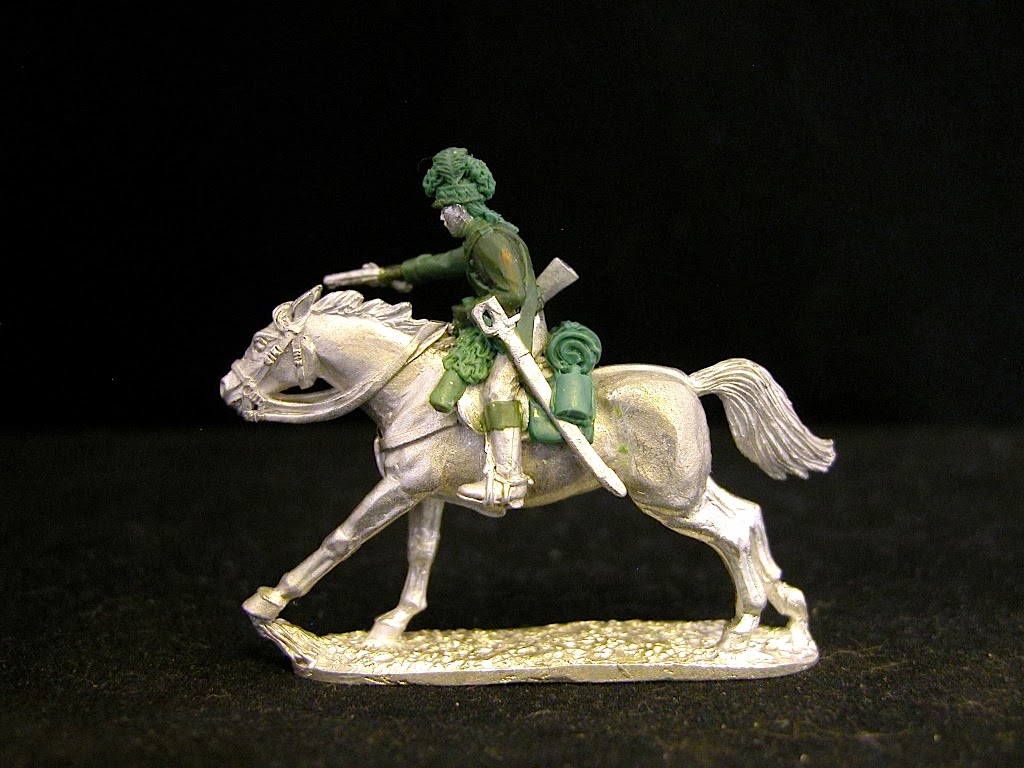
Here are some pictures of the 17th Light Dragoons (4 poses) sculpted by Richard Ansell for the Fife & Drum AWI figure range. The variants, shown in order below, are officer, trumpeter, trooper firing pistol, and trooper charging. The whole set is meant to depict the regiment at the charge .

17th Light Dragoon Officer

Saturday, March 8, 2014

British Legion Greens Have Arrived!

British Legion Trooper Charging.
(Click All Pictures to Enlarge)

 The other day I received a file full of pictures of the latest AWI dragoons that Richard Ansell recently completed. These include the 3rd Continental Dragoons (5 poses), the 17th Light Dragoons (4 poses) and Tarleton's British Legion cavalry (7 poses). All three sets are in energetic charging poses in contrast with the earlier 1st Continental Dragoons and 16th Light Dragoons which were done in skirmishing and shouldered sword poses.

So if you want a traditional "marching with shouldered sword" or "skirmishing" poses, you would select the 1st Continental and the 16th Light Dragoons. However, if you prefer the more energetic "charging" poses, then the 3rd Continental, 17th Light Dragoons and the British Legion are would you will be looking for.

The greens have been sent on to Griffin Moulds to have the master and production moulds made, and then to cast the finished pieces. So allowing for some extra lead time, I would estimate that all of the new figures will be produced and in stock sometime in May 2014.

I will post pictures of the British 17th Light Dragoons and the 3rd Continental Dragoons later next week, so as to spread things out a little bit.


British Legion Trooper, Hacking

The British Legion trooper hacking downward with his sword (see above photo) is one of my favorite poses. You can really get a lot of variety in your regiment using the five charging poses shown on these pages.


British Legion Officer, Charging

British Legion Trooper Charging & Firing Pistol
British Legion Trumpeter, Charging

British Legion Trooper, with Shouldered Sword


British Legion Trooper Firing Carbine


Monday, March 3, 2014

How It All Began

I think that my grandparents gave me my first box of metal Britains Guards that they had purchased during a trip to London. I must have taken a shine to them immediately because thereafter, I was sure to receive more small red boxe of the figures for my birthday and Christmas. I added plastic Heralds ACW figures and Swoppets ( I really looked those WotR figures that they made). My armies were rather modest, probably 50 to 100 figure in all.

One year I gave a box of Guards to a friend (Tom Platt) for his birthday and he got hooked. I was particularly envious of him when his grandmother bought him that 200 figure Changing of the Guard set, which set me permanently behind him in the arms race. We would set the figures up on the floor and stage our battles, using a form of free kreigspeiling rules that we made up on the fly. Tom and I usually combined our metal forces into one Royal army while all of our collective plastic figures were the hoard of Bad Guys. Tom was the King, since he had the largest forces, and I was one of his generals.

I also discovered Airfix HO scale plastic WW2 figures and Rocco Mini Tanks equipment around age 12 and we would fight North African battles in my backyard sandbox. My teenage years and college saw my interest in toy soldiers wane and I didn't really think about them much until about 1980, when I was visiting London. I happened to stumble upon the Under Two Flags store and saw a large display of 54mm British colonials in square, fending off a hoard of Dervish. Having a bit more pocket money in my young adult days (age 30 perhaps), I bought the whole display and shipped it home. Over the years, I added more forces to my 54mm collection.

Then circa 1985-86, I wanted to repaint some Steadfast metals with a darker khaki color, so I visited a local store called The Hobby Chest to buy some enamel paints. It was there that I saw an advertisement for the Little Wars war game convention. It sounded interesting so I stopped in at the convention and was flabbergasted by what I saw: toy soldiers and a hall packed full of convention participation games. I did not know, until then, that the war game hobby even existed. The first game that I saw was Hal Thinglum's massive Isanhlwana game in 25mm. I was gobsmacked by what I saw and I stayed there for a good hour just watching the Zulus overwhelm the 24th. After that I roamed around the hall and watched a few games, Napoleonic games looked complicated even then. I then saw an interesting little game featuring soldiers wearing tricorn hats: French vs British. It was the SYW and the figures were the RSM range with the game being hosted by the owners of RSM. I vaguely recalled something about Frederick the Great of Prussia fighting the Austrians, but that was about all.

However, I knew in an instant that this is what I was looking for. The fellows at RSM got me started with a couple packs of British and French infantry, and as I ordered more figures over the phone , I got to know the proprietor Dennis Smail better. He invited me to drive on down to Lexington, Kentucky any weekend and play in a game. It only took one game to sink the hook firmly in my mouth and after that, I made the 400 mile trip ( one way) to Lexington once a month. I was totally enamored with the RSM figure range and soon I had two large Prussian and Austrian armies. I thought that the RSM figures ( made by Steve Hezzlewood ) were the most elegant toy soldiers that I had ever seen.

Via Dennis, I started attending the annual Seven Years War Association convention where I met Bill Protz and a host of other Wargame luminaries in the states. I acquired as many Christopher Duffy books that I could get my hands on, as his books were the only English language books on the topic. I also managed to acquire the Holy Grail of SYW wargaming : a copy of Sir Reginald Savory's book "His Britannic Majesty's Army in Western Germany during the SYW".

Bill Protz eventually burned out on publishing the SYWA Journal, so I took over the reins and published the journal for the next seven years, before I too burned out on the task of publishing a quarterly magazine. Along the way, I invited Christopher Duffy to our annual convention, offering to pay his airfare and hotel from the magazines budget. This started a long term association that Duffy has had with our group spanning more than 20 years. The ultimate highlight was going on two battlefield tours with Duffy and some 18 or so members to walk the battlefields in eastern Germany, Poland and the Czech Republic.

Time to wrap it up here, but the next big event was seeing the figures that Richard Ansell was creating for Frank Hammond''s Minden Miniatures range. These were like modern day editions of Steve Hezzlewood's old RSM range. Again I was hooked and in a long roundabout way, I ended up acquiring the Minden range from Frank last year , to augment my Fife & Drum AWI range and now the future is all blue skies and sea shells and balloons.

Thursday, February 27, 2014

Prussian Kettle Drummer for CR1 Krockow

Minden Miniature Prussian Kettle Drummer for Cuirassier Regiment CR1  Krockow

I am currently working on a new cuirassier regiment to add to my SYW Prussian army and spent the evening painting the kettle drummer that goes with the regiment. Cuirassier regiments had their prized kettle drums with them, whereas dragoon regiments merely had regular drummers. The kettle drummer looks decidedly more impressive and elegant, so I was eager to add him to the regiment.

The regiment will see its first action at this year's Seven Years War Association convention in South Bend, Indiana from March 28 to March 30, 2014. I will be running a Lobositz-1756 game on Saturday morning. If there is sufficient interest, I might host a Domstadtl Raid of 1758 game on Friday evening, although it is not scheduled at this time.

I have 14 of the cuirassiers painted, out of a 24 figure regiment, so I should have the regiment completed by this weekend, at which time I will post pictures of the finished product.


Kettle Drummer -- CR1 Krockow

Rear view showing the false sleeves on the musician's coat.

Wednesday, February 26, 2014

My New Favorite Web Site for 18th Century Wargaming

Russian infantry figures from the collection of John Ray (copywrite by John Ray and published here with his kind permission)


In September 2013, John Ray released his book, titled "A Military Gentleman in the 18th Century", the story of a soldier of fortune named Nicholas Walsh. Walsh was an American Loyalist who fought for the Czarina of Russia,  Frederick the Great of Prussia and George III of Britain. His fascinating story finds him fighting the Ottoman Turks on the steppes of Russia, the Wurttemburgers and French in Europe in the little know Fulda War, and enlisting in the Prussian army to fight against the Austrians during the War of Bavarian Succession. And that is just for starters: the intrepid Walsh returns to his native America to fight for the Loyalist cause and runs into Americans and Spanish antagonists in the New World.

Major Walsh's story is supplemented by a lavish full-colour portfolio of photographs of the fabulous collection of John Ray. John creates and sculpts his own figures in a style that is reminiscent of the old RSM (Pax Britannia) range of figures designed by the late Steve Hezzlewood. As a matter of fact, John learned his sculpting trade under the tutelage of Hezzlewood, whose graceful and realistically proportioned figures look as up to date now as they did back in the 1980s when they were first introduced.

John Ray decided to publish the story of Major Walsh and use it as a vehicle to tell the story via his own collection of figures representing the armies of Russia, the Ottoman Empire, Wurttemburg, Hesse Kassel and France; Prussia, Spain and both sides of the American Revolution. More recently, John opened a new web site devoted to his book, see the link below:


If you are interested in purchasing a copy of the book, then click on the link below:


Now I freely admit that I am an unabashed fan of John Ray's work and when I first heard that I could purchase a book full of pictures of his military creations, I did not hesitate to jump at the chance. The print run is limited to 500 copies and after that, you will not be able to purchase one new ever again. This is a book that you will want to keep and refer to often if you are keen on 18th Century military history. I would imagine that I pick up my copy several times each week to browse through the pages and read parts of the story or ogle the eye candy of miniatures.

But there is even more coming: John is currently conducting an 18th Century campaign with a number of players in the UK and he promises to post campaign reports, battle summaries and best of all, PICTURES! All of these new items will be posted on the new website and updated as the campaign progresses. John indicates that he will eventually offer a truncated version of the book as a PDF, which is an interesting idea. And finally, for those of you who purchase a copy of the book, you will become eligible to participate in a growing on-line forum devoted to wargaming and topics related to the book.  It has been a lively group so far, full of hobby names that most of you will recognize but you will have to join the forum to find out who they are. The forum promises to be a polite and civilized place to just hang out and talk about wargaming, without all of the strife, rancor and rudeness that is the trademark of That Other Place.

As the title of this thread suggests, the AMG forum is rapidly becoming one of my favorite places to visit on a daily basis. So why not click on the above link, check it out, and see what is going on. I give both the book and the new forum my highest recommendation and I don't think that either will disappoint you. I hope to see some of my readers there soon.

Monday, February 17, 2014

Battle of Pirna


Bayreuth Dragoons and the 2nd and 3rd Battalions of the Prussian Leib Guard. Minden Miniatures. (click pix to enlarge)

The Opening Set Up

The game scenario revolved around the idea that during the Prussian invasion of Saxony in 1756, the Saxons elected to break out of their fortified encampment at Pirna (rather than starve themselves into submission) and link up with von Browne's Austrians, who had marched in from neighboring Bohemia to rescue them.

The table was divided into three zones: a center zone where regular troops and cavalry were allowed to set up, and two flank zones on the extreme ends. Allegedly, only light troops were allowed to set up in these flank zones.  


Initial set up of forces, Austrians on the left and Prussians on the right. Good picture of two brigades of Prussian infantry in the center at the start of the game.

Prussian right flank guarded by their cuirassier brigade. Prussian commanders wonder whether or not their right flank is safe.

Apparently it is not, as the scenario allowed the Saxons to start the game on the Prussian flank, unbeknownst to the Prussian players. Fun.

An overview of the action, circa the second or third turn. The first musketry volley are about to be fired in the center.
There seems to have been some honest miscommunication between the game judge/scenario designer and the Prussian players. They were under the impression that only light troops could begin the game in the two flank zones. A brigade of Saxon infantry were allowed to deploy in the "Light Zone" at the beginning of the game and the Prussian command was told that the Saxons were to complete a march back to one of the rear tables behind the Austrian battle line. Thus it was a little bit disconcerting to watch the Saxons deploy from march column into battle line on the first turn. Faster than you could say "Bob's your uncle", the Prussian line was forced to bend at a right angle in order to seal off the threat to their right flank. Game, set and match Old Bean.

Over the course of the game, the Saxon infantry and cavalry kept working its way around the flank and rear of the Prussian right wing, causing the Prussians to divert much needed forces to face the rear to ward off this potential threat.  This proved to be critical to the outcome of the battle. Think in terms of the fighting at Plancenoit during the battle of Waterloo, and you can see the predicament that the SYW Prussians were in.

Now I have gamed enough over the years to know that once your battle line has a bend, salient or angle to it, there is something close to a 90% probability that you are not going to win the battle. Why? Because it becomes very easy for the opponent to attack the bend in your line from two sides. The defender has little chance unless he has superior forces in the vicinity or he is very lucky with his dice.

The Battle in the Center - Shock and Awe

The Prussian commander in chief was focused on events in the center, where a particularly vigorous Austrian infantry attack had the Prussians back on their heels. He ignored appeals from the Prussian commanders on the right flank to send over the cavalry reserve ; however, Frederick figured that the 5 regiments of heavy Prussian cavalry, 1 regiment of hussars, and the pending arrival of the third Prussian infantry brigade on the right side of the field would be sufficient to button things up.


The first volley of the game is about to be delivered in the center of the battlefield as Prussians and Austrians are virtually eye-to-eye in this sector.
The Austrians launched a surprisingly vigourous attack in the center with about 6 battalions of regular infantry and a battalion of Croats that occuppied the wooded area in the center of the table. From here, the Croats continually peppered the flanks of the Prussian battleline and helped to weaken the Prussian front line. In retrospect, the Prussians would have been well served to send in a battalion of infantry to neutralize the Croats.

Firefight begins in the center of the battlefield. You can see the Croats occuppying the wooded area and threatening the Prussian flank.
The Prussians drew the first firing card of the game and delivered a deadly volley into the advancing Austrians in the center. The Austrians shrugged that off and returned fire and both sides settled into a slug fest for the next several turns. Gradually, the Austrians gained the upper hand and wiped out the first Prussian line of two battalions. They then turned their attention to the second line of two battalions. At about this time, Frederick sent two battalions from the refused flank to bolster up his center. 


Austrian advance their reserves in the center of the field and they would eventually punch a hole through the Prussian center.

Croats in the woods pose a threat to the Prussian center. The Prussian infantry is some strange "open order" sort of formation that shouldn't be allowed for the SYW period.


The end game: Austrian cuirassiers punch through the Prussian center, where there are no reserves left to counter them.
The battle of attrition in the center began to turn in the Austrians favor, and in a well timed move, the Austrian commander, von Browne, sent in his last reserve of cuirassiers (the O'Donnell Cuirassier Regiment). The O'Donnell cuirassiers punched their way clear through the center of the Prussian line, sabering artillery crew men and routing off two depleted Prussian battalions. Frederick moved his last reserves of one battalion of guards and a couple of squadrons of cuirassiers to form a last line of defense in the center. In his mind though, he knew that it was time to withdraw his army from the field and survive to fight another day.

The Grand Cavalry Melee (right-center of the Prussian line)

As is want to happen in 18th Century wargames, there is always some huge cavalry scrum taking place on the battlefield. Generally, as a commander, you just hope that you can neutralize the other side's cavalry so that it does not become a factor at the end of the game. I have no idea of the size of the Austrian-Saxon cavalry contingent, but it was probably comparable to that of the Prussians.

The Prussians had four cuirassier regiments (80 figures total), one heavy dragoon regiment (20 figures), and one regiment of hussars (20 figures). You can see the initial cavalry deployment in the picture below.

The opening deployment of the two sides' cavalry on the Prussian right-center of the field. You can see the commencement of the infantry fight in the center of the field as well as the wooded area where the Croats held sway during the battle.
Knowing what Austrian forces I brought to the game (2 x 24 cuirasseirs and 1 x 24 dragoons) and counting the Saxon figures in the picture above (I see 52 Saxons in three regiments above), there was probably an edge in numbers for the Austrians. I am guessing about 80 Prussian heavy cavalry versus 124 heavy Austrian-Saxon cavalry. Under these circumstances, I think that the Prussian cavalry commander, Kurt, did very well to hold his own against the veteran Austrian commander, von Protz. 


Both sides were getting whittled down by the continuous back and forth of the cavalry melee. The BAR rules that we used provide a realistic ebb and flow to cavalry melees, so it is important to maintain some reserves.


Prussian Left Flank - all quiet

The Prussian left flank was the "refused flank" and no, that did not mean that the Prussian refused to attack in this sector. They were held back on purpose. Three battalions were eventually sent to the center to bolster that area, as the Austrian musketry was making short work of the Prussians. On the far left, inside the Light Zone, von Zieten sent a mixed force of hussars and jagers to deal with a similar Austrian force of Croats and Hussars. On the second turn, Zieten drew off half of the Bayreuth Dragoons and a battalion of grenadiers from the reserve to see if he could force his way around the Austrian right flank.

Center-left zone of the table. Prussians forces were "refused", holding back as a reserve if needed.

Prussian left flank - the "light troops only zone". Minden Black Hussars and half of the Bayreuth Dragoons attempt to turn the Austrian right flank.


Austrian hussars decide to leave the field and let their grenadier brethern handle things from here.

Near the end of the game, the Prussian right wing decides to advance to try and relieve some of  the  pressure in the center of the field.
Conclusion

It was a hard fought game with plenty of ebb and flow throughout the course of the game. At various times it seemed that one side or the other was gaining the upper hand, only to see the cards and the dice gods decide otherwise a turn or two later. I think that the "surprise deployment" of the Saxon army on the Prussian right flank was successfully checked throughout the game, however, it was at the cost of drawing off valuable infantry reserves that might have made a difference in the battle's outcome.  Sometimes, you just have to make lemonade from the lemons that are handed to you and adapt to the conditions on hand.

At various times during the game, I felt like I was "channeling" Rod Steiger as Napoleon in the movie "Waterloo". I would walk over to the right flank to see what was going on and watch what seemed to be an ever-growing force of Saxon infantry and light cavalry roaming around the rear area of our lines. There seemed to be enough Prussians available to counter this annoying threat (and light cavalry and light infantry can be truly annoying if used correctly). The Prussian players kept asking me to send more cavalry to them from the reserve and I'm sure that the thought "what do you expect me to do, create more troops out of thin air" entered my mind more than once.

Ultimately, I think that the Austrian victory was due to their vigorous attack in the center coupled with the timely charge of the O'Donnel Cuirassiers.  Frederick probably overlooked the importance of occuppying the wooded area in his center, which provided a covered staging area for Austrian attacks.

The Erbprinz Friedrich of Hesse Seewald observes the action at the Battle of Pirna with his Leib Garde and the von Glasenap musketeer regiment.

A small contingent of Hesse Seewald troops made their first appearance in one of our games, however, they were not actually used in the game, being posted in the rear area for "disinformation" purposes. Had they been approached by the Austrians, I would have simply removed them from the table and told the Austrians that they were not really there. 

Friday, February 14, 2014

Marching Off To Battle


Tomorrow morning I will head up north to Brown Deer, WI and give my Minden Austrian and Prussian armies their first workout for the year (and only their second battle ever). Notice the similarity between the marching pose of the Potsdam Guard to the Minden Miniatures marching figure?

Presumably the Prussians will encounter the Austrians and Saxons along the Elbe near Pirna as the Saxons decided that bolting from their encampment was far superior than being starved into submission.

I will post pictures and an AAR probably on Sunday