Showing posts with label Roman town. Show all posts

Friday, June 13, 2025

Small Roman Temple - A Brief Tutorial


The interior of the temple in the dark. I later placed a 
wood bead under the altar so that the gap was filled up.
A 60mm King & Country senator is shown for size comparison.


I wanted to add a small round Roman temple to my city, one that is small enough to not overwhelm all of the other buildings that I have made so far; yet I also wanted it to be large enough to make a statement.

I think that I may have achieved this with my new round Roman temple.

The nearly completed temple with a battery operated flame on the altar.


I have limited carpentry tools and talents so I needed some already-made round components to build the temple. A trip to Hobby Lobby secured a 7-inch diameter round wood base. I then found two different sizes of round bases that would comprise the roof of the temple. I also found a round ring that looks like it might be made from hard compressed card board. 


I used chalk paint French Linen for the base coat and Antique White
dry brushed over the surface of the wood. The plastic columns were first primed 
with grey primer and then painted with the same chalk paints that I used on the
base and roof of the temple. Finally, I painted the columns red with Reaper Blood Red paint.


This picture shows the various wood components that I found at Hobby Lobby.
The wedding cake plastic columns were found on eBay.

The interior of the temple needed a mosaic floor and an altar. I did an internet search for Roman mosaics and found this image of a round mosaic. I cut out the round part from the paper and discarded the rectangular components. For the altar, I used a kitchen cabinet door knob and a wood round bead.

A Roman floor mosaic image from the internet serves as the temple floor.

Finally, a visit to the cloth section produced some rolls of different gold bricbrac to use for gold trim around the roof. I got the latter idea from a 28mm round temple that Herb Gundt made for me many years ago.

The various parts of the floor were glued together with wood glue, and then clamped together with "C" Clamps over night. I did the same for the roof structure. I cut out the mosaic pattern and glued it to the floor using spray adhesive.

I had previously drilled a hole through the center of the round base and screwed in the door knob that would become the temple's altar. The base wasn't thick/deep enough for me to screw the entire threaded piece into the wood. There was a gap between the knob and the floor. I filled this with a wooden bead, painted with the Antique White chalk paint.

Now I am at the most difficult step in the assembly project: gluing the columns to the floor and the roof to the columns so that every piece is lined up true. Fortunately the mosaic floor has some rectangular patterns on the edge of the round and these served as perfect location guides for the placement of the columns.

I will use two-part epoxy glue to attached the columns to the temple floor. Allowing for some time for the glue to set, say, a couple of hours. I will then glue the roof to the columns. This latter step makes me a little uneasy because once the glue is spread over the top of the column, I have to lower the roof section from above so that it sits "just right" and even on all sides of the temple.

The final touch is the battery powered flickering light bulb that I will place atop the altar when it is being used in a game. I don't want to run down the battery, of course, so the flickering flame is not turned on when it is stored away.

I am rather pleased with the results of this build. Nearly all of its components were sourced from Hobby Lobby and so I didn't need to cut out round pieces of wood with a jig saw. This model will truly stand out on the table top and catch the attention of passers by at the Historicon convention in July.


Friday, May 30, 2025

Time for a Bath, Anyone?


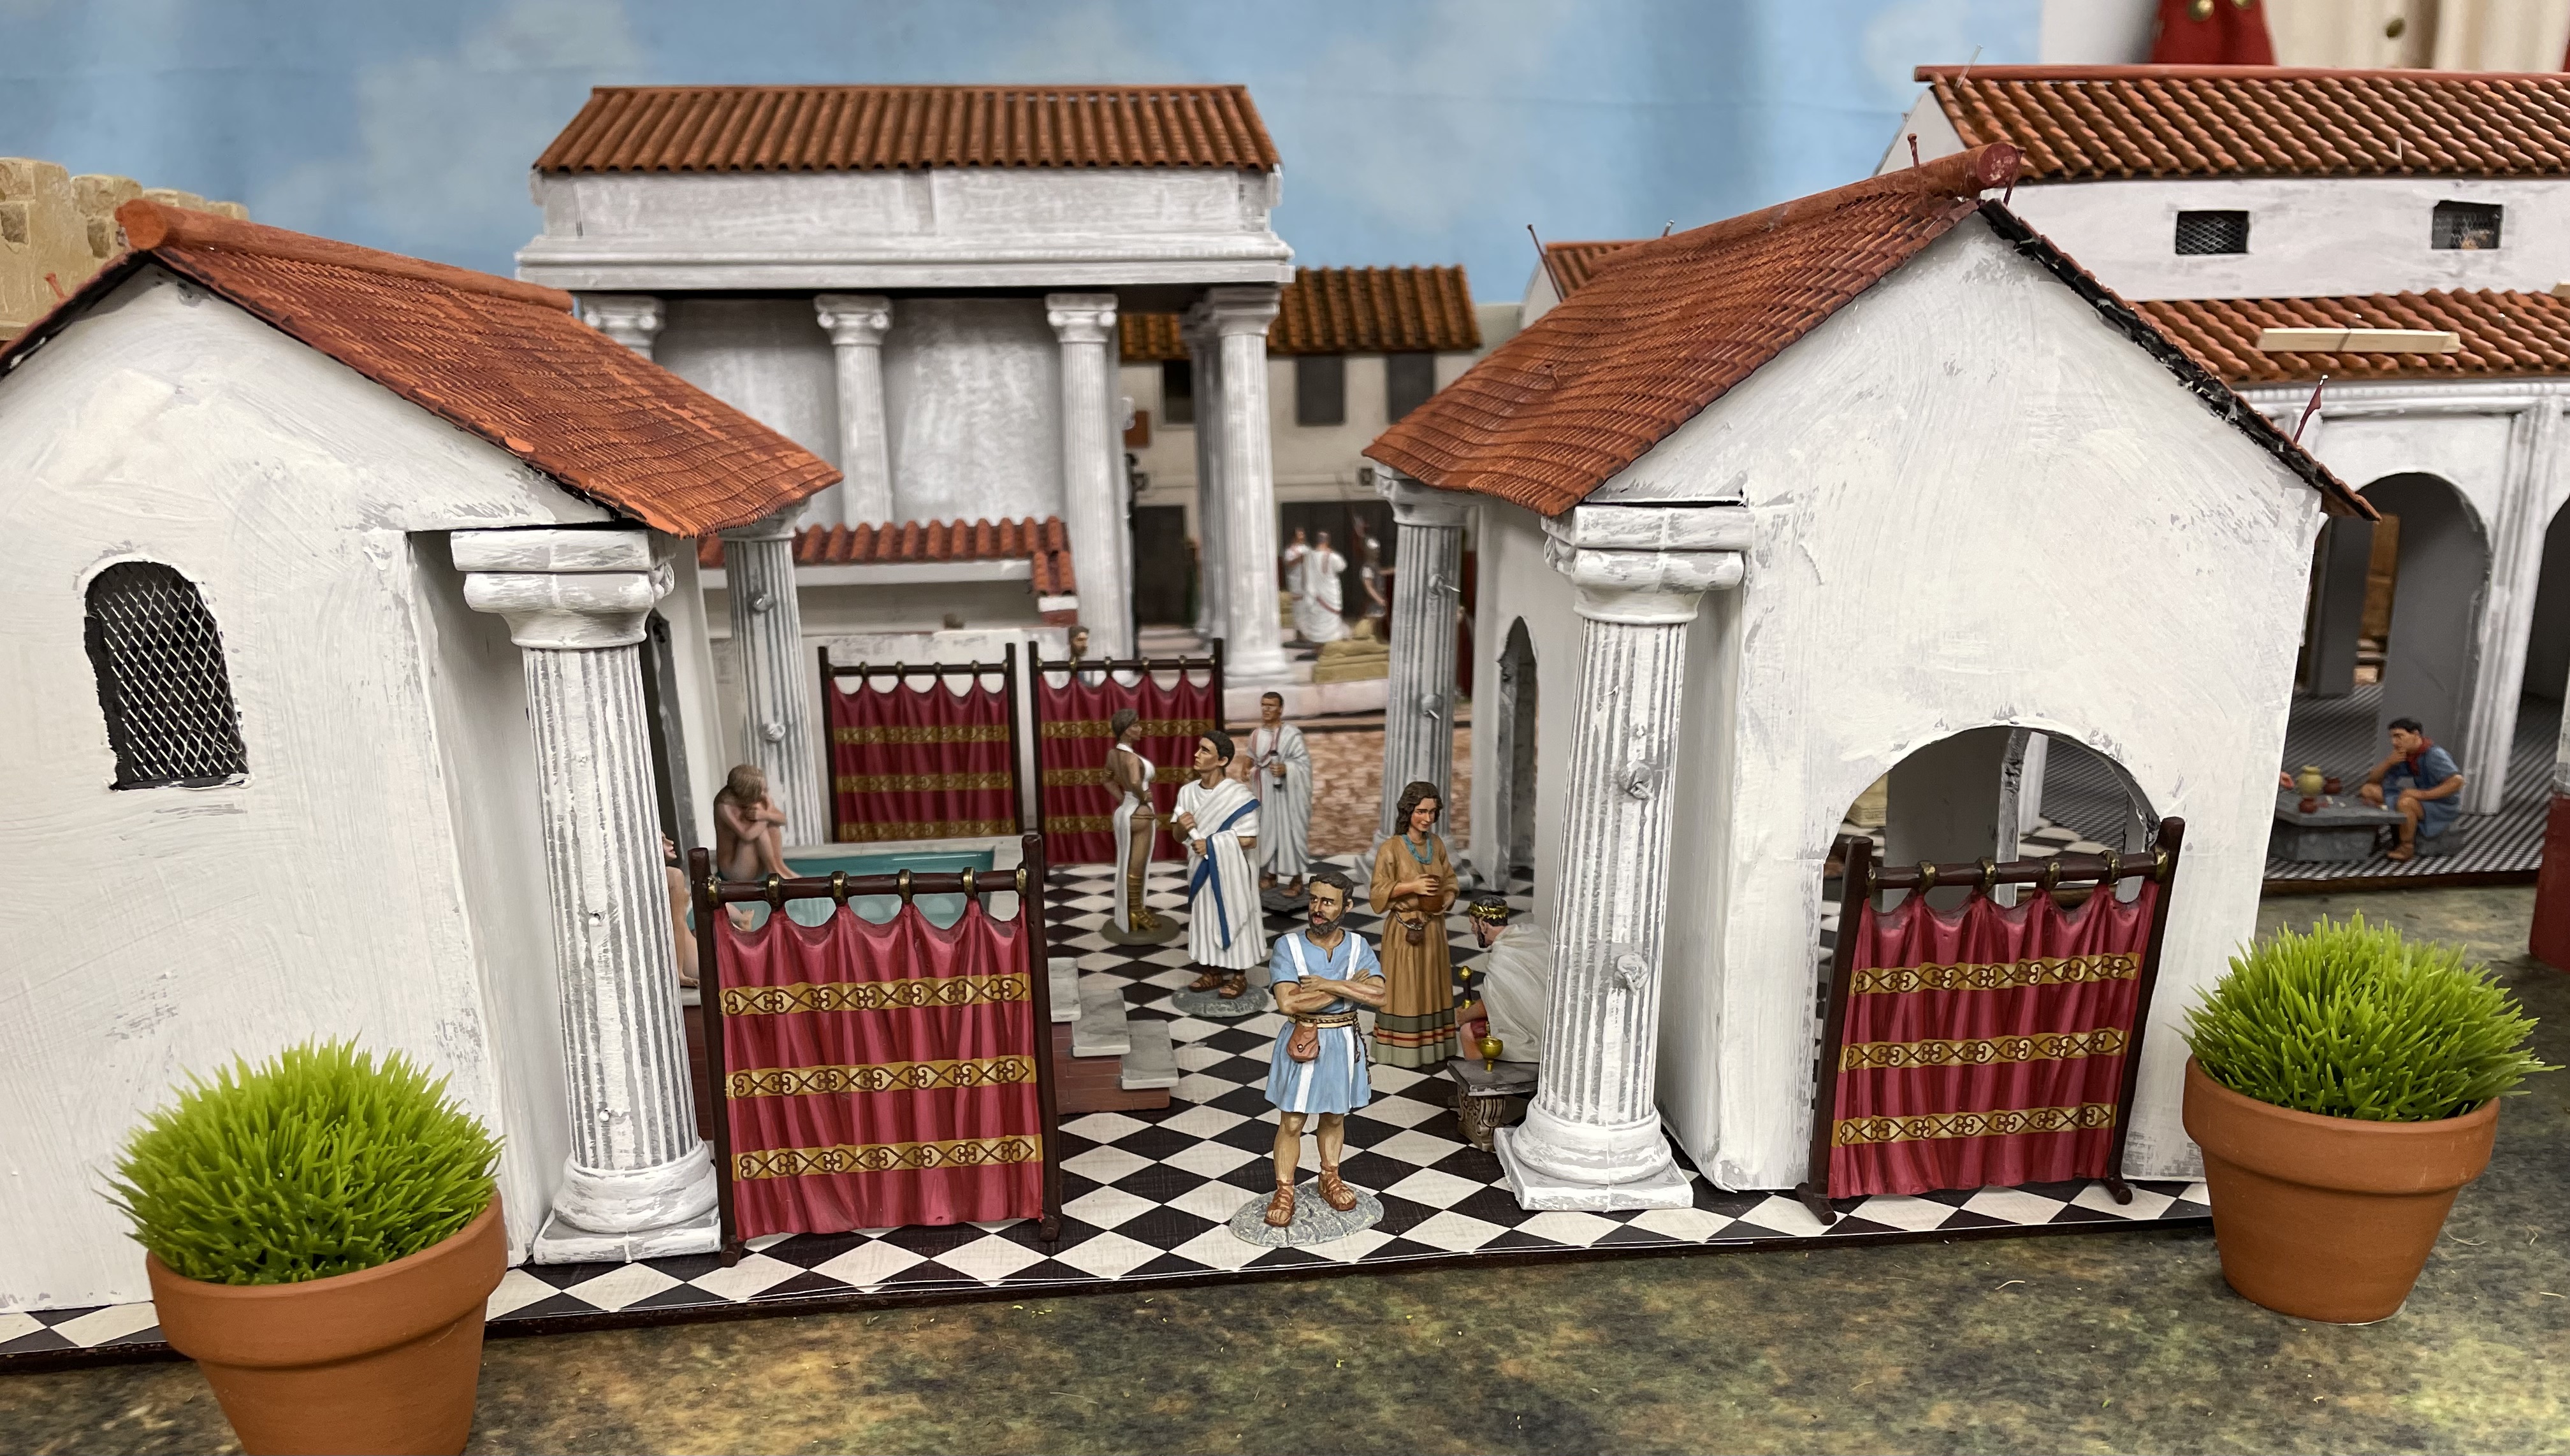
A Roman Bath with a black and white tile floor. The two building wings are 
not attached to the floor for ease of packing for travel.

Click on the pictures to enlarge

Earlier this week I commenced work on a Roman Bath for my Roman town/city and it is nearly finished today, save for a little bit of touch up painting and gluing the columns into place.

The model had to fit into an area measuring 16" long by 12" high as this is the size of the cork placemat that will serve as the base for the model. The only problem is that the Roman Bath model would not fit into one of my cardboard carrying boxes (purchased from Uline). So I came up with the idea of making the components of the bath free-standing so that they would fit into a smaller container. Then when I am ready to set up the model on the game table, then I lay the 16x12 cork placemat on the table and place the two sections of the bath on top of the placemat. The actual bath and other accoutrements are added as needed.

The bath has two separate "wings" of the building that flank the center bathing pool. The wings are removable. I use my usual black foam core board as my basic building material and pieces of bass wood to make the roof trusses. The terra cotta roof tiles come in a plastic sheet made by Plastruct. I bought my tiles online and they arrived within two days of placing the order.


The joins where two pieces of foam core board meet are taped over with masking tape to hide the join lines (see below). The plastic columns are from a wedding cake tier set that I found on Amazon. The black and white floor tile is a decorative paper that I found at Michael's Stores.


This morning I glued the roof onto the structure using a hot glue gun. One of the roof panels was glued upside down, but this error is barely noticeable given the size of the individual tiles on the tile sheets. Take care to line everything up before hand so that once the hot glue is spread over the roof frame you end up with the exact amount of roof overhang that you want. On one of the panels, my overhang on the left was one rank of tiles whilst the right rank of tiles was three tiles wide. I had to tear off the piece of tile before the glue set in and do it all over again. Then I tried it again, but this time the overhang was even on both sides, but I had glued the tile sheet upside down. Doh!!!!

Eventually I got it right, as seen in the pictures below. Then I applied a coat of linen grey chalk paint over the walls of the buildings. This is to hide the color of the black foam core board. After the grey color dries, I apply a coat of antique white chalk paint for the final color. A border of terra cotta red will be applied around the base of the buildings.

The following pictures show the model after the first base coat of chalk paint has been applied and after the roof tiles are attached. The two columns shown in the front are part of a set of four columns that will be attached to the building sections, two columns per building. I drilled two holes into each column so that I can pin it to the building wall so that the columns do not fall off of the model during handling or travel.


So here are some pictures of the almost finished Roman Bath House:


Is it a public Roman Bath or is it Messalina's House of Fun?

We had better close the drapes and not find out.

The bathing pool in better times. A tribune is consoled with vino,
served by one of the servants at the bath house. A senator appears to 
be negotiating for something that he shouldn't be doing.

The Roman City Continues to Grow

I have now built 15 buildings and six feet of Roman aqueducts since the beginning of February 2025 and I have been rather amazed to see how this project has grown from a village to a larger town and now into a city with each new addition.

The new Roman Bath is located in the lower right corner.

I added a narrow side street that runs parallel to the forum square.

The dock area is a "what if" type of set up just so that I could see what it might
look like. I won't have enough room in my vehicle to take the docklands to Historicon.

The view of the city looking from the Triumphal Arch towards the Temple of Athena.
The new bath house is located in the upper left corner to the left of the temple.

Another view of the town from the same point of view as the previous picture.


And finally, nearly all of the civilian figures that populate this Roman city are 1/30 scale (60mm) figures from King & Country of Hong Kong. Some of KC's new civilian releases arrived the other day and now I have over 80 civilians roaming around the streets of my city. The population is certainly growing!

ccc

Saturday, May 24, 2025

Street Scenes in My Roman City


A typical narrow Roman street lined with shops on each side.

Click on all pictures to enlarge

I have my games entered for this year's Historicon and now that I know how much table space I have, I can better figure out the layout of my Roman city. I have a 6ft wide by 15ft long center table and two 3ft by 15ft "back tables" that run parallel to the larger center table. I decided that the city will be located on the end of the center table and that I will have to limit the city's footprint to an area measuring 3ft by 6ft. Anything larger will eat into the available space for the table top battle. Thus the table top battle of Hannibal versus the Romans will have an area of 6ft by 12ft.

I was going to use a three large table layout, but after running my Hannibal! games at Little Wars, I saw that I can easily run the game on two tables (or one table with two smaller back tables).

These considerations force me to think long and hard about which buildings are essential and need to be in the show, versus peripheral buildings that can be left out of the game.

Here is a picture of what the city may look like:

The view from afar. The width of the city is 6 feet so that it will fit on the end of the table.

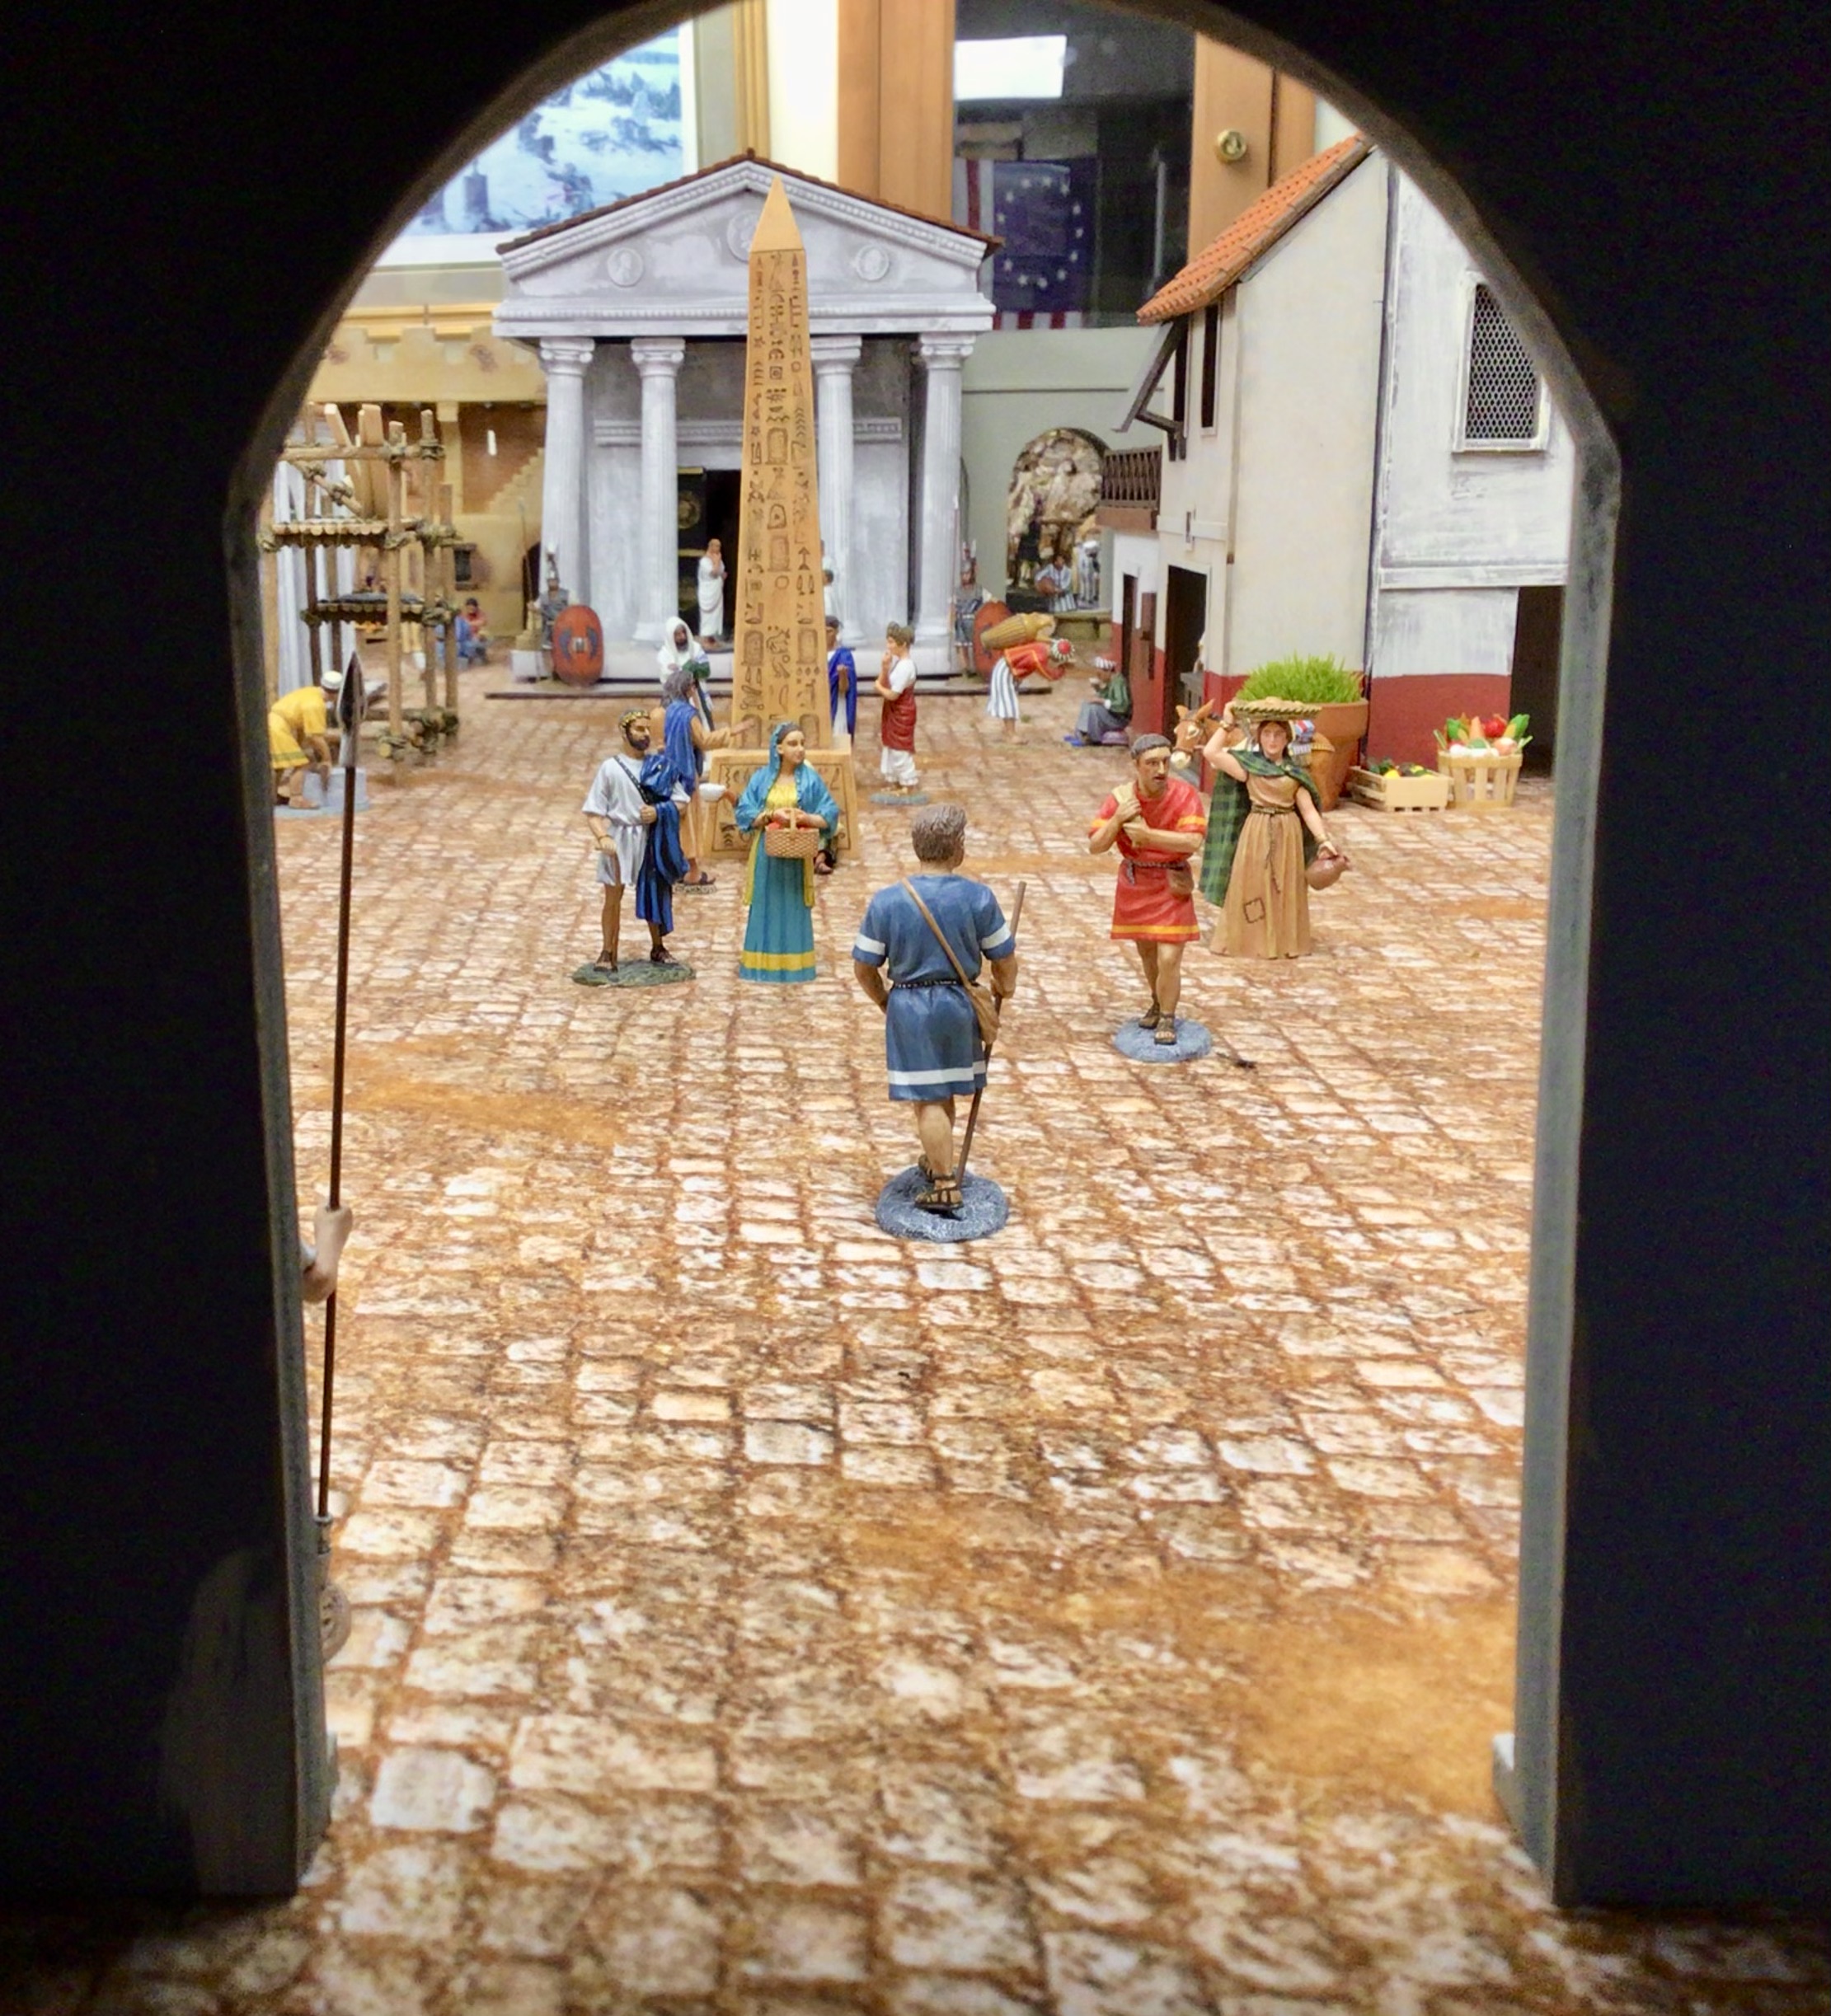
Here are several pictures snapped at "street level". If you play in one of my games then I encourage you to stoop down until your eyes are at tabletop level. The view really brings things to life.

I love stooping down to table level and looking at the terrain at the level of the civilian models.
This picture is snapped from the entrance to the victory arch.

Getting down to street level lends an air to realism. The buildings on the right
are "facades" made by Last Post in New Zealand. My bespoke buildings are
on the left side. Figures are from King & Country. This shot is similar to the 
one at the top of this page.

Roman Warehouse

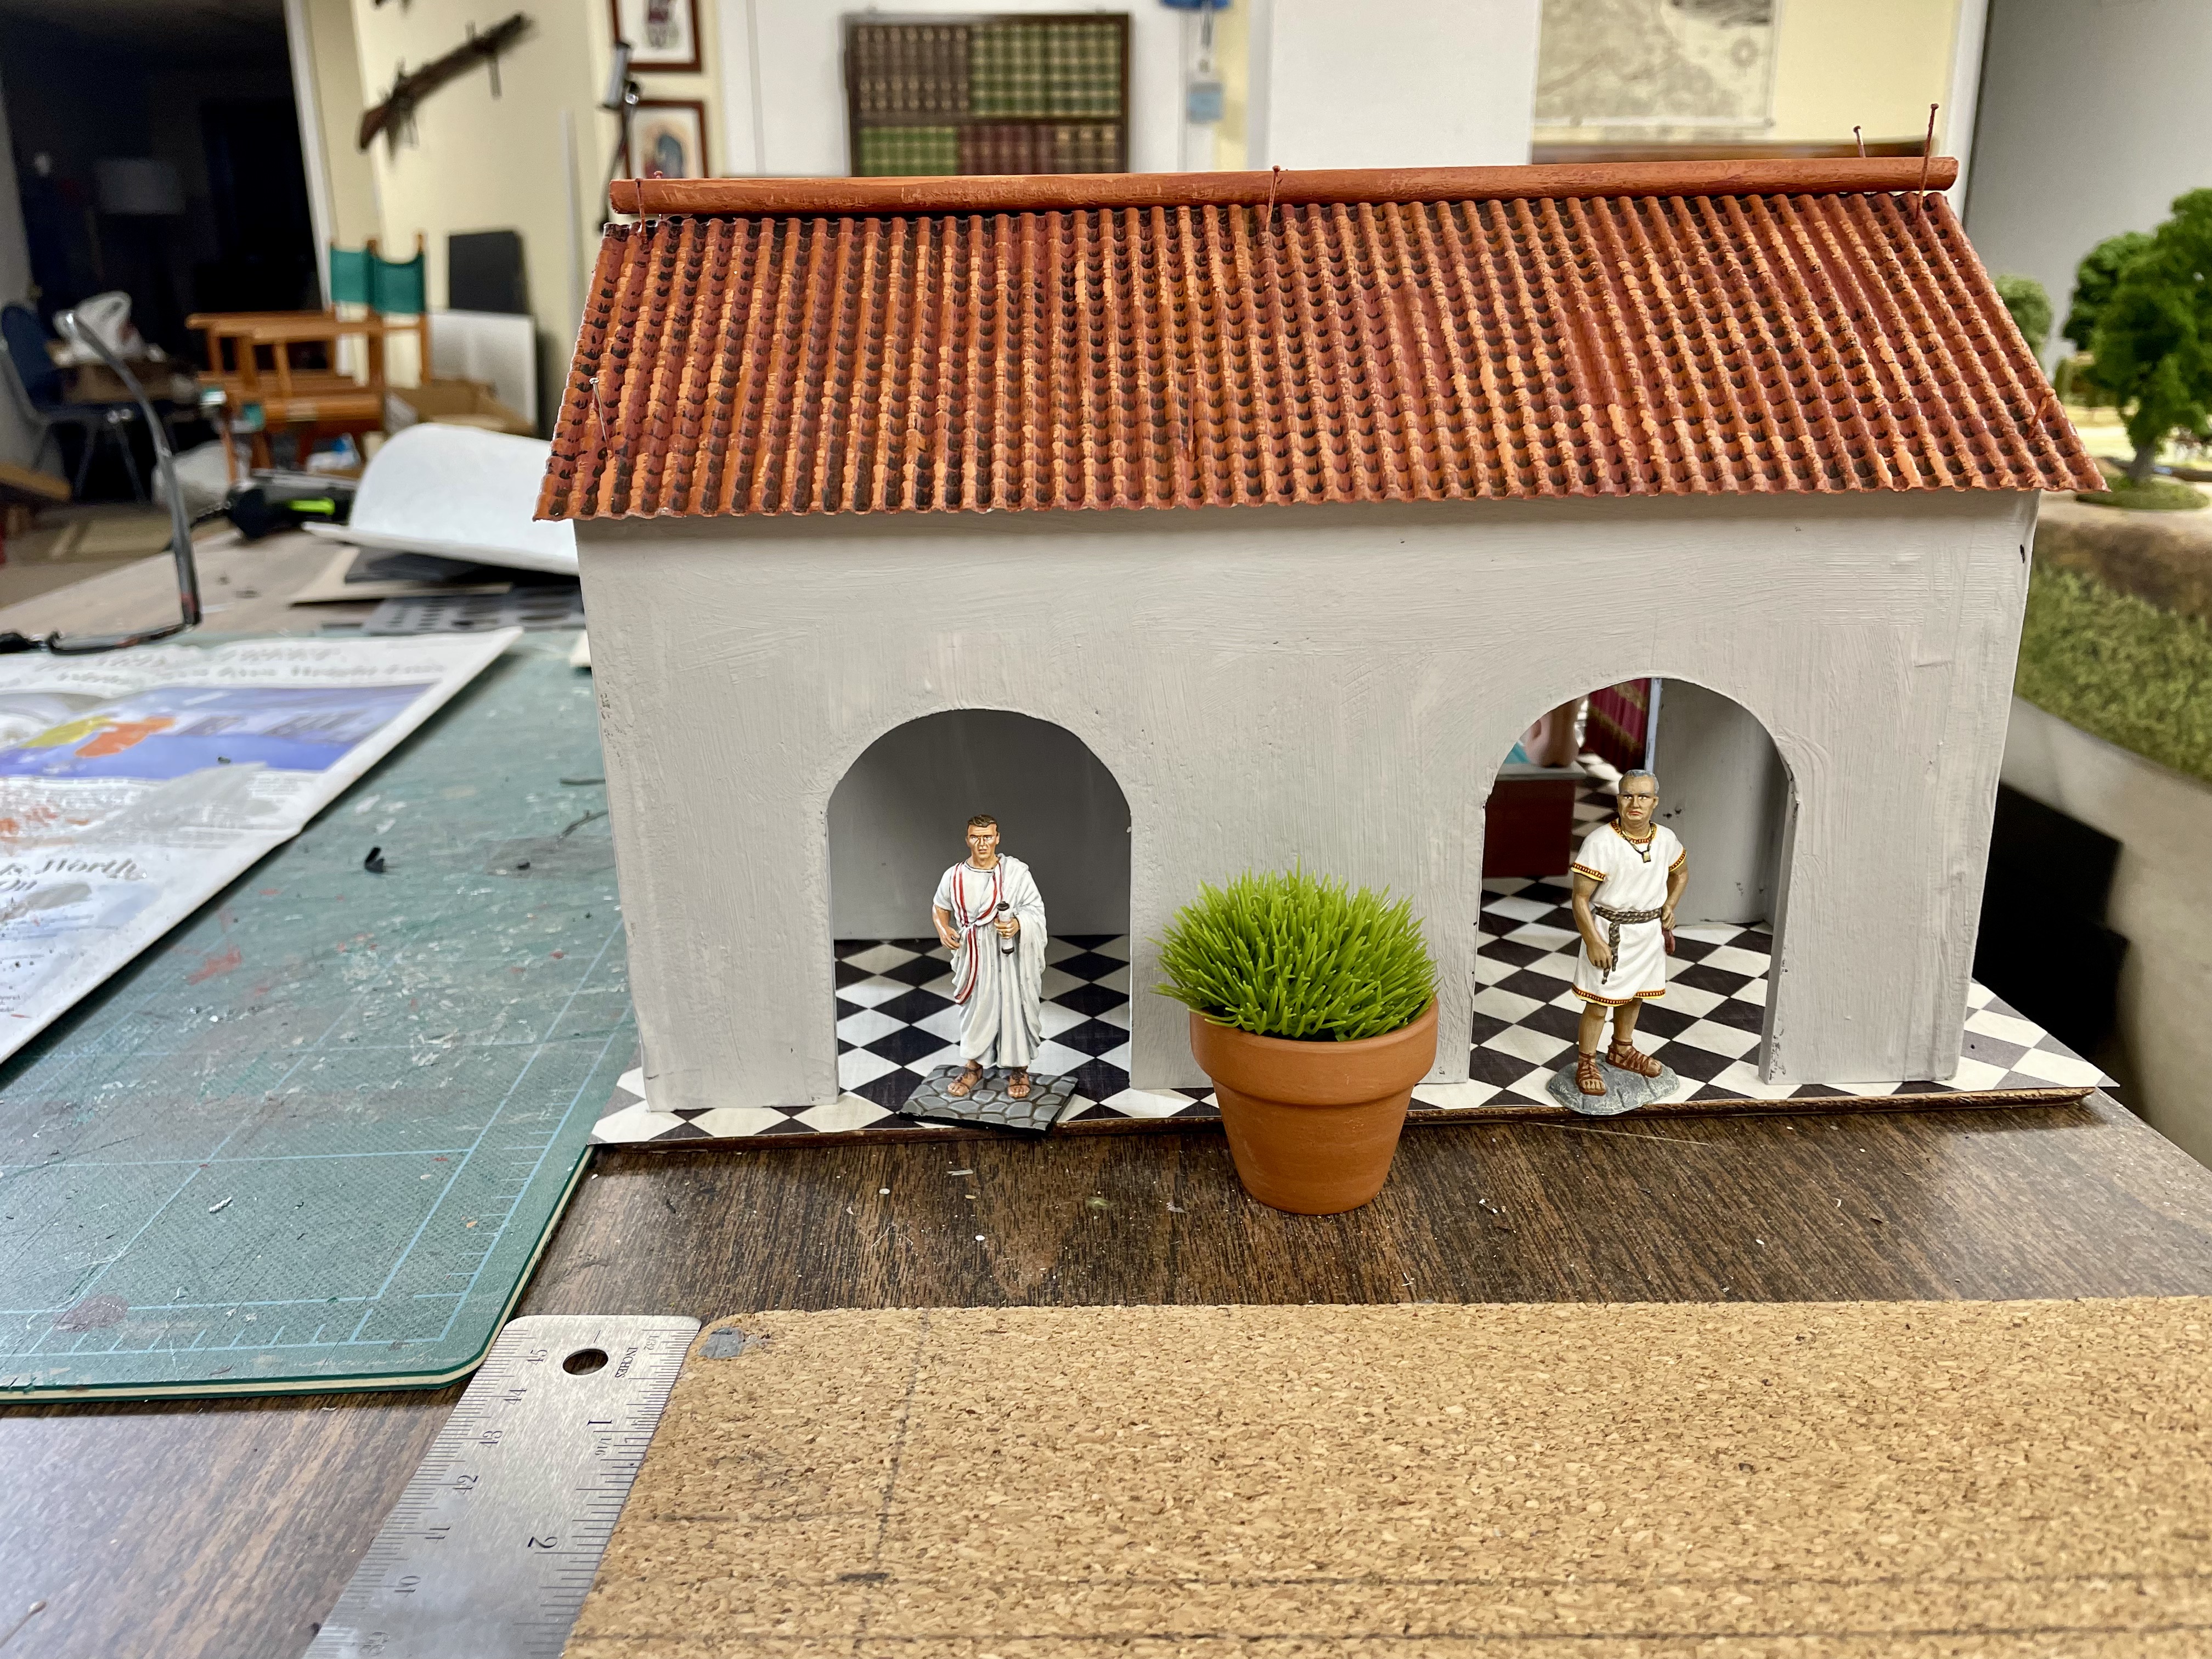
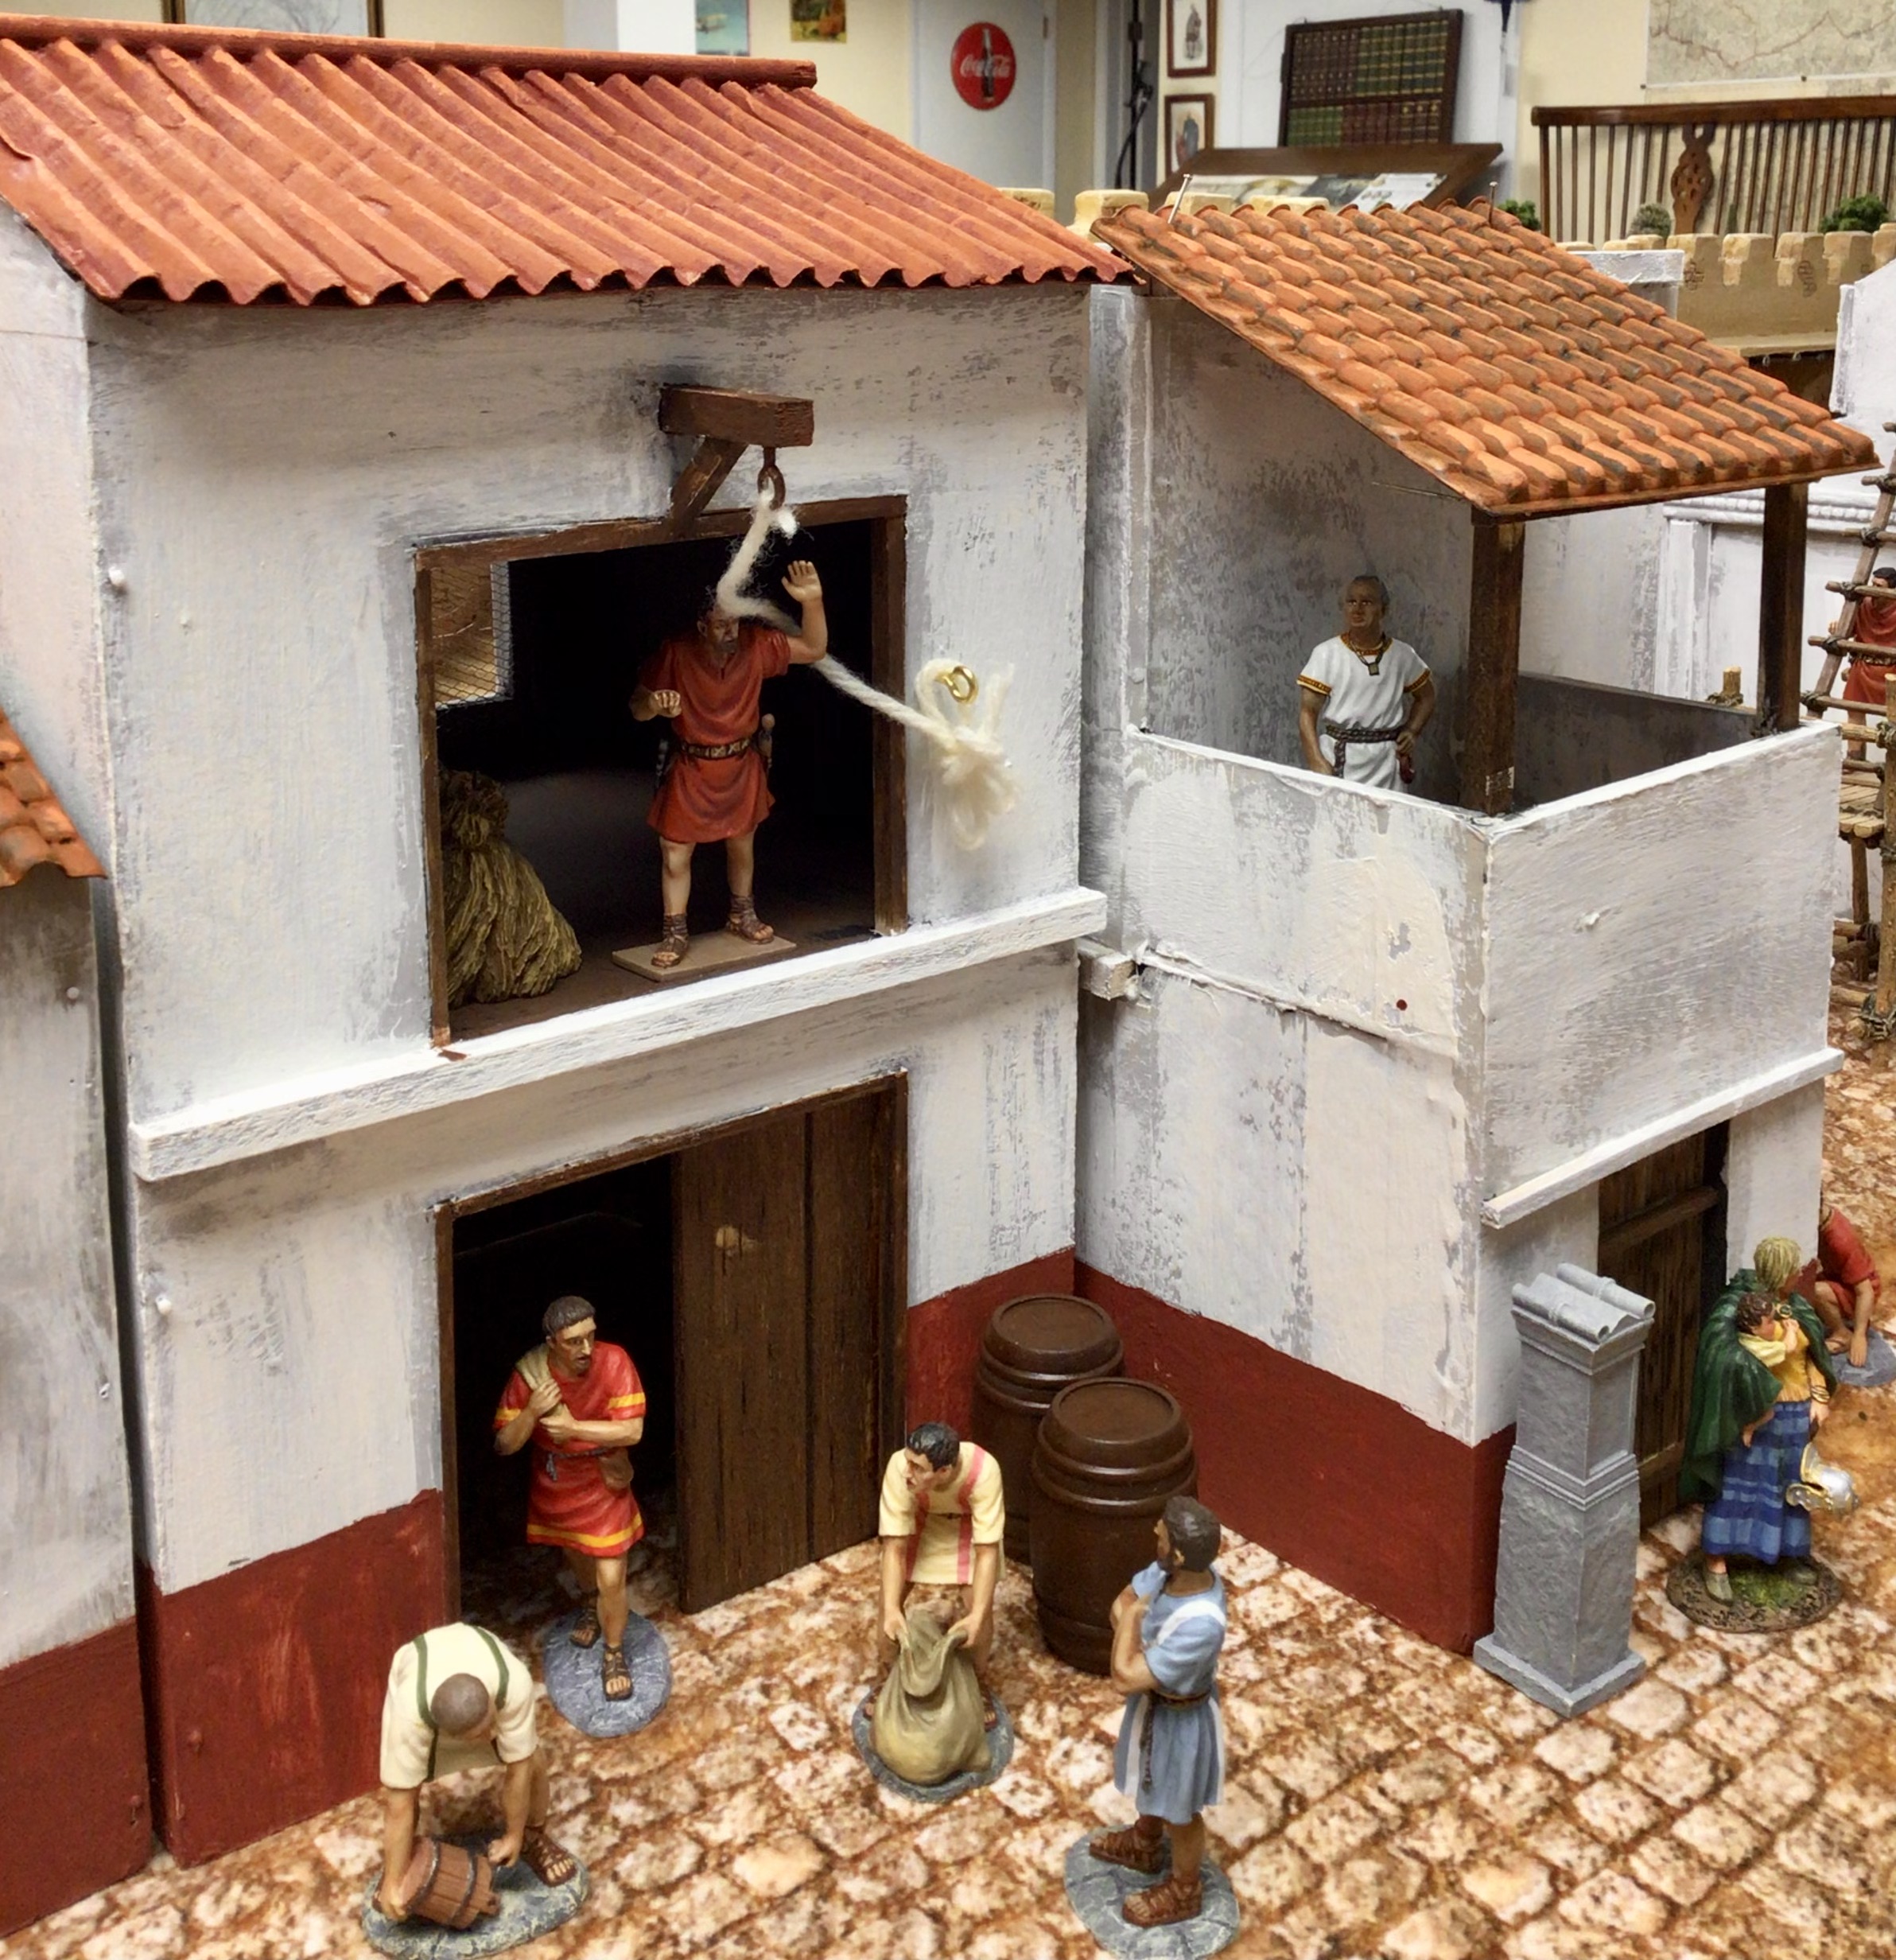
This week I made a two-story warehouse for my city. The materials were foam core board, balsa and bass wood, masking tape, and corrugated cardboard.


The basic shape of the walls are cut from foam core board. I size doorways to 
one of my civilian figures. The upper story of the building is the warehouse.
You can see the string and pulley, which is used to haul goods up to the second
story, above the upper doorway.

View of the rear wall of the warehouse. The door is balsa wood that is scored with
straight lines to resemble wood planks. There will be a covered eave overhanging 
the doorway. Cardboard from a shipping box is used to make roof tiles.

I use masking tape to cover the joins where the walls come together.
This hides the join and it is easy to paint over the tape.

Some of the wood work is stained rather than painted.

Here is the finished warehouse model:

The front side of the warehouse.

The back entrance to the warehouse.

The warehouse model "in situ" placed next to other buildings. Again,
King & Country civilian models.

Here are some more pictures of the town:

The local temple where some senators gather to discuss the issues of the day.

Overhead view of the city.

Workers making repairs to the roof of the basilica.

Some of the shops in the city: the cobbler (left) and the curio dealer (right)

And finally, I was messing around with setting up a harbor scene, but I won't have enough space in my vehicle to haul this extra terrain to Historicon. Still, it gives me lots of ideas for new things. A Roman lighthouse may be in the offing.

Wednesday, April 9, 2025

The Roman Forum/Basilica Model


An orator speaks to a gathering crowd in front of the basilica

The front entrance to the basilica. I repurposed a cameo of a woman from a piece
of discarded jewelry for use over the front door.

Click on images to enlarge


I finished another building model for my 1/32 scale Roman town this week. It is a basilica that can also be used as a forum.

In Ancient Rome, basilicas were versatile and monumental structures that served the civic, judicial, and religious needs of society. Designed as long rectangular buildings featuring a large central space (called a nave), and flanked on either side by aisles, basilicas were centers of public life.

So now my growing Roman town (at what stage does it become a city?) now has a public building for government administrators. It is conveniently placed on the central plaza in the town, across the street from the Temple of Athena.


The basilica's roof needs to be finished so I placed a carpenter on the roof to make the repairs.
Why not? I really like this picture.

The butcher's shop and the antiquarian dealer's shop are next door to the basilica.
The Temple of Athena can be seen in the background.

Now it's starting to look like a large town!

The quayside view of the basilica

A bird's-eye view of the town

A view of the older temples across the river from the town.

A Roman war galley sails into the port.

The basilica was constructed from foam core board, bass wood for the rafters, and balsa wood for other bits of trim such as the doors. I also found a cameo of a Roman woman's head that I repurposed from a piece of discarded jewelry and I placed this over the front doorway to suggest an ornamental relief sculpture inside the pediment. Plastruct brand roof tiles (in G Scale) were used for the roof.

I will probably take a pause on making more town models until after the Little Wars convention, which is coming up soon on April 24-27, 2025 in Lisle, Illinois. I could probably use a couple more farm house sheds for my games.


cc