


 |
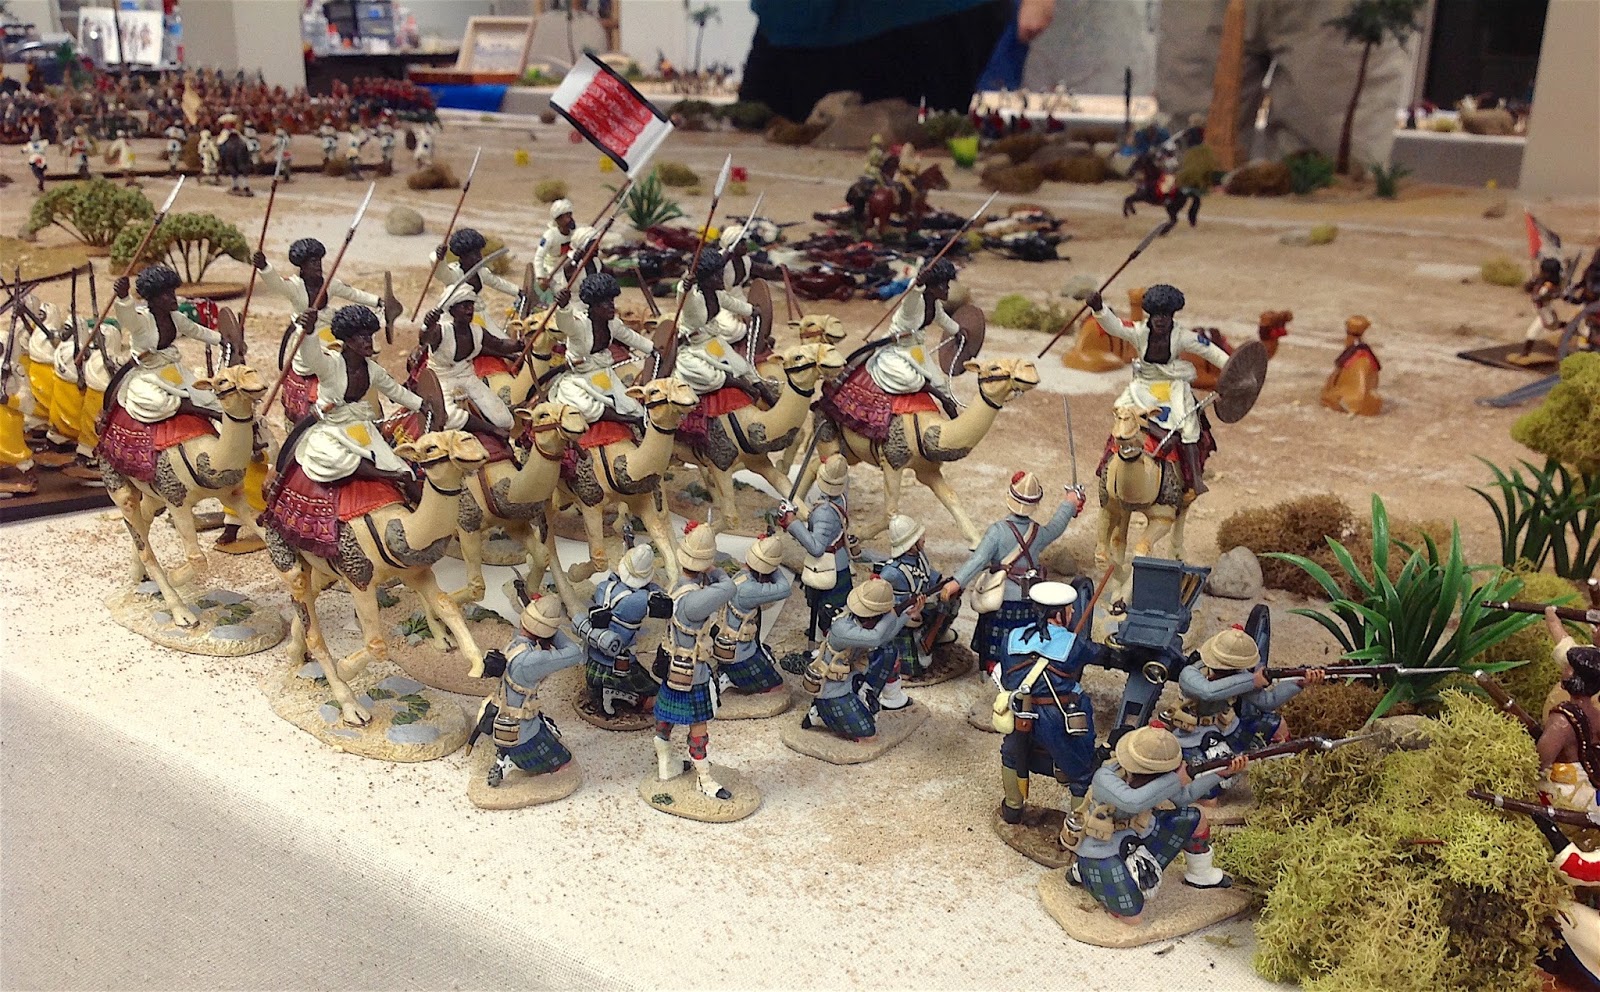
| Barlow's square contracts as its losses pile up. Note that a troop of the 21st Lancers has taken refuge inside the square after losing a melee to the Dervish - it was the only safe place to go. CLICK PHOTOS TO ENLARGE. |
In reviewing some of the photos that I took of the Battle of Tokar, I thought that those of Barlow's square were particularly good and worth a second look. My favorite picture in the series is the one that I posted at the top of the page, as the square began to contract as the losses began to mount up.
A picture of Barlow's full square early in the game:
 |
| Barlow's full square early in the battle, consisting of Royal Marines, Sailors and the Black Watch Highlanders (all figures shown are Britains and John Jenkins Designs figures. |
The fate of Colonel Barlow's square
 |
| The last stand of the Black Watch at Tokar. |
Some people have wondered, what happened to Colonel Barlow? Did he perish along with many of his men? That was the conventional wisdom once the remnants of the brigade made it back to the fortified camp at Dongala. However, Major General Pettygree wanted to find out for certain, so he ordered Colonel Sinclair to form a reinforced patrol of horse and foot to make another attempt at reaching the Oasis of El-Dubie. Pettygree's thinking was that perhaps the Dervish would take less notice of a smaller patrol than they would if a whole brigade of the Imperials marched back to the oasis.
 |
| The rescue patrol |
The picture above illustrates the composition of the rescue patrol.
4 companies of the Sussex Regiment (khaki)
1 company of Sikhs (red coats)
5 Camel Corps mounted troopers - for scouting purposes
1 squadron of the 21st Lancers (approximately 12 figure)
Return or revisit this blog over the next several days to find out what the column found.
I'm hooked! I can't wait.
ReplyDeleteBest Regards,
Stokes
Looks excellent!
ReplyDeleteCan't wait for the next one :)
ReplyDeleteFantastic!
ReplyDelete