Thursday, April 6, 2023

Charles Grant's Mollwitz Game at the SYWA Convention


The Austrian headquarters located within the town of Mollwitz.
Houses were made by Ian Weekley and I made the church model.

I was in a bit of a bind for putting a game scenario together in time for this year's annual Seven Years War Association convention in South Bend, Indiana. Then it occurred to me that there was a ready-made game scenario in the classic wargame book "The Wargame" by Charles Grant (sr.). So I decided to do the Battle of Mollwitz which was Frederick of Prussia's first battle and first victory (of sorts, ahem).

The scenario provides each side, Austrian and Prussian, with 13 combat elements plus some artillery. The interesting thing about Grant's Mollwitz scenario is that the two armies are mirror images of each other. The Austrians are strong in cavalry with 6 regiments, but only 7 infantry battalions, whereas the Prussians are weak in cavalry with only 3 regiments, but they are strong with a robust 10 battalions of infantry. The Prussians also outnumber the Austrians in artillery, but I reduced the number of guns to 4, compared with 3 guns for the Austrians. My artillery rules are bloodier than Grant's when it comes to effectiveness on the table top so the reduction in guns was a necessity.


My Mollwitz game table set up. A copy of "The Wargame" is displayed
in the front foreground. Austrians (left) and Prussians (right). Compare
to the map below.

The scenario proved to be a good cracker of a game with the forces deployed such that each side's strength was facing the opponent's weakness. Thus the Austrians started the game with 6 cavalry regiments on their right flank, facing only 3 Prussian cavalry regiments across the field.


The Austrian army deployment is shown at the top of the map (white rectangles)
and the Prussian deployment is shown on the bottom of the map


Given the superiority in numbers of infantry units for the Prussians versus Austrians, the outcome of the game is determined by the success of the Austrian cavalry. If they can quickly defeat the Prussian cavalry, the Austrian cavalry will be poised on the left flank of the Prussian battle line. However, the Austrians must win the cavalry battle before the Prussian infantry closes in on the Austrian infantry.

I ran the Mollwitz game twice, once on Friday morning and once on Saturday afternoon. The Austrians won a slight victory in the first game, but the Prussians returned the favor in the second game, giving the Austrian infantry a good thrashing. In both games, the Austrian cavalry successfully drove off the Prussian cavalry and then made a pivot to their left to place them in a position to roll up the entire Prussian army.


Here are some pictures of the initial deployments of the armies. Austrians on the left and the Prussians are on the right.

Prussian infantry marches onto the battlefield.

The Austrian infantry marches onto the battlefield

Game I on Friday

The Prussian cavalry (right), while outnumbered, pitched into the Austrian cavalry.

Austrian cavalry numbers would soon have a telling effect on the outcome of the melee.


Austrian hussars gain the flank of the Prussian cavalry.

The Prussian's Bayreuth Dragoons (in white coats) are flanked but they died hard 
and took a lot of Austrian horsemen with them.


Here's something that you hardly see in an 18th Century wargame: the Prussian Guards
are forming squares!


The jig was up for the Prussians once they placed their guards into square formations. I advised the Prussian player not to do it because my rules favor disciplined musketry over charging cavalry, but he did not heed my advice. The Austrian artillery took to pounding the Prussian squares, while the Austrian cavalry simply bypassed the squares and looked for better targets to attack.

Game One resulted in a narrow Austrian victory.

Here are some more pre-game set up pictures of the armies on the table top.

The town of Mollwitz

Prussian right wing infantry march onto the table.

The Bayreuth Dragoons wearing white coats. Prussian dragoons wore white 
coats up to 1745, when they switched to blue coats.

Marshal Schwerin leads his powerful brigade of grenadiers (in line formation)
and IR15 Prussian guards on to the field.

A young King Frederick II of Prussia awaits his very first battle with much anticipation.

Austrian general von Neipperg watches a unit of converged Austrian grenadiers
marching through the town of Mollwitz

An Austrian infantry brigade deploys on the left wing of its army.

Game II on Saturday

The second game was run on Saturday afternoon and it would result in a very convincing Prussian victory, although for awhile it looked like the Austrian cavalry was going to have a glorious day because it ran all of the Prussian cavalry off of the field and it rode down the Prussian grenadiers and two battalions of the Prussian guard before running out of steam.

Austrian hussars charge into the flank of Prussian hussars and a regiment of Prussian cuirassiers.
It was a short and bad day for the Prussian cavalry.

The Austrians have turned the left flank of the Prussian army and prepare to attack 
the infantry of the Prussian right flank. However, it was too late as the Prussian infantry
put most of the Austrian infantry into rout mode.

The Prussian cavalry commander looked across the field at the Austrian cavalry and he decided that it would be more prudent to seek protection behind the Prussian guards. The large Bayreuth Dragoon regiment (36 figures versus 24 for normal sized cavalry regiments) deployed into line formation to provide a screen for the Prussian cuirassiers and hussars to march away. However, the Austrian army won a string of first initiatives in the card draws. Since they elected to move first, the Austrian horsemen were soon charging into the flanks of the Prussian hussars and cuirassiers. The Prussian cavalry did not have a chance of surviving.

Then miraculously, Austrian dragoons and cuirassiers teamed up to run down a battalion of Prussian grenadiers and one of the guard battalions in the flank. It was all a very exciting thing to see. I am unashamedly biased towards the Prussians, but I was enjoying the sight of an excellent Austrian cavalry battle on this flank. Alas, the Prussian infantry made much headway against the Austrian infantry and soundly defeated them before the Austrian cavalry could make its impact felt on the far end of the table.

Some Final Thoughts

I really really really really liked the Grant Mollwitz game scenario and found both games generated a lot of excitement and unexpected events. The deployment of unequal amounts of cavalry on one end of the table and a similar inequality of infantry on the other end of the table made for some great table top battles. The scenario all comes down to whether or not the Austrian cavalry can work around the Prussian army's left flank before the Prussian infantry can do the same to their infantry counterparts at the other end of the table.

I recommend giving the Grant Mollwitz scenario a try. The scenario is time-tested over several decades going back to the 1970s when the book The Wargame was published.


Saturday, March 25, 2023

Khartoum Game Report - Part 2


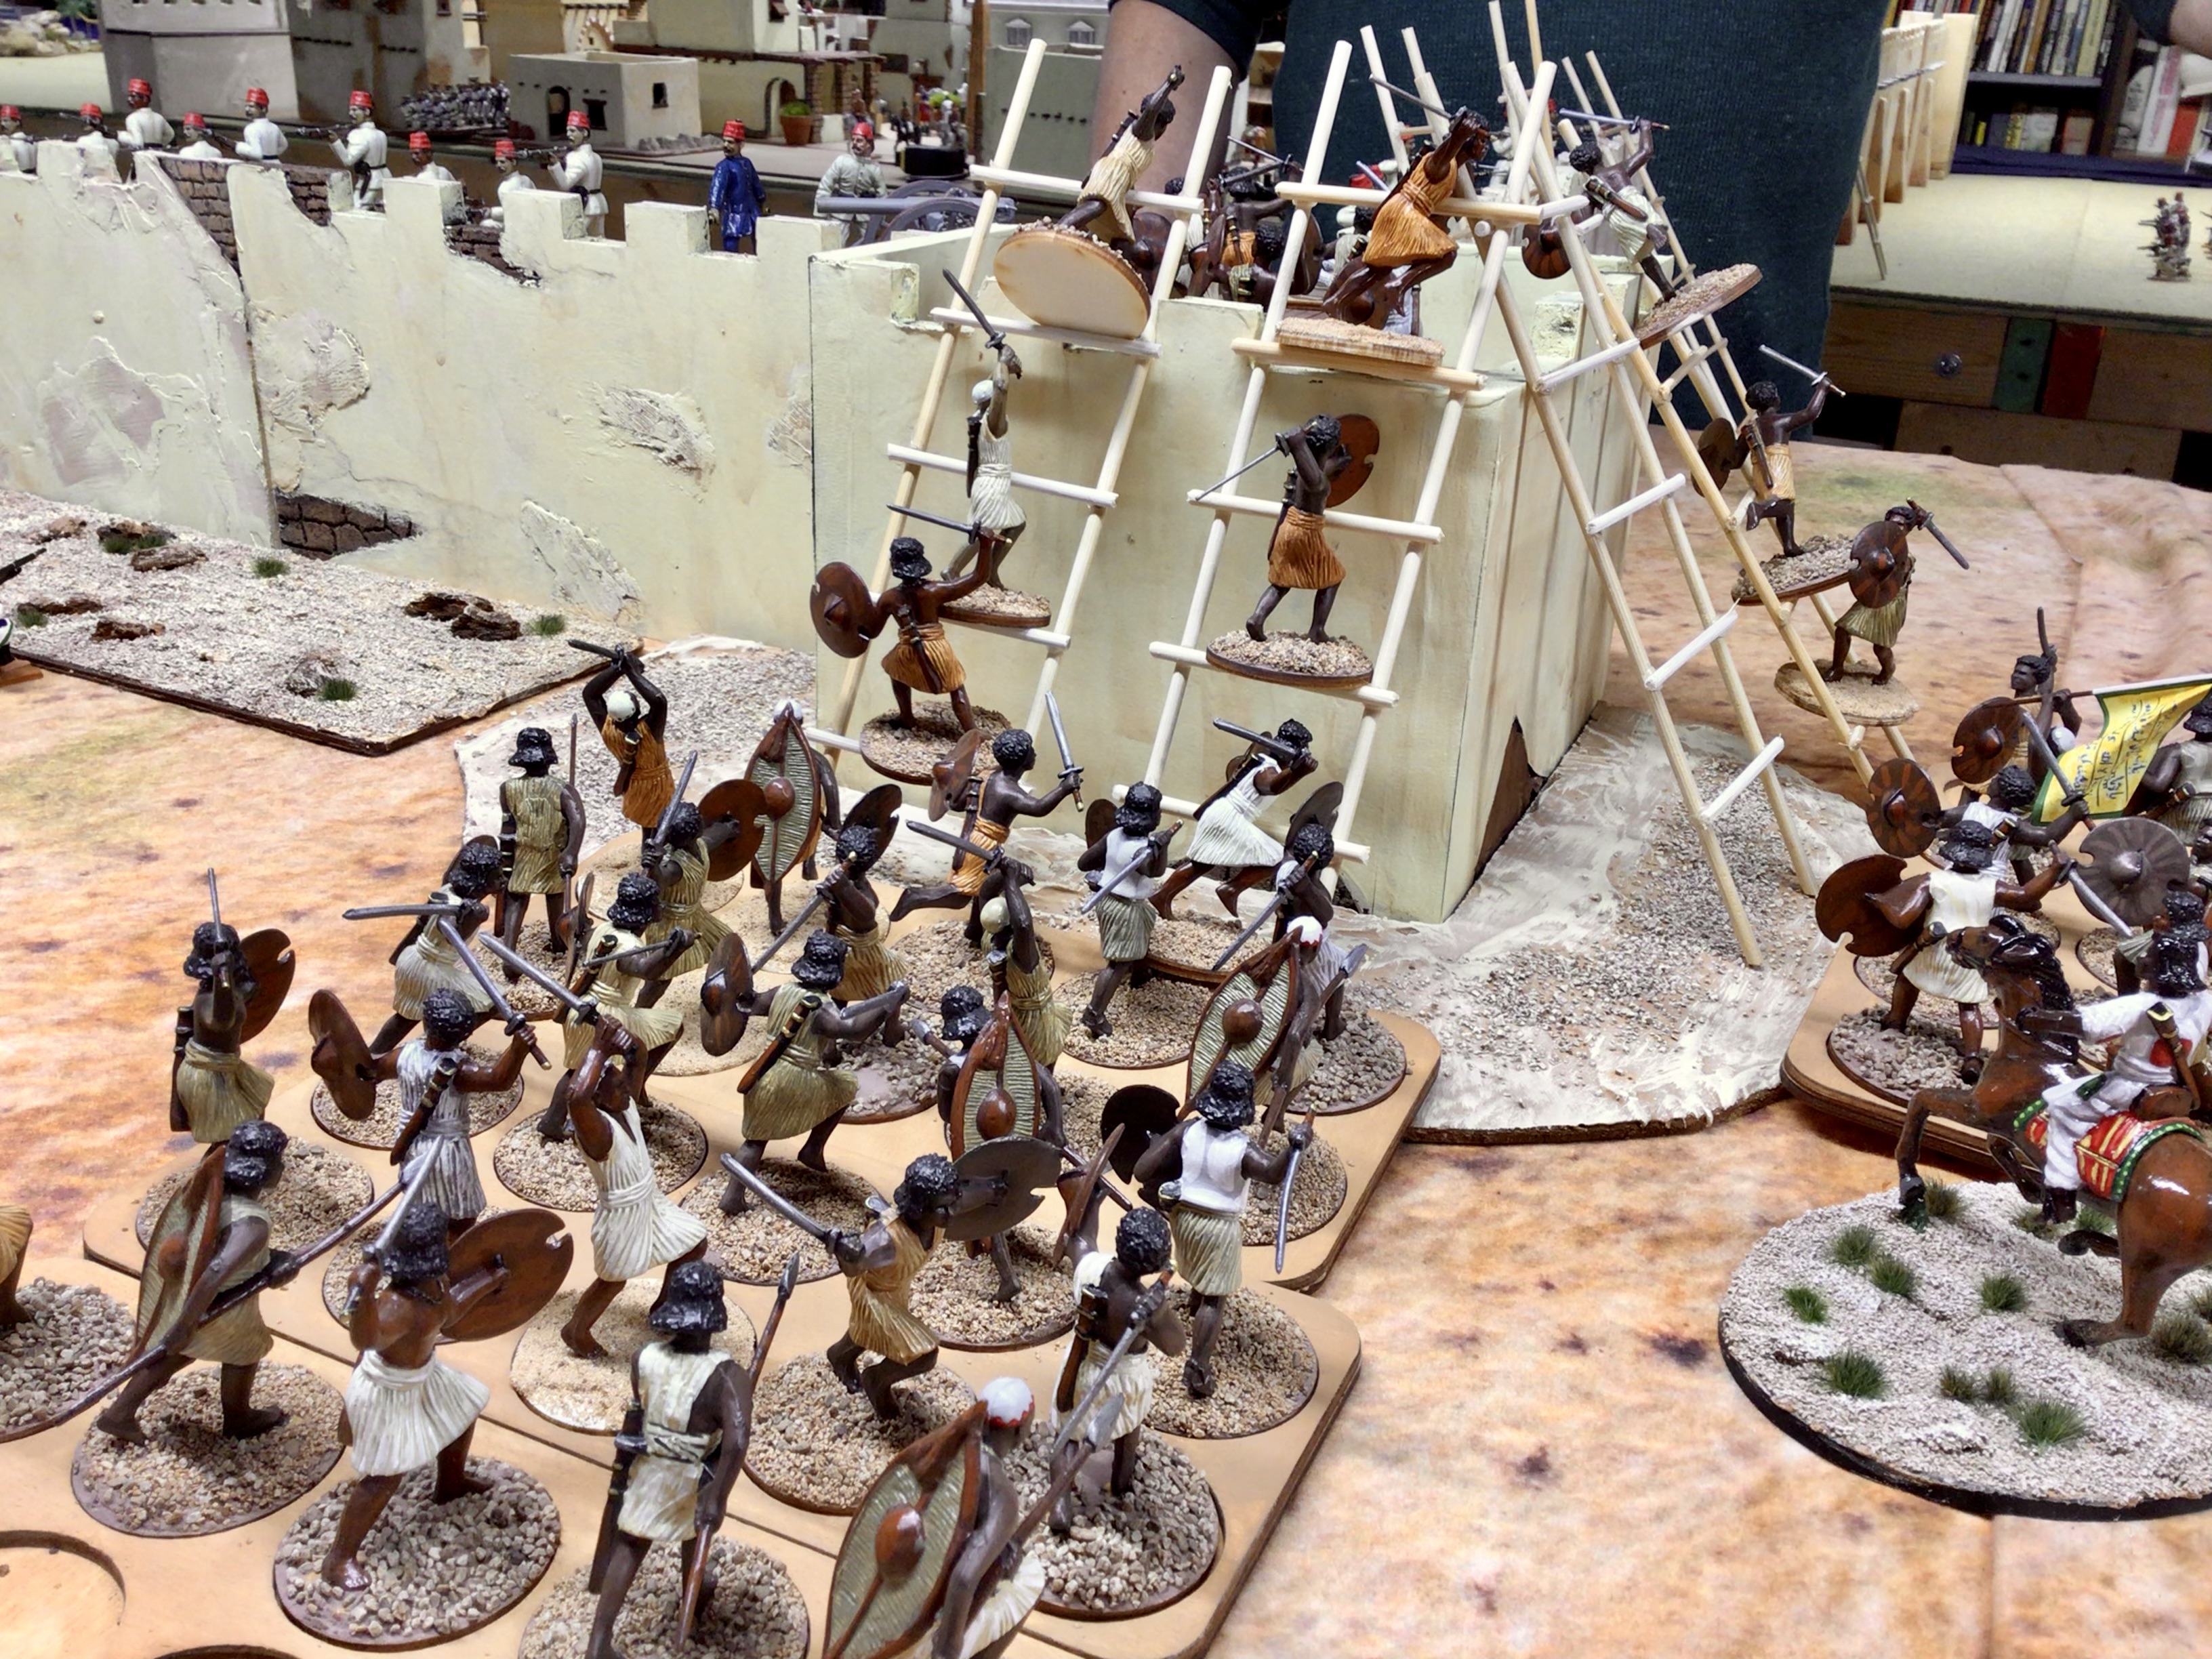
The Dervish take to the ladders and are over the walls.


Let us now look at the infantry side of the battle of Khartoum! that we fought last Saturday.


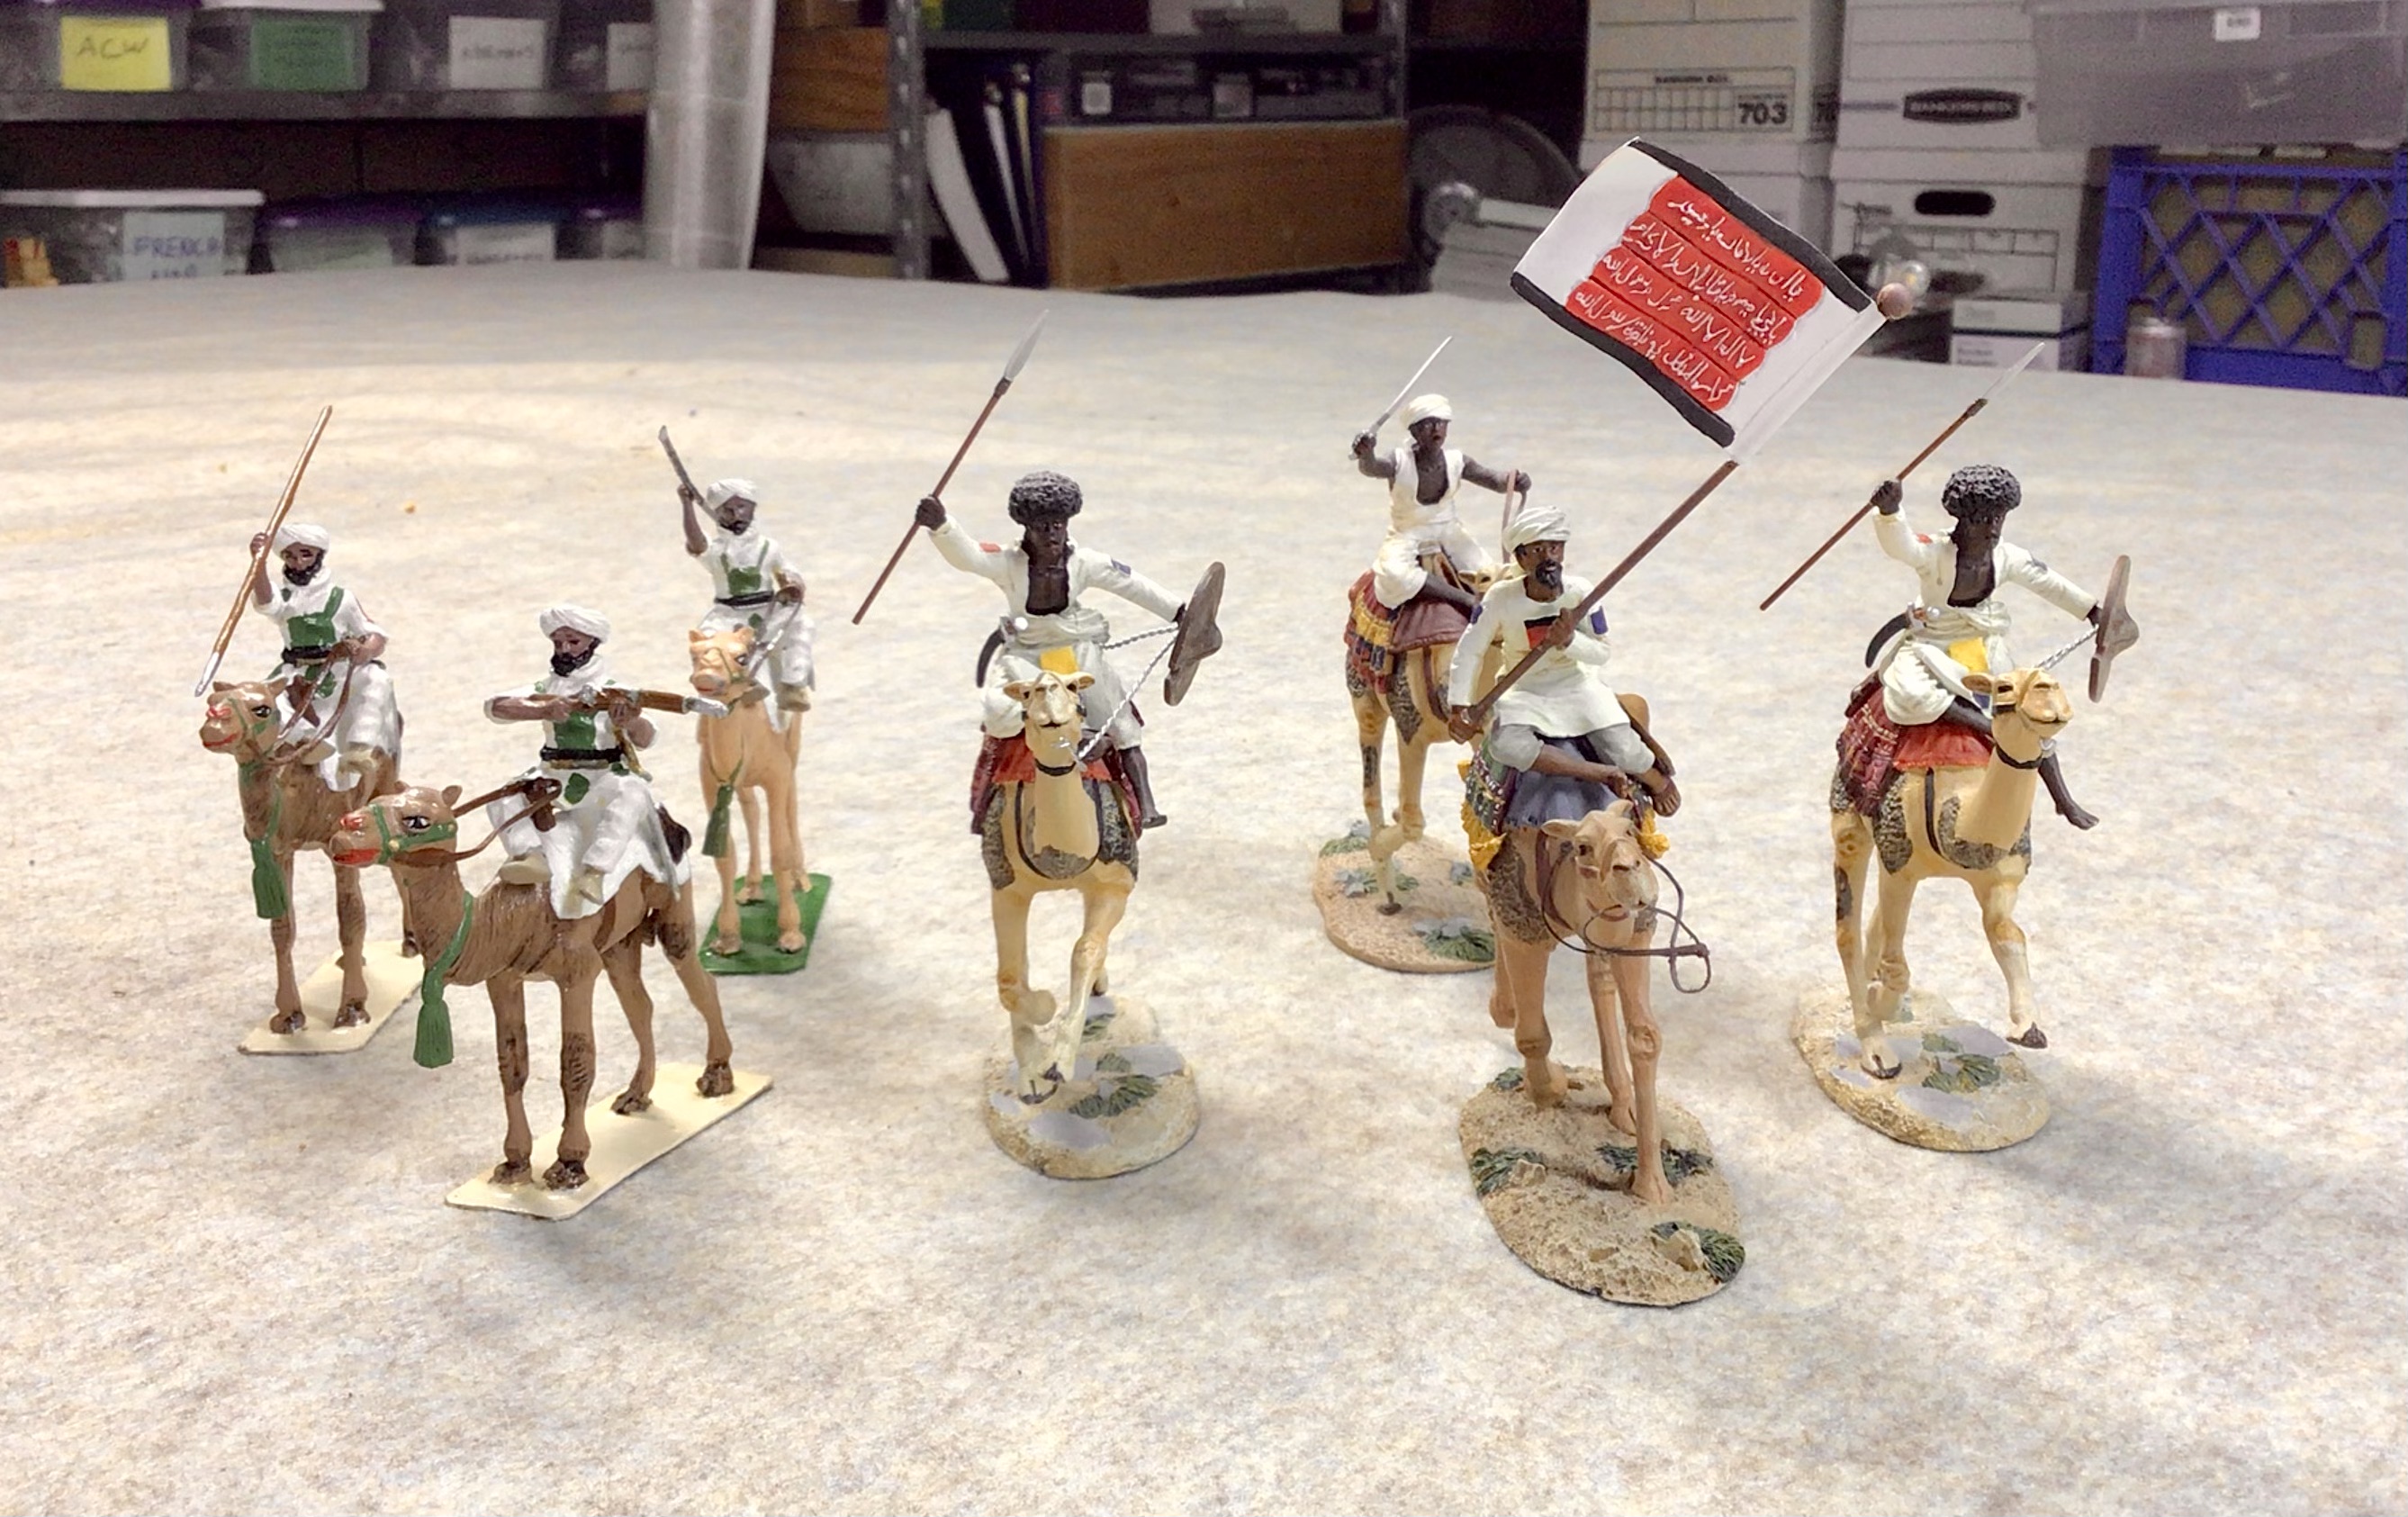
The Dervish army of The Mahdi consisted of five commands, one of which was the naval river command that we discussed in Part 1 of the after action report ("AAR"). The Mahdi deploy his four foot battle groups into two parts: one group would attack the west corner of the city walls and the other would attack the east corner of the walls. A few figures would demonstrate in front of the center in order to pin some of the defenders there.

The central city gate of Khartoum.


The east corner of the defenses manned by one Krupp artillery piece.

The Mahdi looks on with his approval

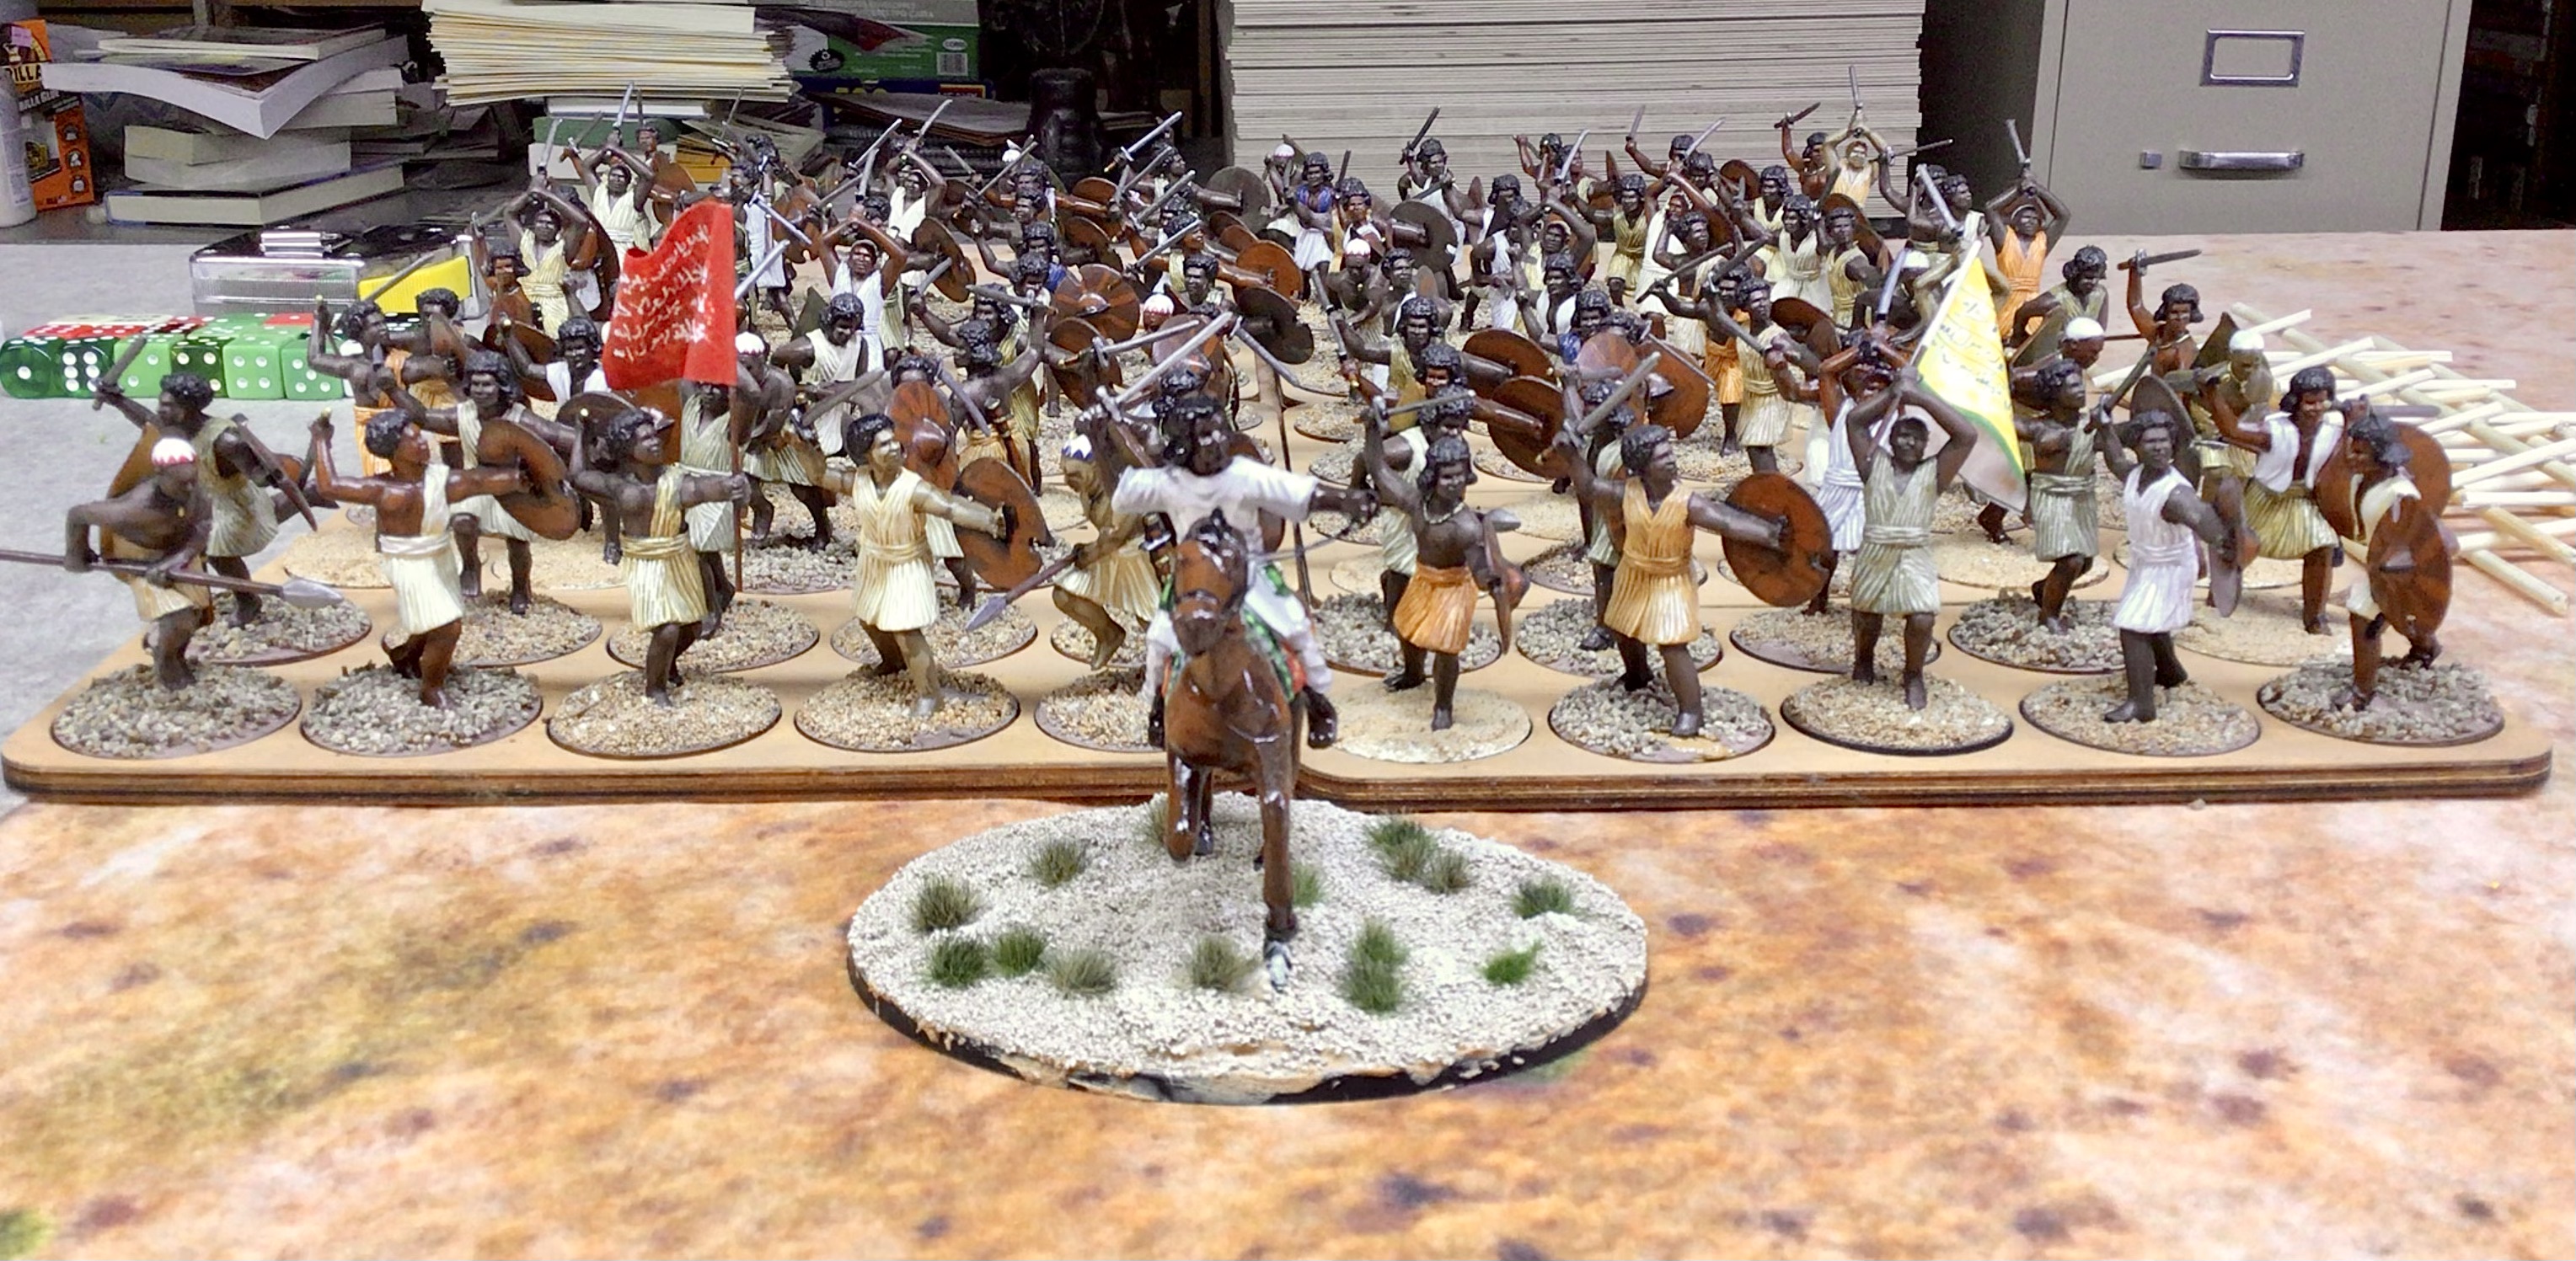
The Beja warriors deploy in the center, but they will oblique right to attack the east bastion.


More Beja ready to attack. You can't have enough of them.


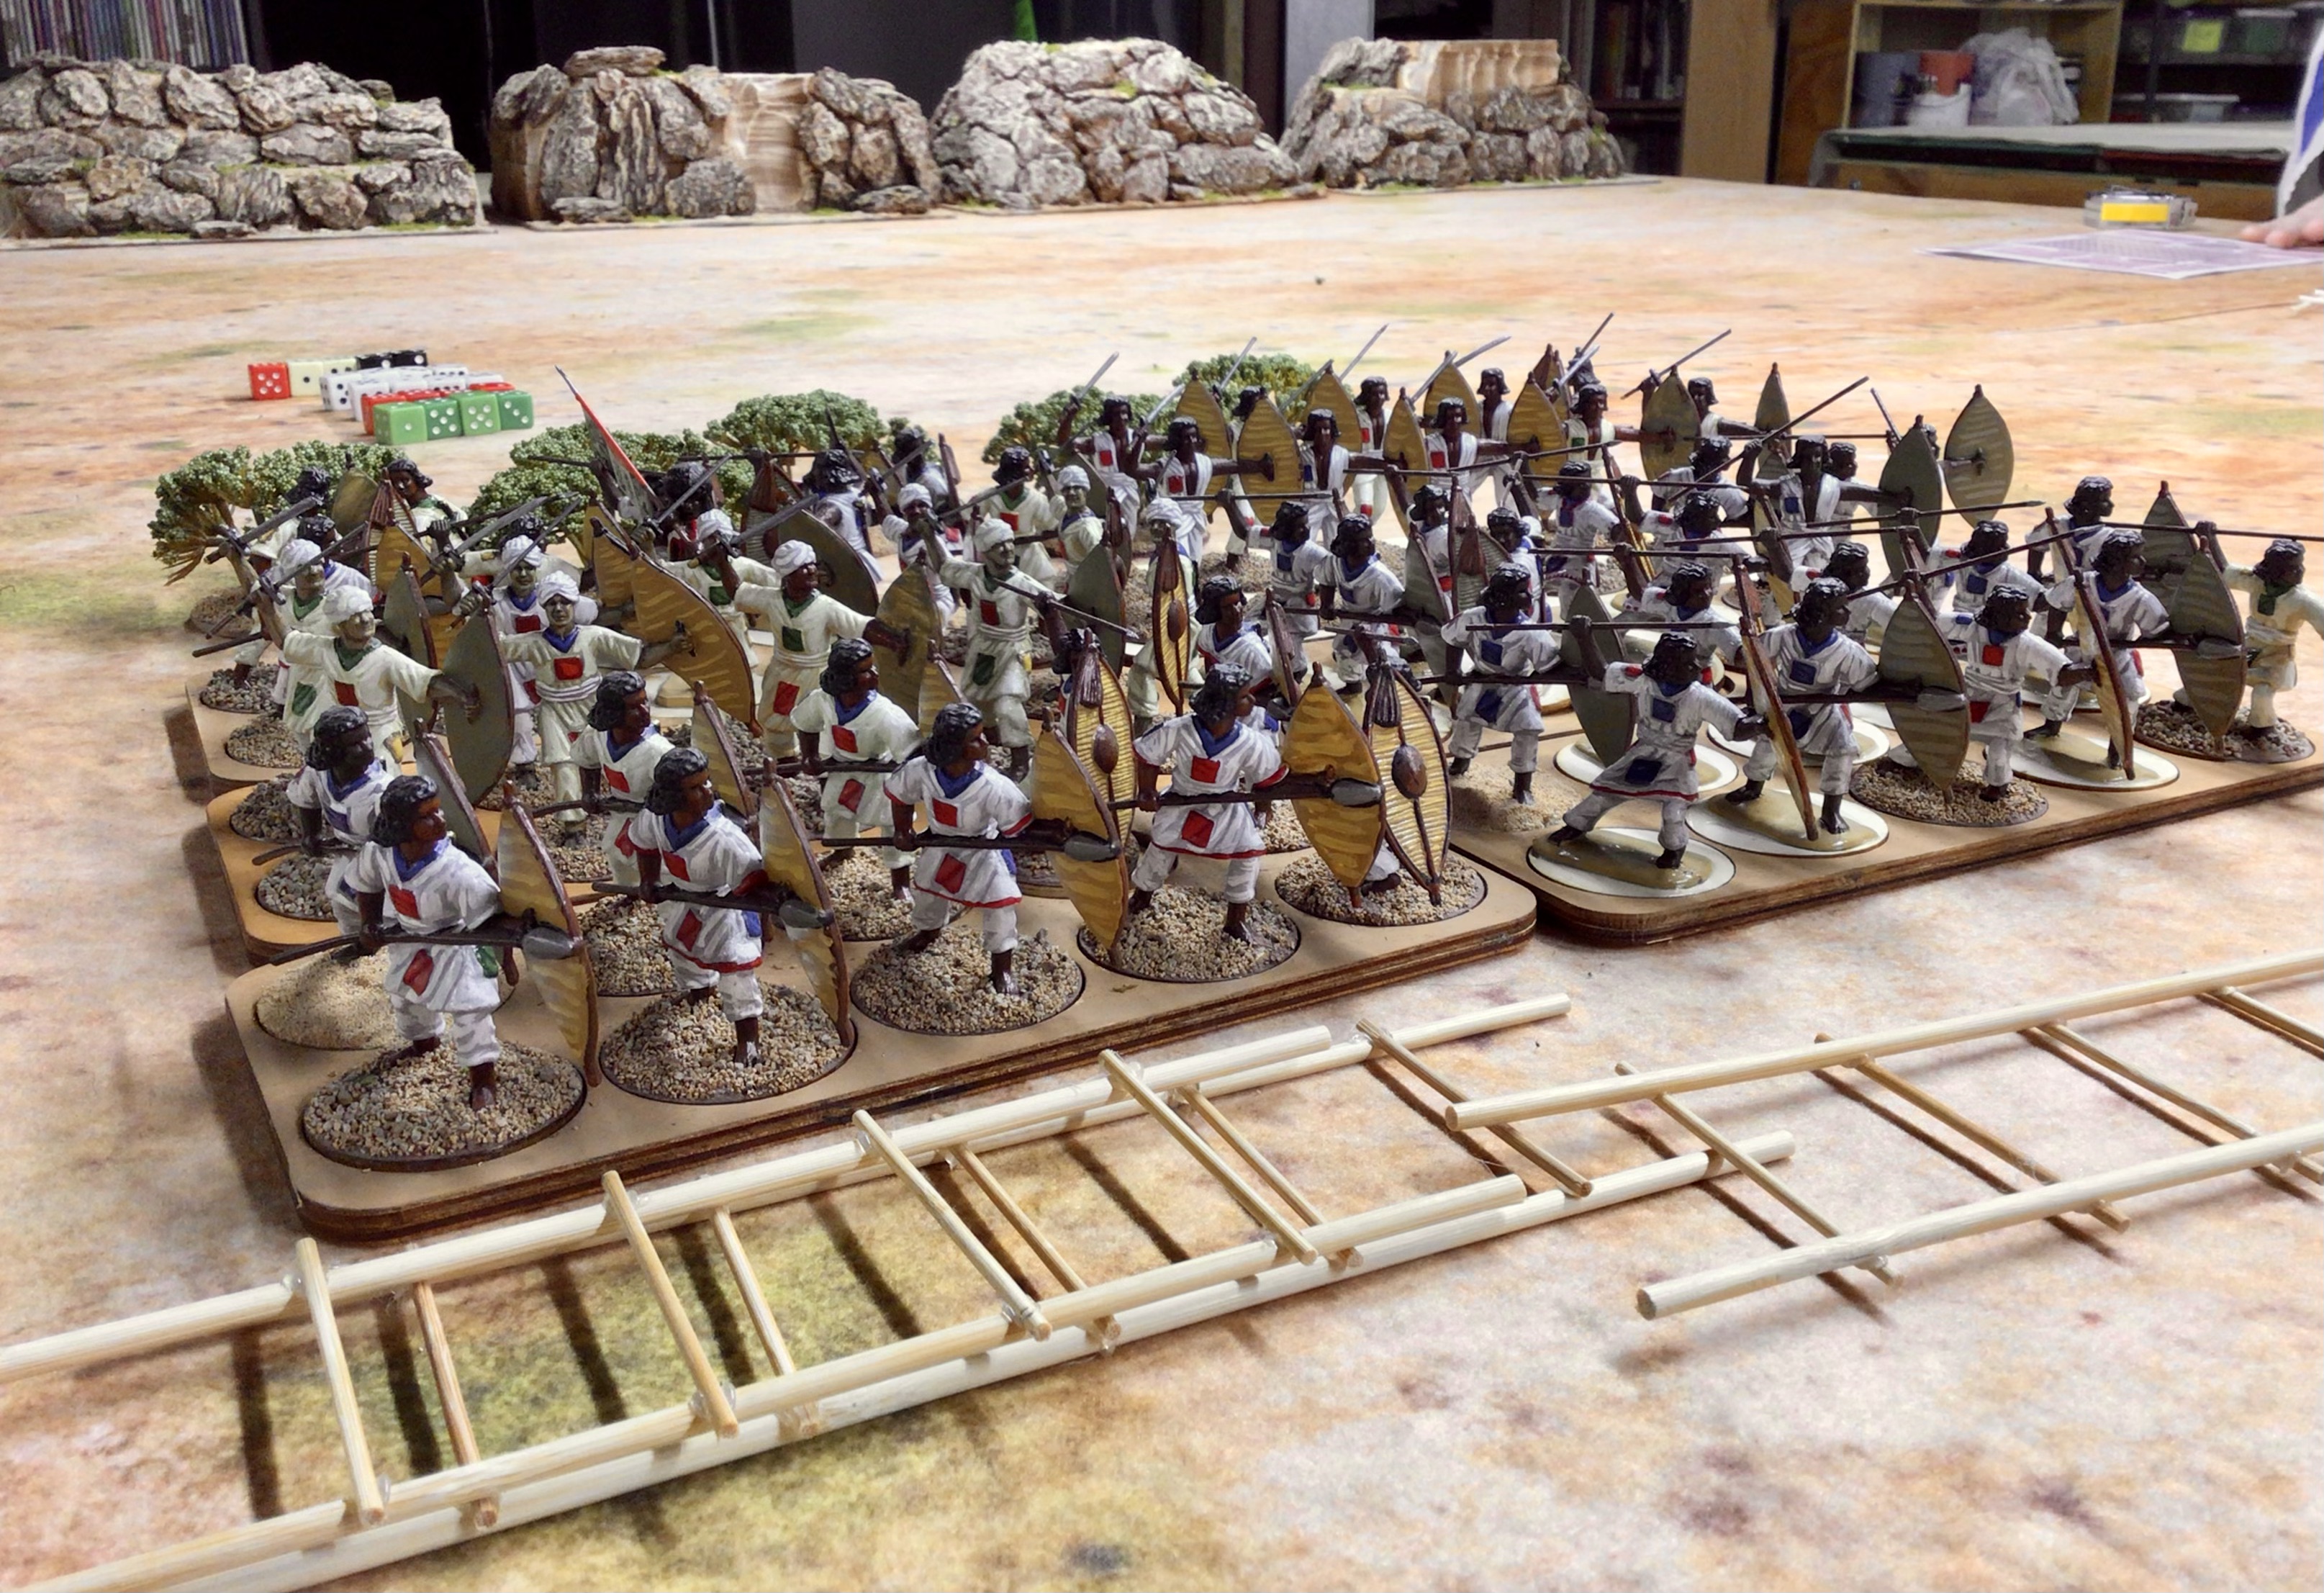
The main assault on the east bastion with three war bands set to hit the corner at the same time.


A supporting attack on the far right wing of the Dervish army.

More pictures of the main Dervish attack on the east bastion. You get the picture.


Notice how the aisle divides the city walls into two sections. This allows the
players easier access to the movement of figures along the front walls.


The scaling ladders start to go up against the walls.

I count 7 scaling ladders in this section of the assault. The consensus of the players
was that we needed the Dervish to have more scaling ladders so that they would
have a chance of making it up and onto the ramparts.


The attackers may hoist their ladders up against the walls on the turn in which their units can touch the walls. If the Egyptian defenders have the second move initiative, then they can try to topple the ladders.  So in this case, having the first initiative is a disadvantage for the Dervish. If the defenders have moved first, then the Dervish can hoist their ladders without fear that the defenders will topple the ladders.

Then on the next turn, the Dervish will want to get the first initiative so that they can start climbing the ladders. The wall scaling rules makes it relatively easy to topple a ladder if there is nobody climbing it. It gets progressively harder to topple the ladder if there are 2 attackers or three attackers on the ladder. Once the Dervish control the wall at the spot of the ladder, they are allowed to move 3 figures up the ladder each turn. So you can see that having more ladders in one area makes it easier for the Dervish to climb over the walls.


Meanwhile, on the west bastion, things weren't going very well for the Dervish (me). I had a band of 100 Ansar plus 30 Beja riflemen. As with the assault on the other (east) side of the city, my plan was to hit the corner bastion with everything I had. The Beja rifles would hopefully pick off some of the Egyptian artillery crew.

The original plan of The Mahdi was for me to support my attack on the corner by making an amphibious landing of the warriors on the river fleet. In retrospect this would have been the correct strategy. However, I thought that I would have a good chance of sailing my dhows behind the back of Khartoum and attack into the city (just like they did in the movie, if you can recall). Had I stuck with the plan, then the wily Egyptian commander, El Will Em Bey wouldn't have been able to make a sort from the city and fire into the flank of my attacking warriors.

The river flotilla moves up the Blue Nile.

Having five boats, each manned by 12 warriors and an emir leader, would have 
prevented the Egyptians from making their sorti from the city.


Beja riflemen were supposed to protect my left flank so that I could execute my
attack on the corner bastion.

The Beja riflemen operate in open skirmish order, making them harder to hit.

My attack goes in and the ladders go up.

Not enough attackers in this area and too many Egyptian defenders on the walls.


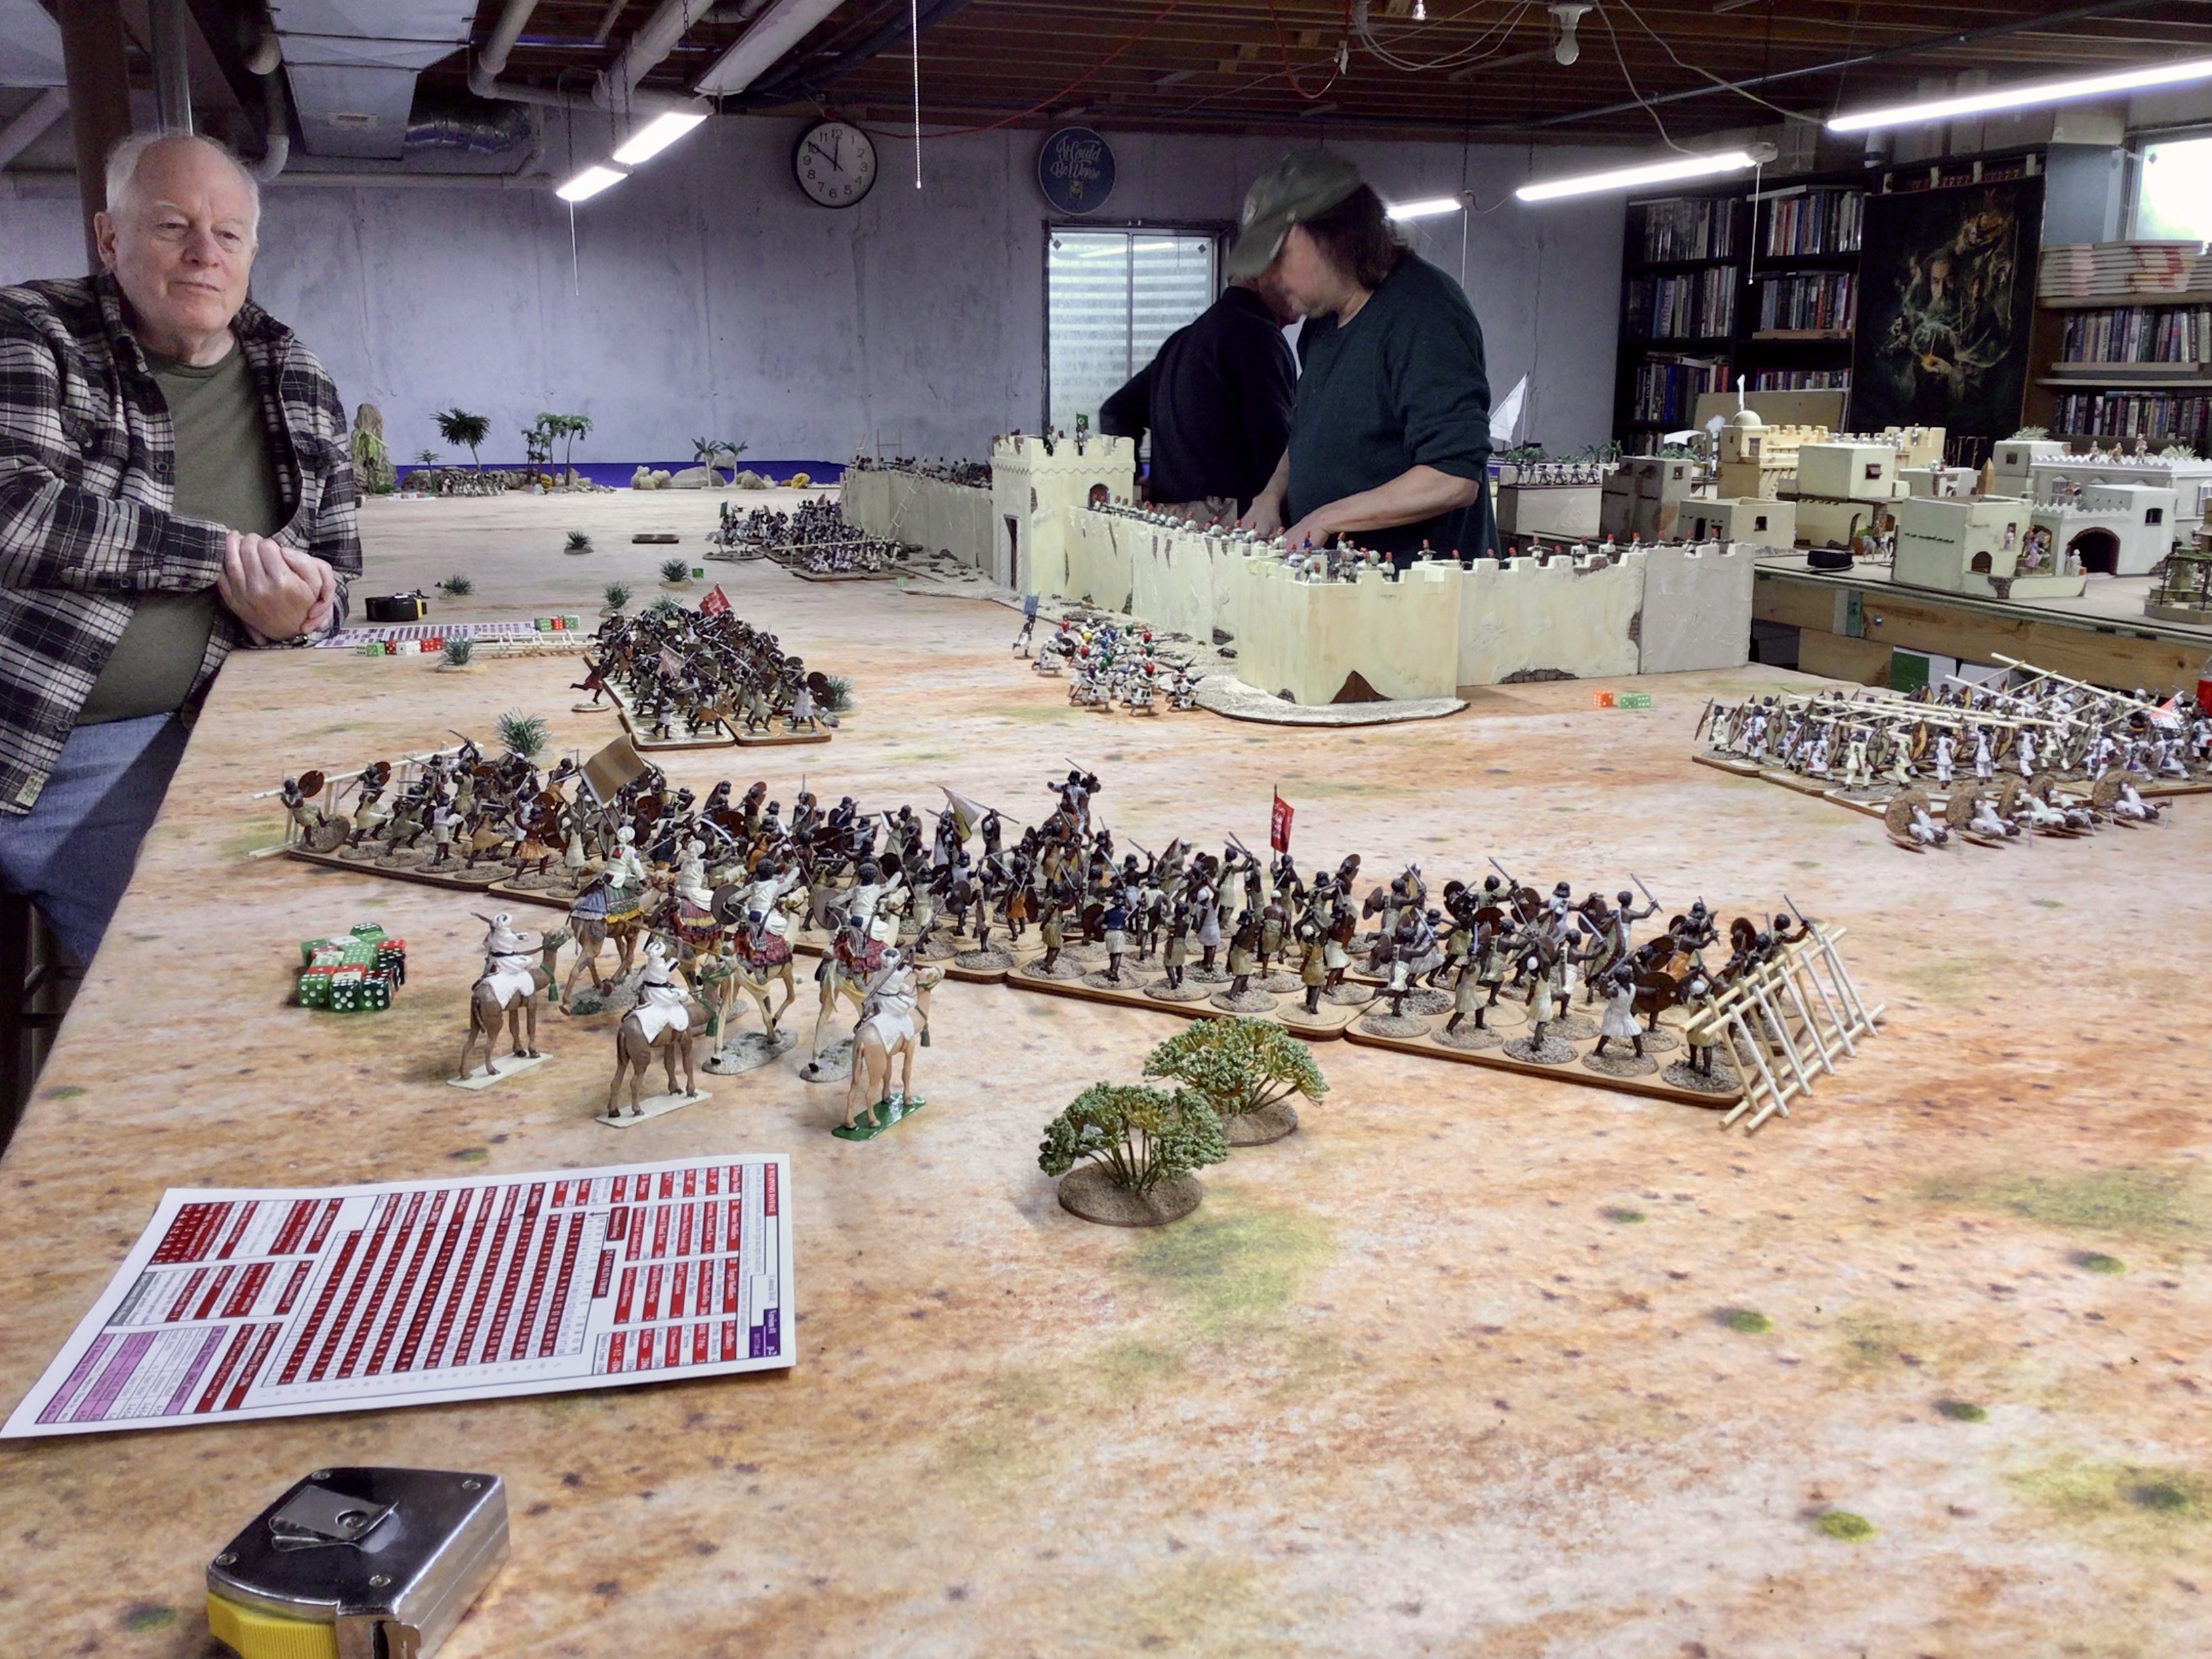
A reminder of how much table space was available for the game. Even with nearly 500 figures attacking the town walls (not including the 60 figures on the dhows) the table space looks vast and bereft of troops.


The sands of the Sudan


Quayside, the back door to Khartoum, guarded by one of the Egyptian paddle wheel boats.

You are looking at 18 feet length of the Nile. 6 feet wide.

A view of the city of Khartoum in more peaceful times.


General Charles Gordon, the hero of Khartoum and 
winner of this battle. (for now).

200 more Dervish and Beja are getting ready for the painting table.
I'm going to need more Dervish.

As I said in Part 1 of the AAR, this was a good play test and offered me a glimpse into how the game scenario will play out. I definitely need to increase the size of the Dervish army for the next game.

Tuesday, March 21, 2023

Khartoum! Game Report - Part 1

The Cast of Players
 

On Saturday March 18, 2023 our band of brothers (all six of us) gathered at the game emporium of Keith L. and played my 54mm Khartoum! game. Keith has a huge basement that holds three 6ft by 32ft game tables , in parallel, resulting in an overall surface area of 18ft by 32ft. The vast expanse of space (including a 6ft wide Nile River) was something to behold. Here are some game pictures, below. Be sure to click and/or double click on the pictures to enlarge the view.

The game featured approximately 200 Egyptian regulars defending the walls of the city of Khartoum against the Dervish army of The Mahdi, all 600 figures. So the attackers had a 3:1 advantage in numbers.

We also had a Dervish river fleet of four dhows and one steam launch facing off against two Egyptian paddle wheel steam boats.

Given the large number of pictures that I have to post of the game, I decided to divide the after action report into two parts. Part 1 will cover the Nile River boat combat and Part 2 will cover the storming of the walls of Khartoum. A few "teaser photos" of the main attack are shown here to wet appetites.


A view of Khartoum from the Dervish starting positions.


The Dervish army started on the back table and advanced across the aisle
and on to the center table, where most of the action took place.

Khartoum as seen from the banks of the Nile River.


Dervish riflemen mill about the oasis next to the river.


The River Battle

The Dervish navy had a flotilla of four dhow sailboats and one steam launch that towed a barge full of warriors. They were opposed by one of the Egyptian paddle wheel steamers, which was armed with a Krupp 9-pounder forward and a Gatling gun aft, along with a crew of 20 sailors.

The steam launch towing a barge of Mahdist warriors.

The Dervish flotilla sets off upstream towards Khartoum .

Since the Dervish flotilla outnumbered the Egyptians 5 boats to 1 boat, their strategy
was to overwhelm the paddle wheeler with numbers. Two dhows would attack the 
paddle wheeler while the other 3 boats slipped around the bend in the river and
attempted to land in the rear area of Khartoum.

Three dhows slip behind the Egyptian boat.

The Egyptian captain turned his boat to deliver more fire power at the dhows.

A view of the river battle from the walls of Khartoum.

It looks like the Dervish strategy might pay off as two of their boats slip away 
from the Egyptian boat. One dhow has run aground (upper right corner) and 
two other dhows have turned back

OK, so this was a play test and it soon became evident that the naval battle was a lopsided affair with the advantage to the Egyptians. In the end, all of the dhows were run down and destroyed. The Egyptian captain took a few liberties with the maneuvering agility of his paddle wheel boat. I plan to make it harder for the paddle wheeler to turn about. One turn to move forward a length of the boat, one turn to turn left or right , and a third turn to come about and a fourth turn to head upriver. So it will take four turns for the cumbersome paddle wheeler to turn around.

Also, the Egyptian forward Krupp cannon can not be moved in the next game. It has to stay in its forward facing position at all times. I will allow the rear Gatling gun to prolong to the left or right, but this will now take a full turn to accomplish. Three of the dhows have 6-pound cannon forward and they did not move or reposition during the fight. That's the way it should be.

Two dhows and the steam launch (with boat in tow) made it around the bend in the river and headed towards the back door of the city. However, those crafty Egyptians prolonged their artillery on the town walls and took aim on the Dervish fleet. Going forward, I will not allow the Egyptians to prolong their cannons up and down the ramparts willy nilly. The second Egyptian paddle wheeler was docked at Khartoum and it was well positioned to finish off the approaching dhows with its forward Krupp cannon. Again, the paddle wheeler was too maneuverable and flexible. This will change in the next game.

In summary, here are some changes that I am making to the naval rules that are based on the feedback that I got from the play test game.

1. make the paddle wheel boats more cumbersome to maneuver

2. cannons on boats can only face forward and can not be repositioned

3. cannons on the city ramparts can not be prolonged, they have to stay where they are sited

4. work on some ship boarding rules as this is likely to occur during my games

5. give the Egyptians only one armed paddle wheel steamer rather than two

6. add two more dhows to the Dervish flotilla to increase their chances of attacking the city from the river


This is why we play test rules and game scenarios, so I learned a lot about how to run the naval battle on the Nile River. 


PART 2 will be posted within the next couple of days.


vvv