 |
| Prussian regiment in firing line pose |
I really like firing line and second rank figure poses because, gee, I don't know, soldiers fire their muskets in a battle. IMHO it looks rather boring to have every single figure on the table in the same pose. Anyone can field nothing but marching figures on their game table, but it takes an artistic, dare I say Bohemian, mind to add some battalions or regiments actually firing their muskets.
It is time to start thinking outside of the box and give some serious thought to doing something different with your SYW battalions.
I suppose that I could take things to the extreme and have every marching battalion also having its doppelgänger as a firing line battalion. That would be rather crazy, wouldn't it? Wouldn't it? Maybe? Nah!
Another idea would be to have half of the battalions in marching poses and half in firing line poses. Thus the tabletop general could place firing line battalions in the front line of battle and a supporting battle line all in marching poses.
But Fritz, what about...
Common reasons advocates of the marching pose typically use:
[1] But firing line bases look silly when you form them up in march columns! That is trite basis response that is usually heard from people who defend the marching pose against the firing pose battalions. Hmm, that might be, that might be, but I ask you: how many times during a wargame do you have the battalion in a march column and how many more times is the battalion deployed in line.
[2] All of those bayonets at the end of the muskets are more likely to break off when the figures are leveling to fire. To this baseless argument I say, "and you think that muskets sticking straight up in the air are less susceptible to breaking off?" If you think about it, the answer is a definitive NO.
[3a] But Fritz, those leveled muskets extend over the front of the base and, again, are more likely to break off. Well, for starters, if you use Minden Miniatures or Fife & Drum Miniatures you are getting a figure that is stronger than your average metal wargame figure because of the secret sauce that is the formula of the metal alloys used to cast the figures. Also, the figures are cast by Griffin Moulds who is the premiere caster of metal figures in the industry.
[3b] A simple fix for the perceived base problem with firing line figures is to simply use a deeper base/stand than your normal marching pose bases, but retain the same frontage for both units. My old standard marching pose battalions have bases measuring 60mm frontage by 40mm depth (approximately 20mm by 20mm per figure). My firing line pose battalions retain the 60mm frontage but use a deeper measurement of 80mm.
The 80mm deep base provides enough room so that I can glue the figures to the base, setting them back about 30mm, so that the leveled muskets do not extend over the edge of the base. A little bonus to this size of base is that it leaves room to set up a third line of file closers at the back of the base. I liked this so much that I started building a new Prussian army with 60mm wide by 80mm deep bases for both marching and firing pose battalions.
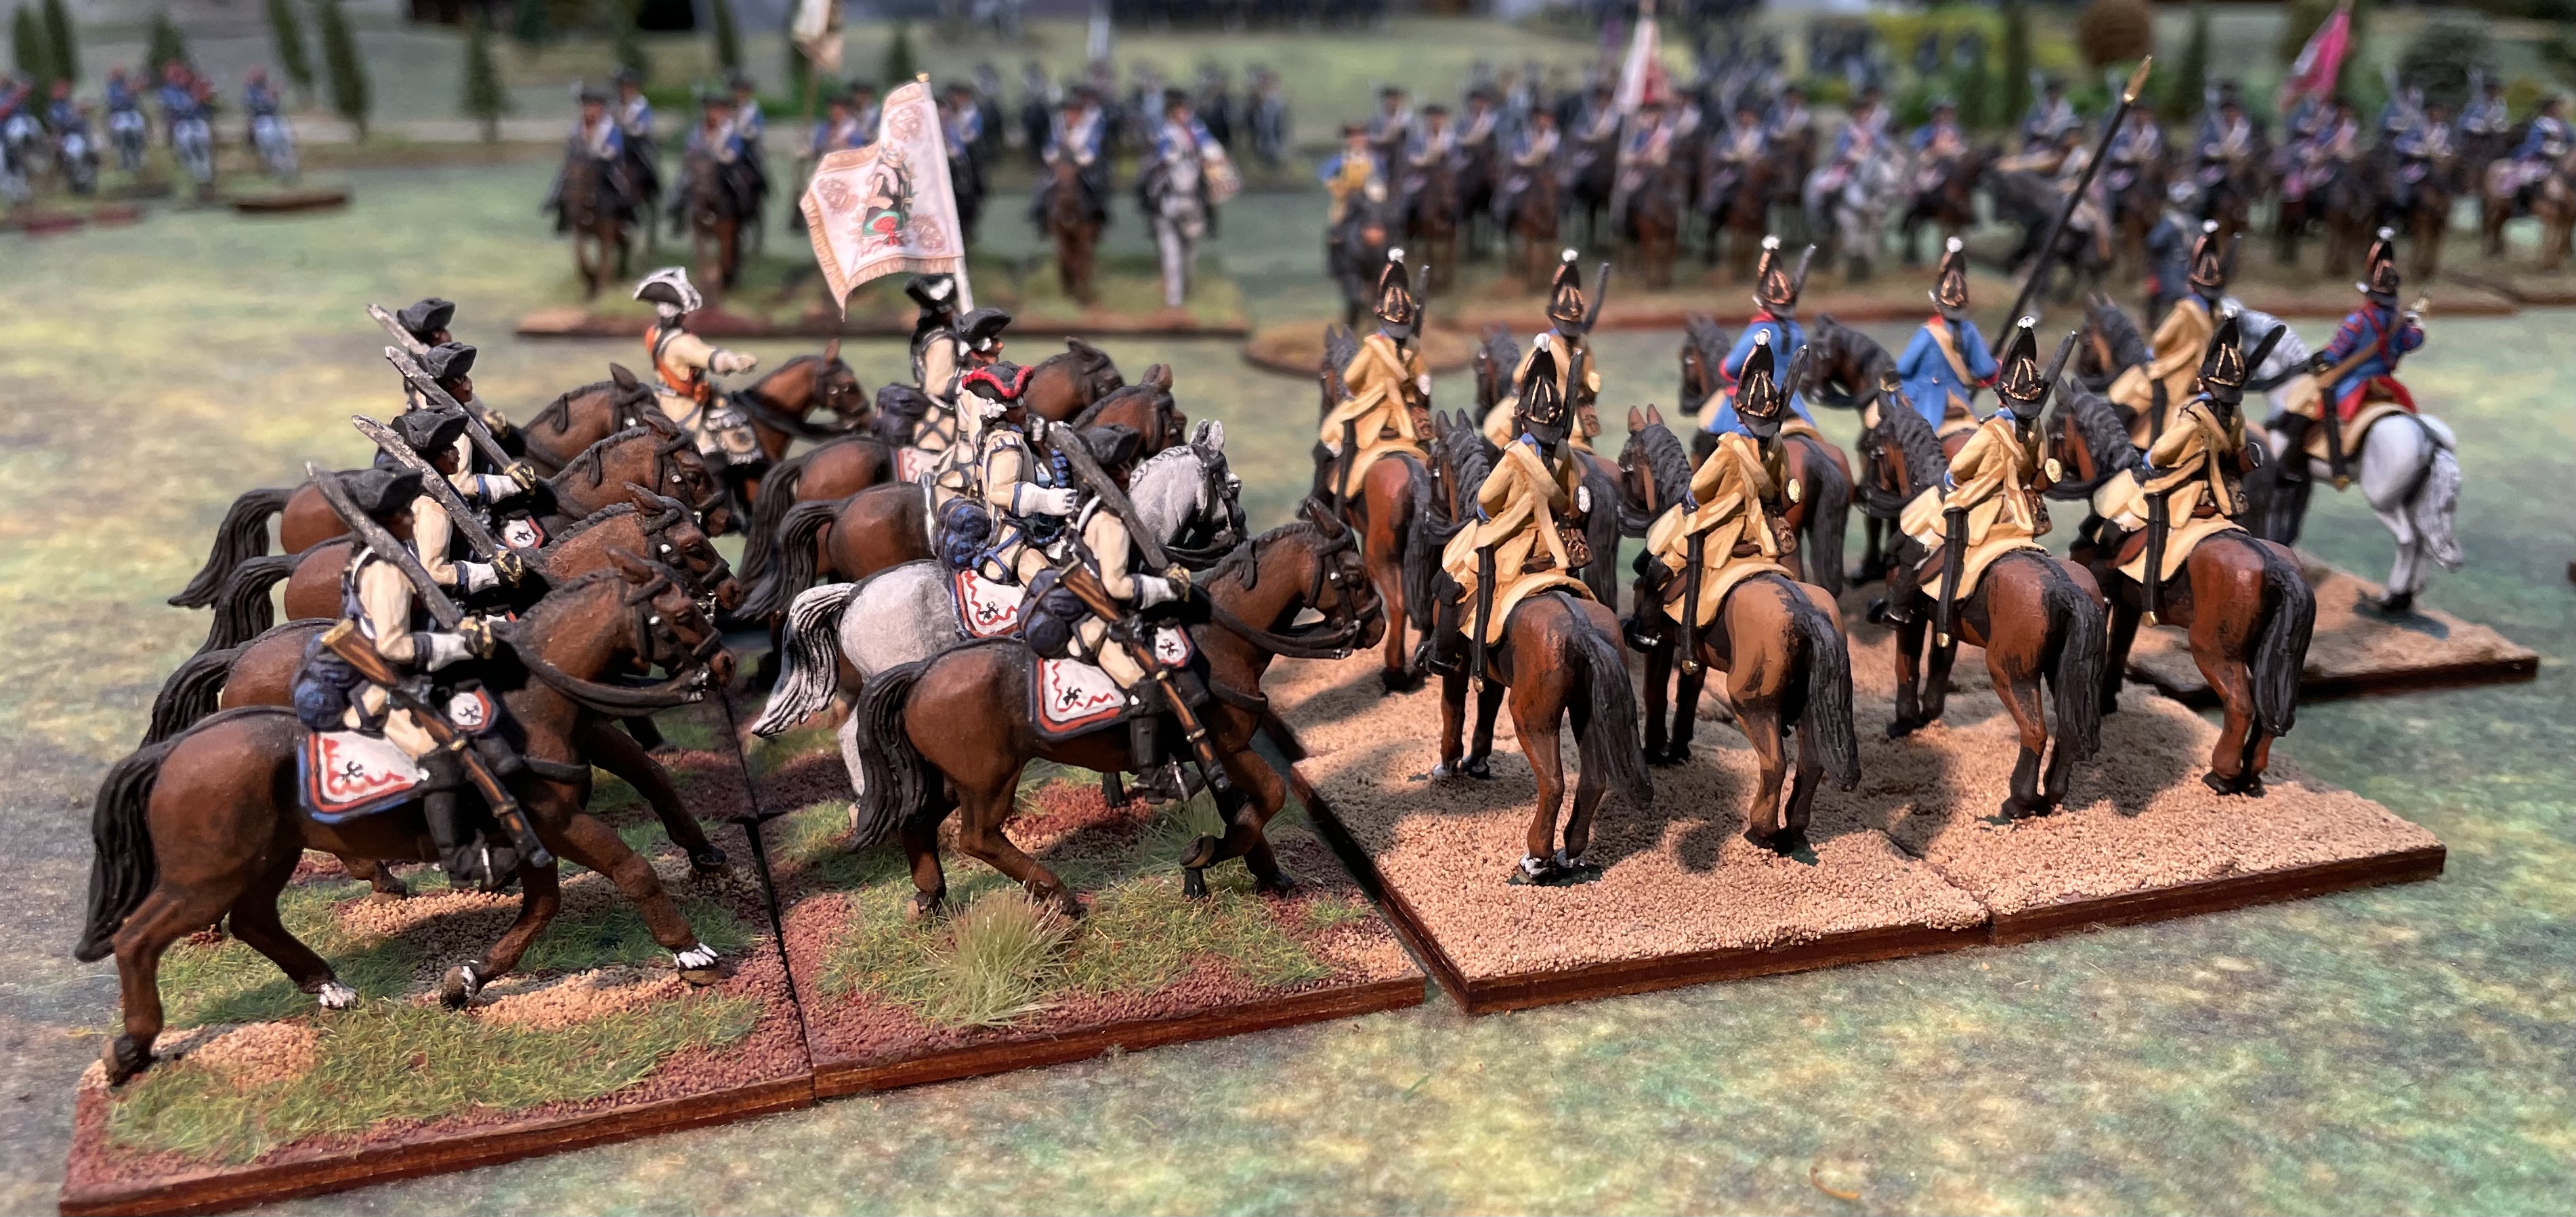
 |
| Prussian grenadier battalion in firing pose format and 60mm by 80mm bases. |
These grenadier battalion bases have some extra room to set up an officer a few millimeters forward of the firing figures and I think that it is a nice and different look. The picture below shows a battalion of Austrian musketeers on the same size base 60mm x 80mm as the firing line grenadiers shown above.
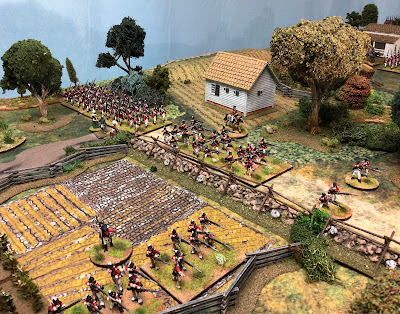
 |
A battalion of Austrian musketeers in line formation use the 60x80mm base
and you will note that the base provides room to have a third line of figures,
mostly drummers, NCOs and officers. |
 |
| Prussian grenadier firing line |
Final ThoughtsI have never understood the bias that most war gamers that favors marching poses over firing poses. I have to admit that Minden figure sales are strongly favoring marching poses. Yes, a table top full of marching figures in tight line formations look good and epitomizes the look of 18th Century linear warfare.
On the other hand, some consideration should be made to add some battalions with firing line poses. These have a more dynamic look to them compared to the static looking marching poses. Adding some firing line battalions will make your table top game look better as firing is what the soldiers did in battle once they had marched into place. The usual arguments against firing line figures: figure breakage and the look of the figures in march column, are rather weak in my opinion. I have stated what I think are mitigating responses to the bias against firing line poses and these mitigations should ease one's mind about the perceived (and false) arguments.
Finally, this post is a little bit tongue in cheek in its premise, but nevertheless, should give you something to think about and consider when you are building your war game armies.
ccc


